Brake pad replacement
This mechanics guide brought to you by Louis-Moto.fr .
Basically replace Brake pads, but this must be done very carefully. Therefore, you should read this manual carefully.
Replacing motorcycle brake pads
Disc brakes, originally developed for aircraft wheels, entered the Japanese motorcycle industry in the late 60s. The principle of this type of brake is both simple and effective: under the action of the high pressure of the hydraulic system, the two end pads are pressed against a metal disc with a hardened surface located between them.
The main advantage of a disc brake over a drum brake is that it provides improved ventilation and cooling of the system, as well as more efficient pad pressure on the holder.
Pads, like brake discs, are subject to frictional wear, which depends on the driver's driving and braking skills: it is therefore important for your safety to be visually inspected regularly. To check the brake pads, in most cases you just need to remove the cover from the brake caliper. The pads are now visible: the friction lining glued to the base plate often has a groove indicating the wear limit. Typically the limit for the thickness of the pad is 2 mm.
The note : Over time, a ridge forms at the top edge of the disc, which already indicates some wear on the disc. However, if you are using a vernier caliper to calculate the disc thickness, this peak can skew the results! Compare the calculated value with the wear limit, which is often indicated on the basis of the disc or which you can refer to in your workshop manual. Replace the disk promptly; in fact, if the thickness is less than the wear limit, braking may be less effective, resulting in overheating of the system and permanent damage to the brake caliper. If you find that the disc is heavily buried, it should also be replaced.
Check the brake disc with a micrometer screw.
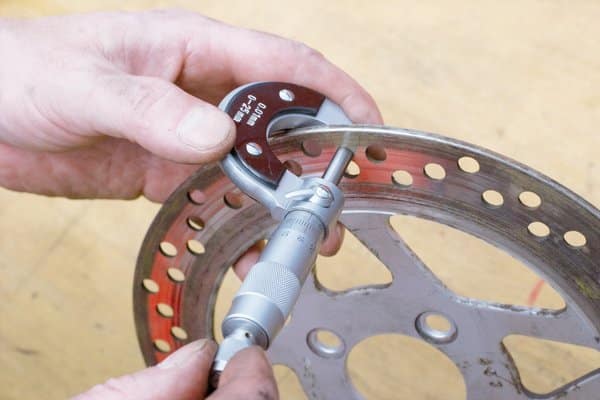
Also check the underside and the side of the brake pad: if the wear is uneven (at an angle), this means that the caliper is not properly secured, which can lead to premature brake disc damage! Before a long ride, we recommend replacing the brake pads, even if they have not yet reached the wear limit. If you have old brake pads or have been heavily stressed, the material can also glassy, which will reduce their effectiveness ... in which case they must be replaced. You should also check the brake disc regularly. Modern lightweight brake discs are subjected to significant stress when clamped by a four- or six-piston caliper. Use a micrometer screw to correctly calculate the remaining disc thickness.
5 deadly sins to avoid when replacing brake pads
- NOT remember to wash your hands after cleaning the brake caliper.
- NOT lubricate the moving parts of the brake with grease.
- NOT use copper paste to lubricate sintered brake pads.
- NOT distribute the brake fluid on the new pads.
- NOT remove the pads with a screwdriver.
Replacing brake pads - let's get started
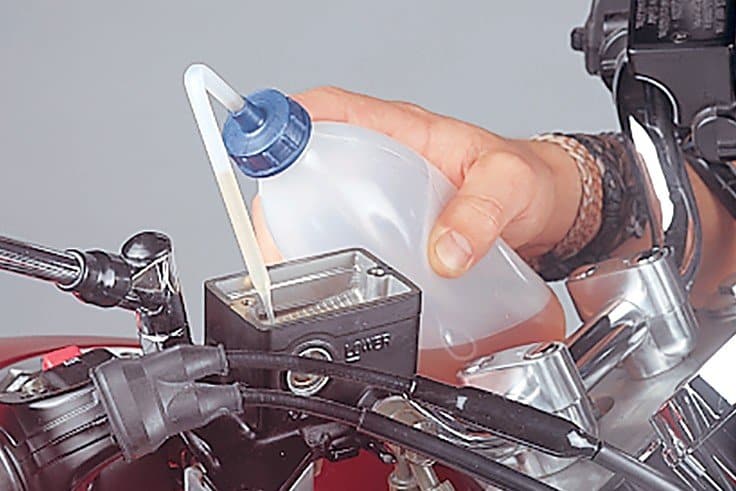
01 - If necessary, drain some brake fluid
To prevent fluid from overflowing and damaging the paint when pushing off the brake piston, first close the reservoir and any painted parts next to the brake fluid reservoir. Brake fluid eats paint and in case of danger it should be washed off immediately with water (not just wiped off). Position the motorcycle so that the liquid can is horizontal and the contents do not drain immediately after opening the lid.
Now open the lid, remove it with a rag, then drain the liquid to about half of the can. You can use a Mityvac brake bleeder (the most professional solution) or a pump bottle to suction fluid.
If the brake fluid is more than two years old, we recommend replacing it. You will know that the liquid is too old if it is brownish in color. See the Mechanical Tips section. Basic knowledge of brake fluid!
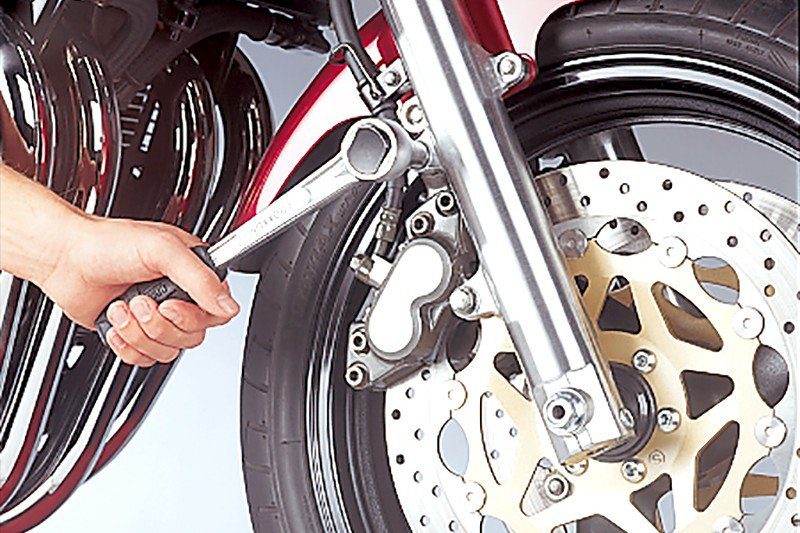
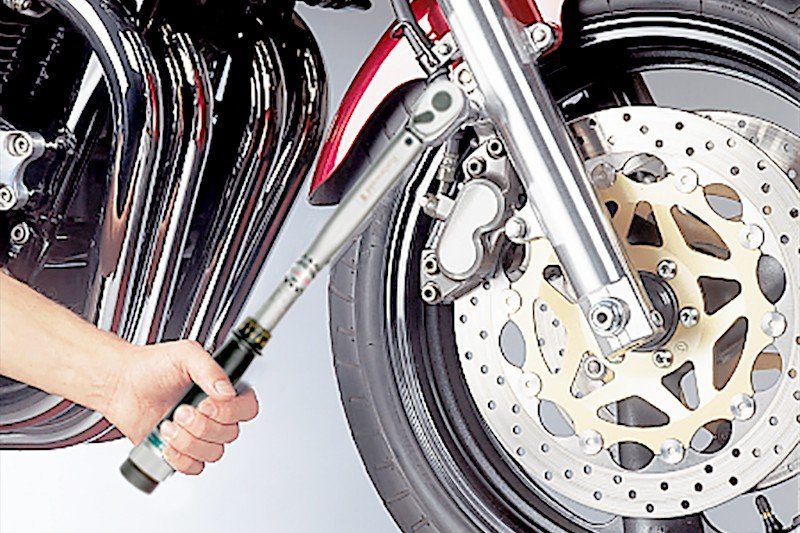
02 - Remove the brake caliper
Loosen the brake caliper mount on the fork and remove the caliper from the disc to gain access to the brake pads.
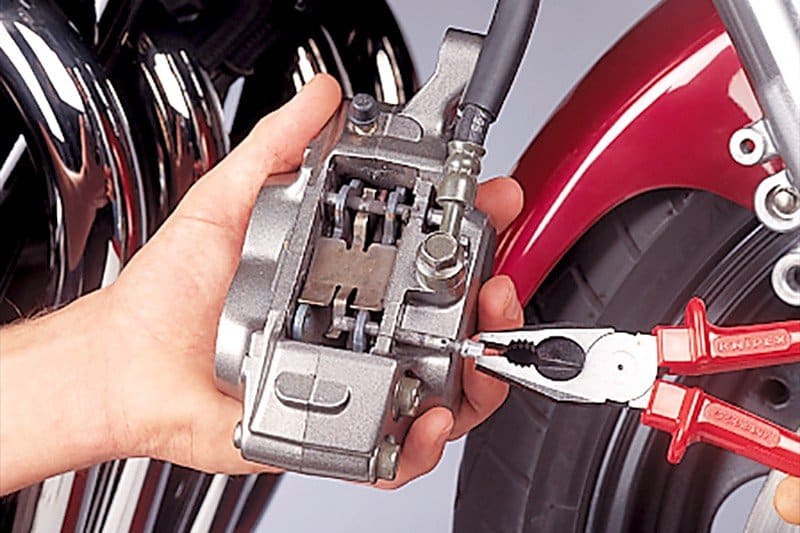
03 - Remove the guide pins
The actual disassembly of the brake pads is very simple. In our illustrated example, they are driven by two locking pins and held in place by a spring. To disassemble them, remove the safety clips from the locking pins. Locked pins must be removed with a punch.
Attention: it often happens that the spring suddenly pops out of its place and escapes into the corner of the workshop ... Always mark its location so that you can reassemble it later. Take a picture with your mobile phone if necessary. Once the pins are removed, you can remove the brake pads.
The note : check if any anti-noise plates are installed between the brake pad and piston: they must be reassembled in the same position to complete their task. Here, too, it is useful to take a photo with your phone.
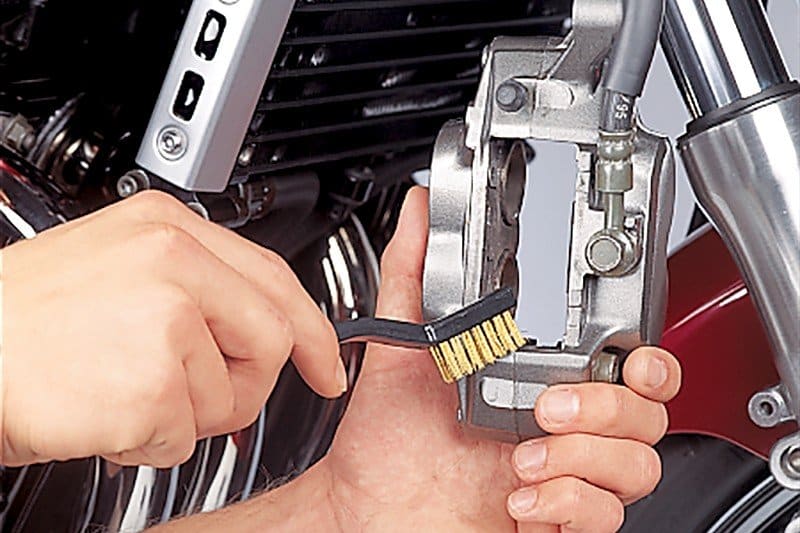
04 - Clean the brake caliper
Clean and check the brake calipers carefully. First of all, make sure they are dry inside and that the dust shields (if any) are properly installed on the brake piston. Moisture marks indicate insufficient piston sealing. Dust screens must not be loosened or perforated to prevent moisture from entering the piston. Replacing the dust cover (if any) is simply done from the outside. To replace the O-ring, refer to the repair manual for advice. Now clean the brake caliper with a brass or plastic brush and PROCYCLE brake cleaner as shown. Avoid spraying cleaner directly onto the brake shield if possible. Do not brush the dust shield!
Clean the brake disc again with a clean cloth and brake cleaner.
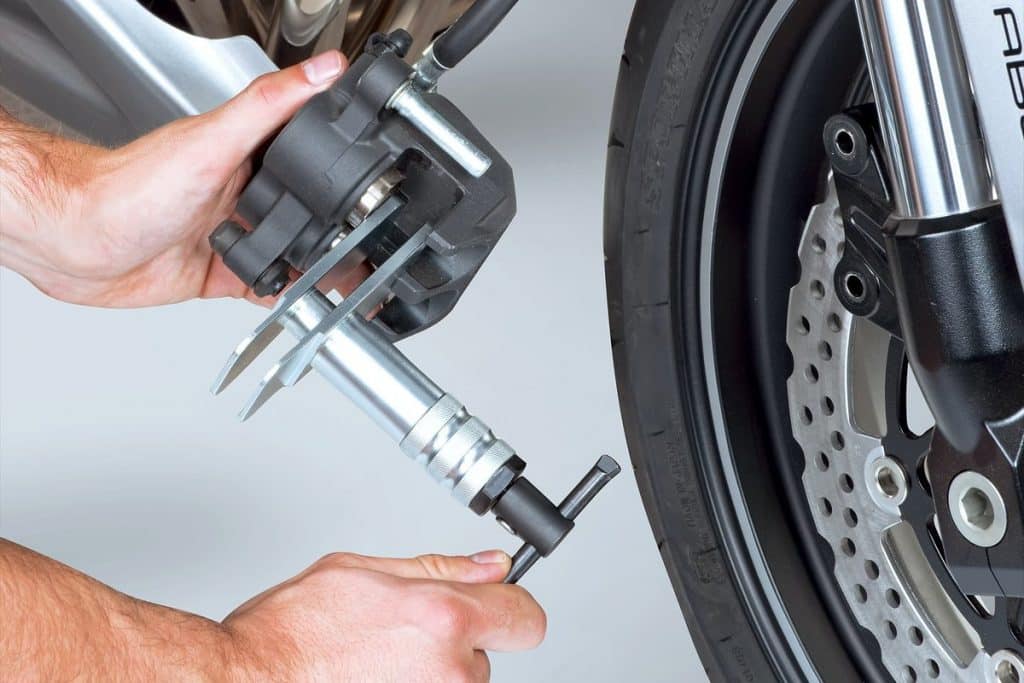
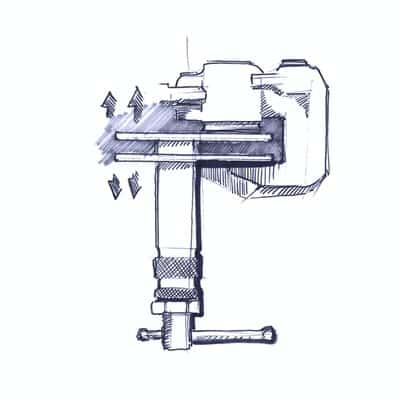
05 - Push the brake piston back
Apply a small amount of brake cylinder paste to the cleaned pistons. Push the pistons back with the brake piston pusher. You now have room for the new, thicker pads.
The note : do not use a screwdriver or similar tool to move the pistons back. These tools can deform the piston, which will then be pinched in place at a slight angle, causing your brake to rub. While pushing back the piston, also check the level of brake fluid in the reservoir, which increases as the piston is pushed back.

06 - Fitting the brake pads
To prevent new brake pads from squeaking after assembly, apply a thin layer of copper paste (eg PROCYCLE) to the rear metal surfaces and, if applicable, to the edges and cleaned locking pins. Organic plates. In the case of sintered brake pads, which may become hot, and vehicles with ABS where conductive copper paste should not be used, use ceramic paste. Never put dough on the waffles!
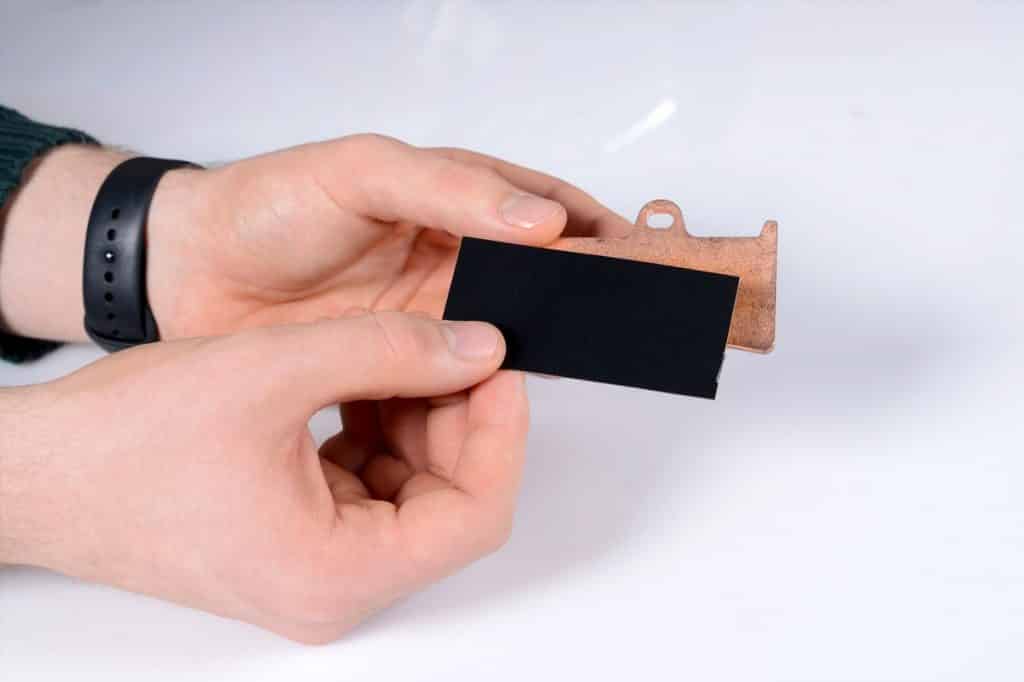
Another solution that is even more effective and cleaner than copper or ceramic paste is TRW's anti-squeak film, which can be applied to the back of a brake pad. It is suitable for ABS and non-ABS brake systems, as well as sintered and organic pads, as long as there is enough space in the brake caliper to accommodate a film about 0,6mm thick.
07 - Insert new blocks into the clamp
Now place the new pads in the caliper with the inner surfaces facing each other. Install the anti-noise plates in the correct position. Insert the locking pin and place the spring. Compress the spring and install the second locking pin. Use new safety clips. Check your work again before moving on to final editing.
08 - Tighten
In order to place the brake caliper on the disc, you must extend the pads as far as possible to create free space. Now place the caliper on the disc at the fork. If you cannot do this yet, the brake piston may have moved from its original position. In this case, you will have to push him away. If possible, use a piston follower for this. When the brake caliper is in the correct position, tighten it to the prescribed torque.
09 - Single Disc Brake Maintenance
If your motorcycle has a single disc brake, you can now fill the reservoir with brake fluid up to the Max. and close the lid. If you have a double disc brake, you first need to take care of the second brake caliper. Before carrying out a test drive, move the brake piston to the working position by “swinging” the brake lever several times. This step is very important, otherwise your first braking attempts will fail! For the first 200 kilometers, avoid hard and prolonged braking and brake friction so that the pads can press against the brake discs without glass transition.
Warning: Check if the discs are hot, brake pads squeak, or if there are any other defects that may arise from a seized piston. In this case, return the piston to its original position again, avoiding deformation, as described above. In most cases, the problem is solved.