10 Easy Tips for Taking Great Mountain Bike Photos
Content
Diligent mountain bikers, friends of UtagawaVTT who dream of enriching their route descriptions published on the site with unforgettable photographs, here are some tips for newbies in photography.
With a legion of articles dedicated to photography, the idea is not to lecture on speed, depth of field, or lighting, but to provide some quick and effective tips that can be applied just on the way!
Plus, who wants to spend two hours immortalizing the landscape while a fabulous single is streaming a few meters away ?!
Camera selection 📸
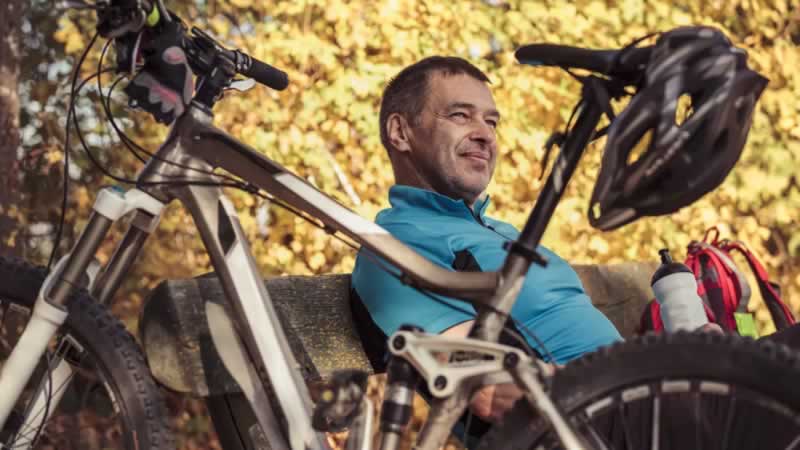
Today, most mountain biker photos are taken with a smartphone, a Gopro-type camera, or a small compact device. Even if some of you have an SLR with multiple interchangeable lenses, few will take them for a walk, not only because they are heavy and bulky, but also because the fall can happen quickly and it would be a shame to spray an expensive device at the same time.
So, we forget about the reflex, and therefore the advice below is perfect for using a smartphone or action camera like GoPro!
We can also recommend that you get a small multipurpose camera (or smartphone or gopro) stand (with remote control), lightweight that will fit in a hydration bag. A flexible GorillaPod is ideal for this.
Work
If you've never taken a photography course before, you might be surprised that a few simple rules can turn a bad photo into a great one, no matter what type of camera you use! Taking a beautiful photograph is not necessarily difficult: you must remember that the most important thing is the composition of the scene, that is, how to position your subject in relation to the environment and the background.
1. Rule of thirds
It is a Rule know the simplest and most famous. Almost all professionals use it (except when they break the rules)! First of all, you have to divide the image to be photographed into 9 equal parts using 2 horizontal and 2 vertical lines that cut the image into three parts.
Then you need:
- or place major horizontal lines along one of the two horizontal axes. For example, the horizon.
- or place the main vertical lines along one of the two vertical axes.
- either place the object on one of these lines, or on one of their intersections (highlights).
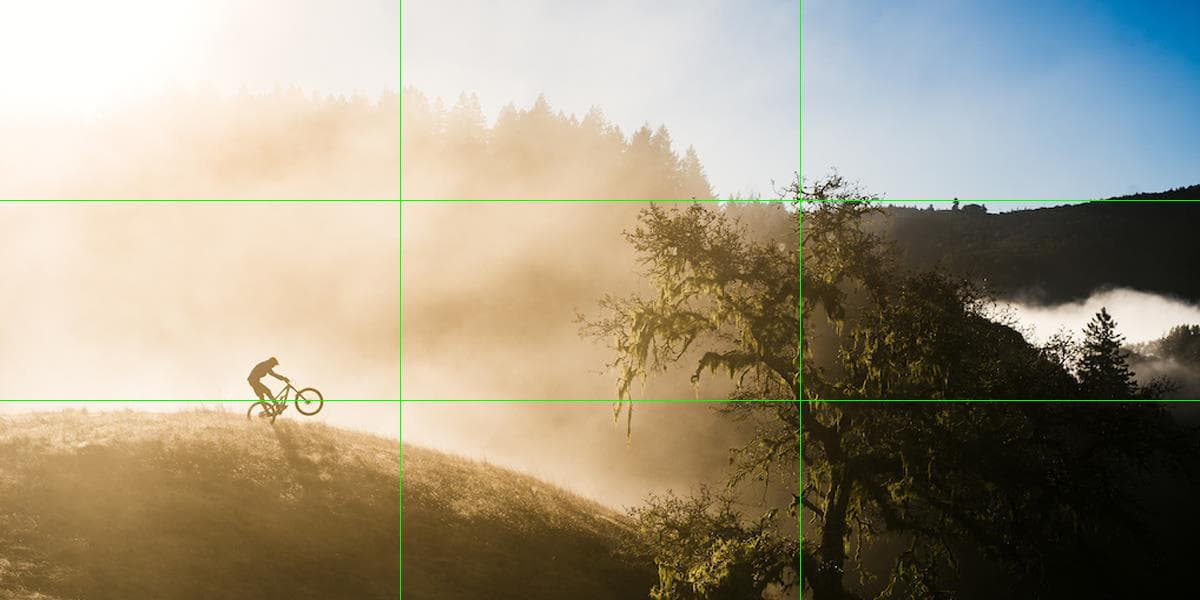
Therefore, it is important not to center the object or even the elements that surround it! This will give your photos a more aesthetic effect and strength.
2. Power lines
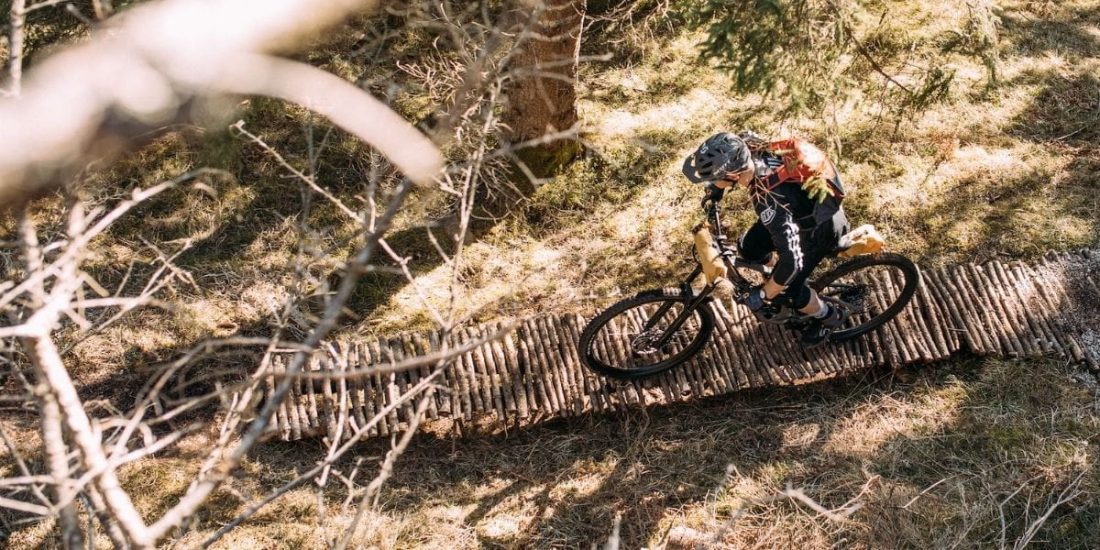
These are simple lines running along, across, or diagonally, like trees and paths. They give directions. These lines can be used to highlight your subject.
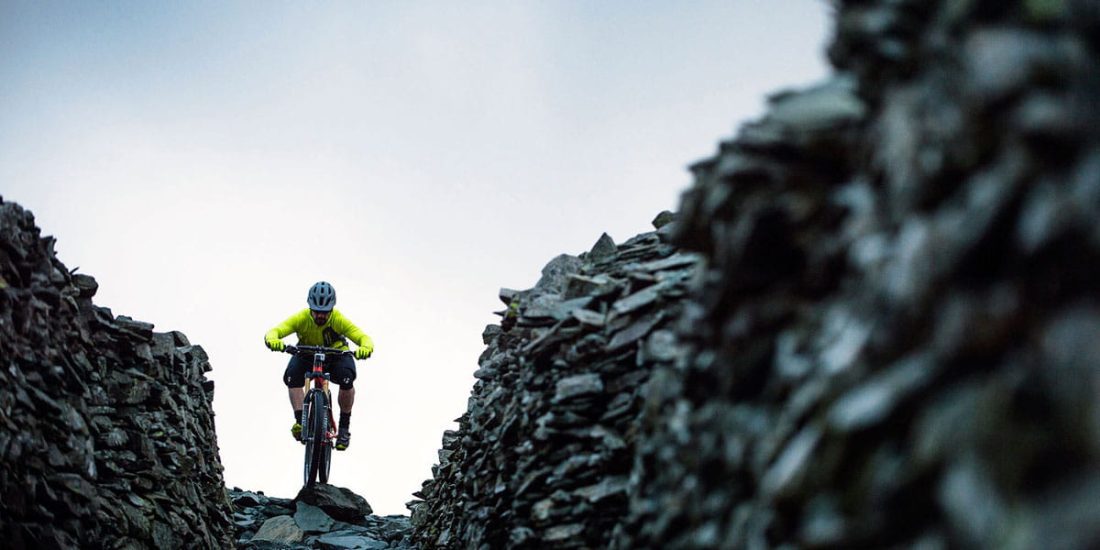
Single tracks, for example, are great natural lines of force because they force the eye to follow a path until it can see an object. In general, it is recommended to leave a small path in front of the mountain biker so that the eye can follow him rather than placing him directly in the foreground of the photo.
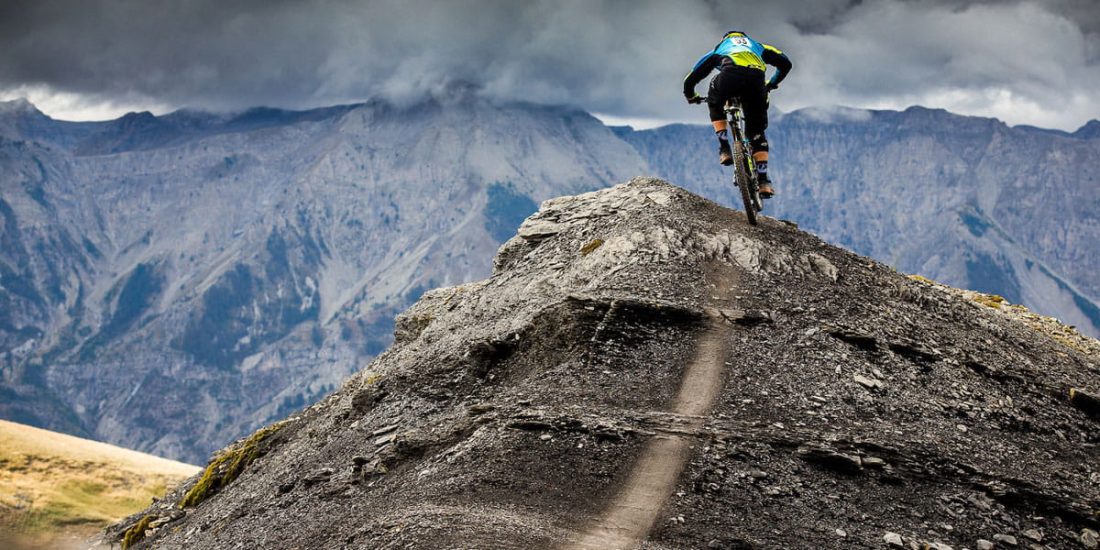
3. Angle
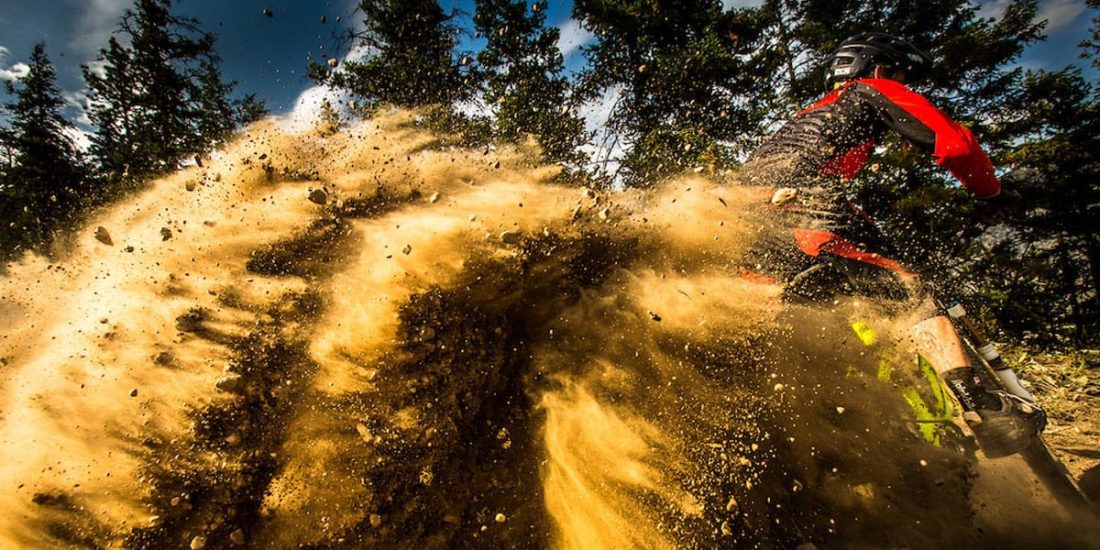
Take to the skies! or get down! but move because the angle is important to make the subject stand out in the photo and create the effect! photographs taken at human height are often just boring! In contrast, shots taken very close to the ground magnify the subject and make the mountain biker appear more imposing.
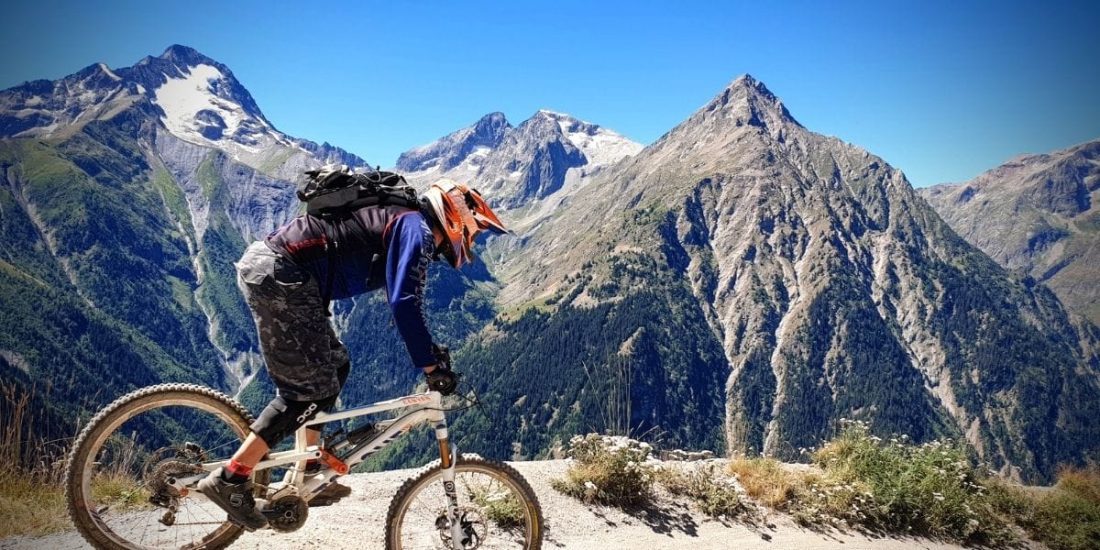
Conversely, it can sometimes be fun to climb, especially if you have a wide-angle lens, so people are aware of the scale and create a sense of immensity.
Lower yourself as much as possible to enhance the "dramatic" effect. And for a little fun, you can place the camera on the ground or on a light tripod in auto release and / or burst mode to keep only the best in the end!
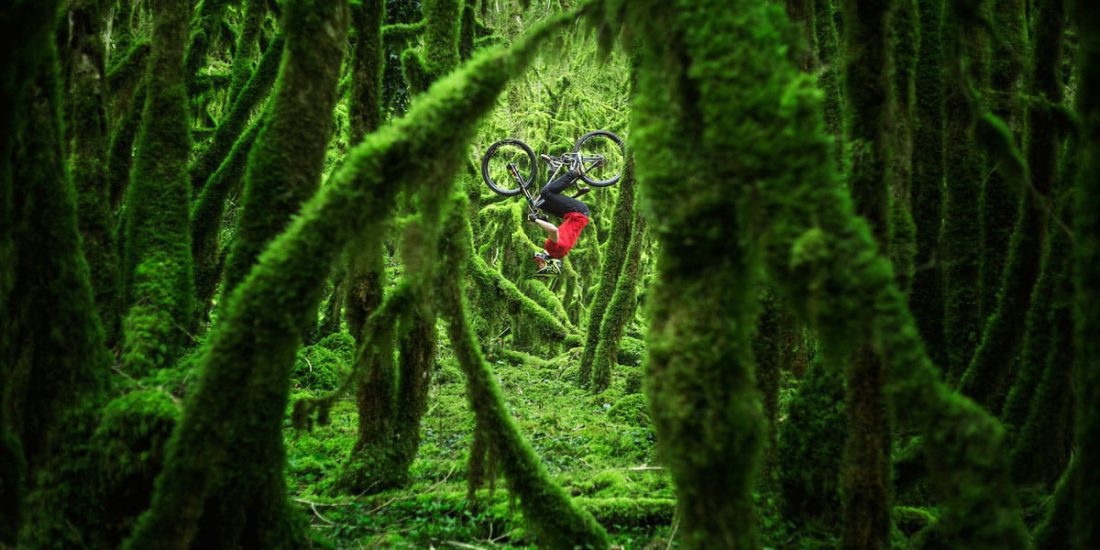
4. Frame
It can be interesting to use natural elements in the photo, such as flowers or tall grass in the foreground, to create a kind of frame around the subject and make it stand out.
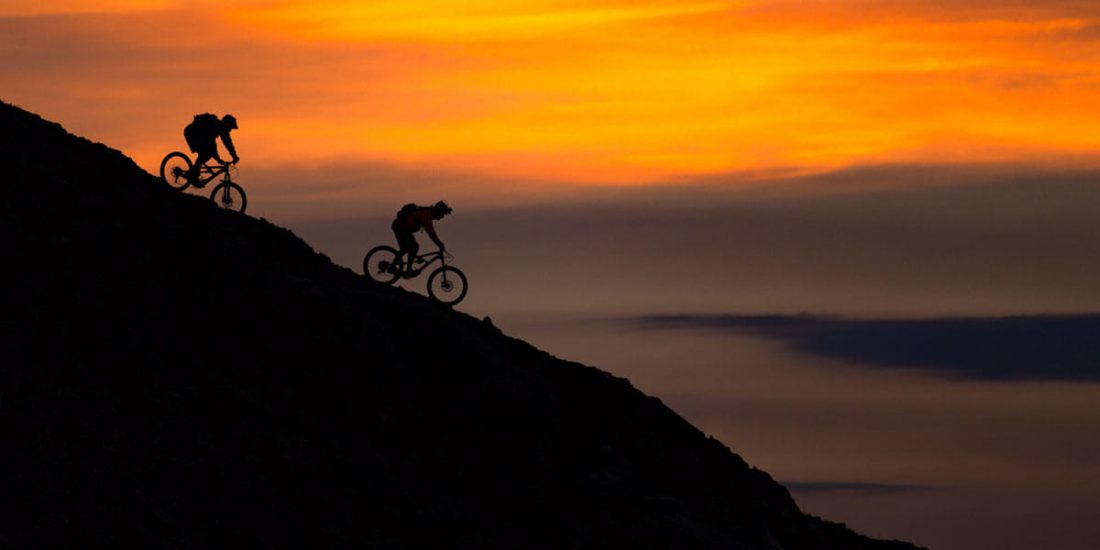
5. Light
Light is one of the many tools available for photography, but by far the most important!
Better to opt for the warm tones of sunrises and sunsets with their soft, elongated shadows, which are much more pleasing than the harsh light and harsh contrasts of the middle of the day.
And don't be afraid of backlighting, which can add brightness and make your subject stand out in different ways.
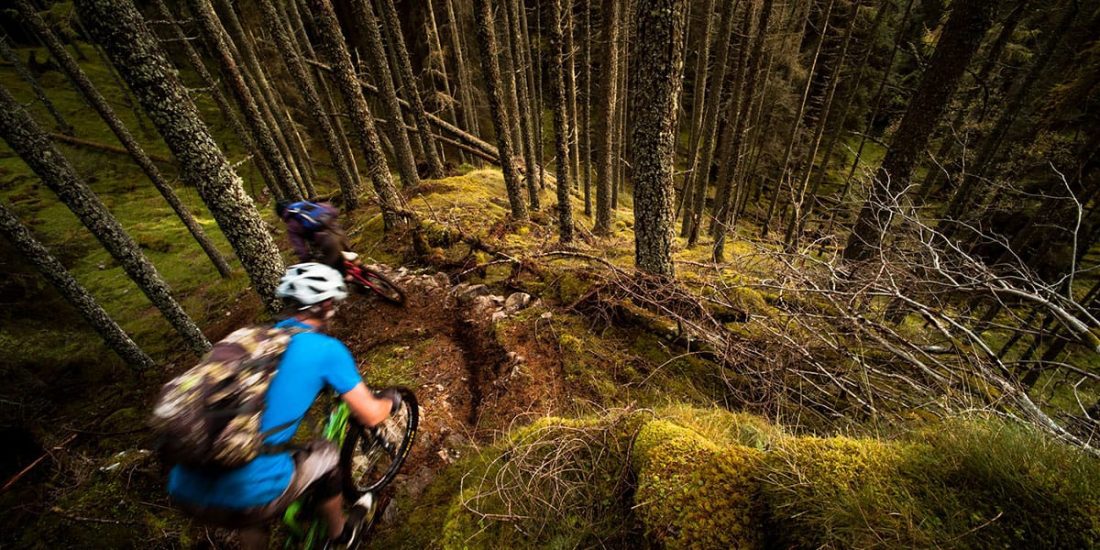
6. Yarn
This method is to follow a moving object with the camera at the same speed. This will keep the subject in focus and the background will be blurred with streaks. In a fairly dark environment, such as a forest, you will need to shoot at low speed or use a flash to further highlight the subject. The technique is not easy, but with a beautiful effect!
7. Motion blur.
Another method of highlighting an object is to create a very sharp background while the object, such as a mountain biker, is blurred. This reinforces the mountain biker's impression of speed. If the picture is taken in a dark place, the shutter speed will be slower, further blurring the moving subject.
8. Stop in action
When the subject is in motion, a fast shutter speed stops it in the middle of the action. And, as you might have guessed, your camera will use a faster shutter speed the higher the brightness. Of course, while you can choose the shooting speed yourself with SLR, smartphones or Gopro usually don't allow this. Therefore, we will have to cheat a little and trick the device by placing the sensor in front of a higher or lower brightness.
9. Depth and scale
Creating depth in a photo is as easy as bringing the subject to the front so you have something close and something far away!
The foreground element does not have to be the main subject of the photo or even be in focus, its only purpose is to give the photo relief and depth. To enhance the effect, try to place your subject more on one side of the photo rather than in the center, and don't forget to use other techniques such as lines of force to give perspective. Regardless of the background type, desert, mountains, etc. forest, ocean, …
10. Colors and contrasts
Color is not a photograph full of bright tones that can detract from the main subject! Rather, you need to have a good balance between colors and contrasts to make the main subject stand out, even if it's not particularly colorful.
Finally, to break rules !
In photographs, as elsewhere, certain rules have been created! So do not hesitate, sin, experiment, indulge yourself!
And best of all, don't forget to share your photos!