Knock Sensor Chevrolet Niva
Content
The detonation that occurs during engine operation not only creates vibration that violates the comfort of the Chevrolet Niva, but also has a devastating effect on the engine. It gradually damages the elements of the cylinder-piston group and brings the need for a complete repair of the power plant closer.
To combat detonation, an electronic control unit is used that receives information about the operation of the engine with DD. Depending on the data obtained, the ignition timing and the composition of the air-fuel mixture are adjusted.
Purpose of the knock sensor
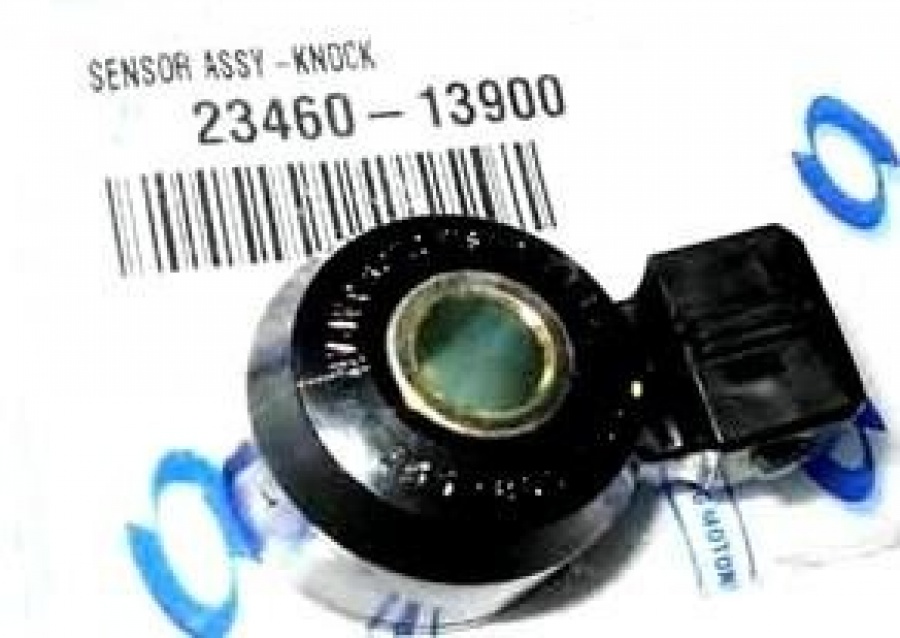
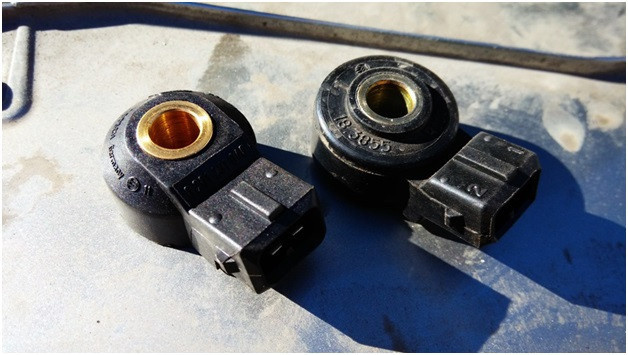
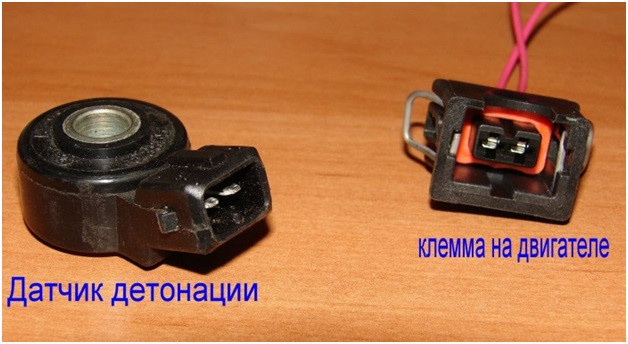
The knock sensor is shaped like a round toroid. There is a hole in the middle through which the mounting bolt passes. Also on the DD there is a connector. It provides electrical connection of the meter to the electronic control unit of the power plant. Inside the torus is a piezoelectric element. The vibration that occurs during detonation causes shocks of charges, which are converted by the DD into an electrical signal of a certain frequency and amplitude.
The ECU controls the voltage coming from the DD. The discrepancy between the amplitude and frequency of the normal range of values indicates the occurrence of detonation. To eliminate it, the control unit corrects the operation of the engine.
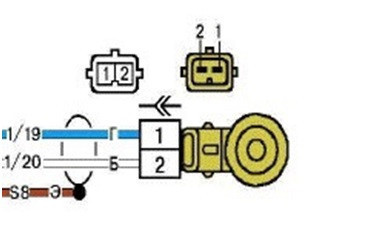
Eliminating excessive vibration and knocking reduces parasitic breaking loads on the powertrain. Therefore, the main purpose of DD is the task of timely determining the occurrence of detonation and increasing the service life of the engine. The following image shows the DD connection diagram.
The location of the knock sensor on the Chevrolet Niva
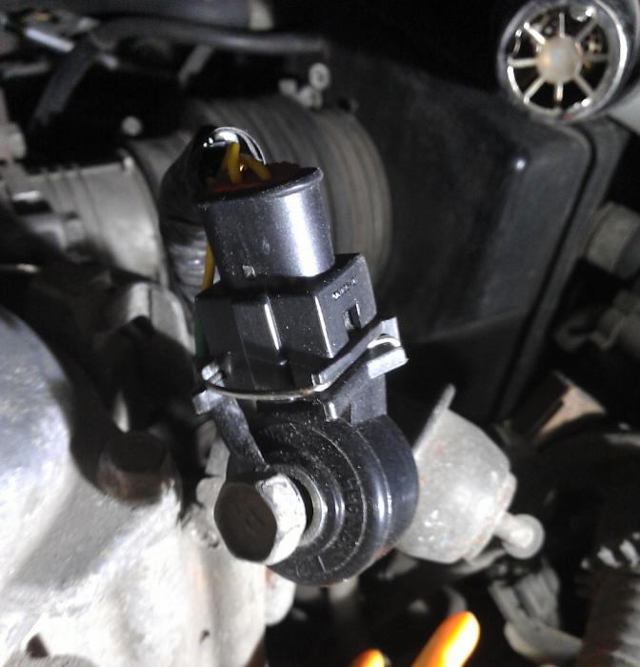
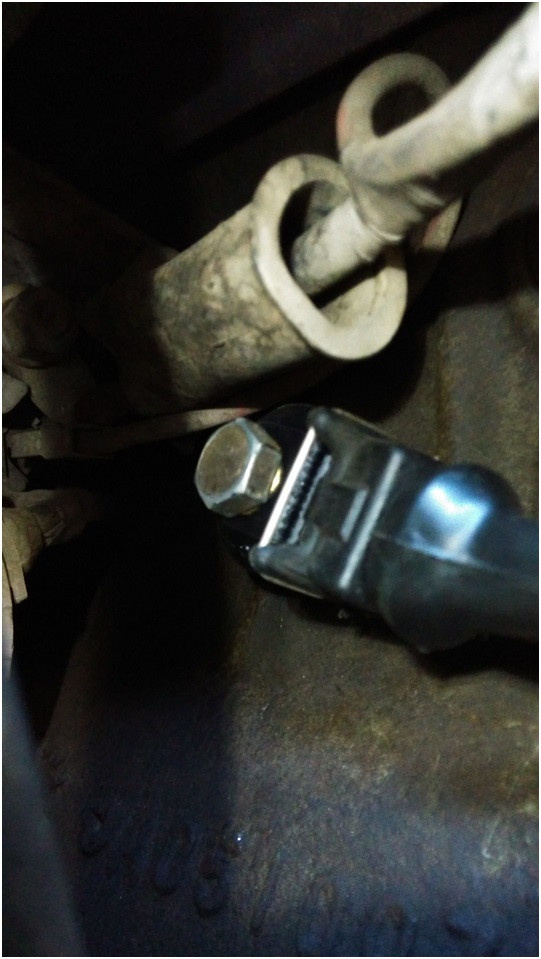
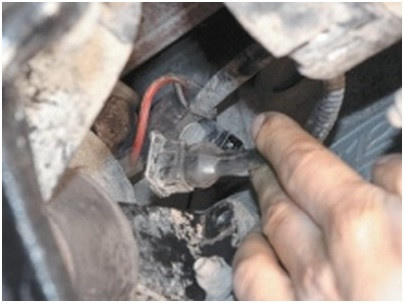
The location of the DD is made in such a way as to obtain the highest sensitivity of the sensor. To see where the pressure gauge is, you need to look directly at the cylinder block. The sensor is screwed on. You can determine where the sensor is by following the wires in the corrugated tube that runs from the computer to the sensor.
Sensor cost
The knock sensor has an extremely low maintainability. Usually, when it fails, a replacement with a new DD is required. The original General Motors sensor has part number 21120-3855020-02-0. Its price is 450-550 rubles. If you need to change DD, you can buy an analogue. The following table shows the best alternatives to branded products.
Table - Good analogues of the original Chevrolet Niva knock sensor
| Creator | Supplier code | Estimated cost, rub |
|---|---|---|
| Forest | 0 261 231 046 | 850-1000 |
| Phenox | SD10100O7 | 500-850 |
| Lada | 21120-3855020 | 190-250 |
| AvtoVAZ | 211203855020020 | 300-350 |
| Earnings per share | 1 957 001 | 400-500 |
Knock sensor test methods
When the first signs of a DD malfunction appear, before deciding to replace it, it is necessary to check the meter's performance. First of all, you need to pay attention to whether there is an error on the on-board computer screen. If DD gives out a too high or low signal level, the electronics registers this and the driver receives an alert.

It is possible to accurately check the serviceability of DD only at the stand. All other methods only indirectly show the performance of the device.
First of all, it is important to check the resistance between the contacts. In the normal state, it should be about 5 MΩ. Any significant deviation indicates a malfunction of the meter.
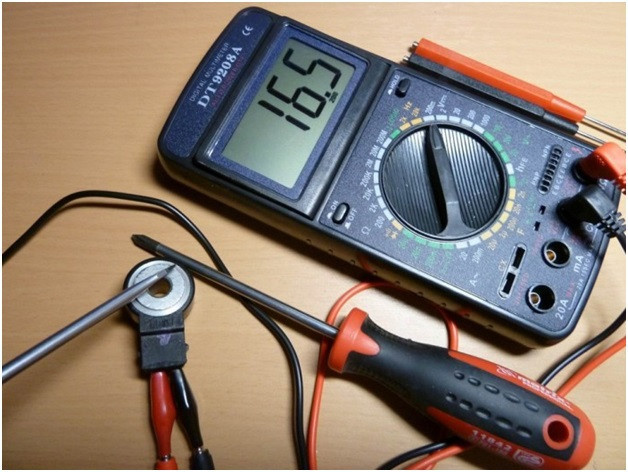
Another test method is voltage measurement. For this you must:
- Remove the sensor.
- Connect a multimeter or voltmeter to the terminals.
- With a small metal object, such as pliers or a bolt, hit the counter's working toroid.
- Check the device information. If there are no power surges, then the sensor is not suitable for further operation. It is important to note that even the presence of voltage surges is not a reason to consider the DD to be fully operational. The ECU operates in a narrow range of amplitudes and frequencies, the correspondence of which cannot be caught with a multimeter or voltmeter.
In order to independently change the knock sensor on a Chevrolet Niva car, you must follow the instructions below.
- Disconnect the terminal block.
- Move the connector to the side so that it does not interfere with subsequent removal.
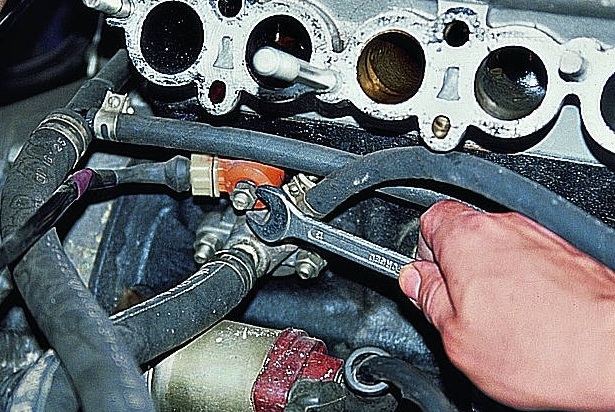
- Using the “13” key, unscrew the DD mounting bolt.
- Remove the sensor.
- Install a new sensor.
- Connect the connector.