Cooling fan sensor
Content

The vast majority of modern cars are equipped with an electric radiator fan, which has replaced less efficient viscous couplings. The fan sensor (fan activation temperature sensor) is responsible for turning on the fan, as well as changing the speed of operation).
In general, cooling fan activation sensors:
- reliable enough;
- effectively control the fan;
- Fan sensors are easy to replace;
At the same time, it is important to correct the slightest malfunctions of this control device, since malfunctions of the cooling fan can lead to engine overheating. You also need to know how to check and replace the fan switch sensor. Read more in our article.
Where is the fan sensor
The fan on/off sensor is an electronic-mechanical device for turning on and controlling the operation of the cooling electric fan. The sensor is activated based on coolant temperature measurements. This reference function determines the area in which the fan switch sensor is located.
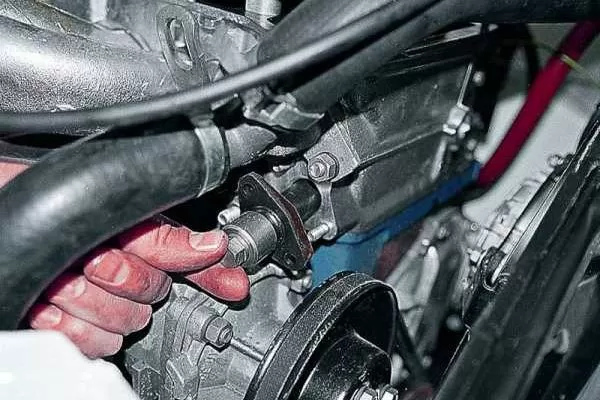
The radiator fan activation sensor is located on the side of the radiator or on its upper part (in the middle or on the side). For this reason, this sensor is often referred to as the heatsink sensor. To understand exactly where the fan switch sensor is located, you need to separately study the technical manual for a specific car.
The sensor in the radiator is triggered by the temperature of the coolant. If the liquid heats up to 85-110 degrees Celsius, the contacts "close" and the electric fan turns on, blowing the motor.
The result is efficient heat dissipation. In addition, sensors not only turn the cooling fan on and off, but can also change its rotation speed. If the heating is not high, the speed will be low. At high temperatures, the fan runs at full speed.
Types of radiator sensors
Today in different cars you can find the following main types of sensors:
- Paraffin sensor;
- Bimetallic;
- Contactless electronics.
The first type is based on a hermetic volume filled with wax or another body with similar properties (high coefficient of expansion). Bimetal solutions work on the basis of a bimetal plate, while non-contact solutions have a thermistor.
Bimetallic and paraffin contact sensors that close and open the fan circuit depending on the temperature of the coolant. In turn, the electronic sensor does not close the circuit and only measures the temperature, after which it transmits a signal to the computer. The control unit then turns the fan on and off.
Contact sensors can also be single-speed (one contact group) and two-speed (two contact groups) when the fan speed changes depending on the temperature.
For example, a VAZ fan ignition sensor operates in three temperature ranges: 82 -87 degrees, 87 - 92 degrees and 92 - 99 degrees. At the same time, foreign cars have 4 ranges, the upper threshold is from 104 to 110 degrees.
Radiator sensor device
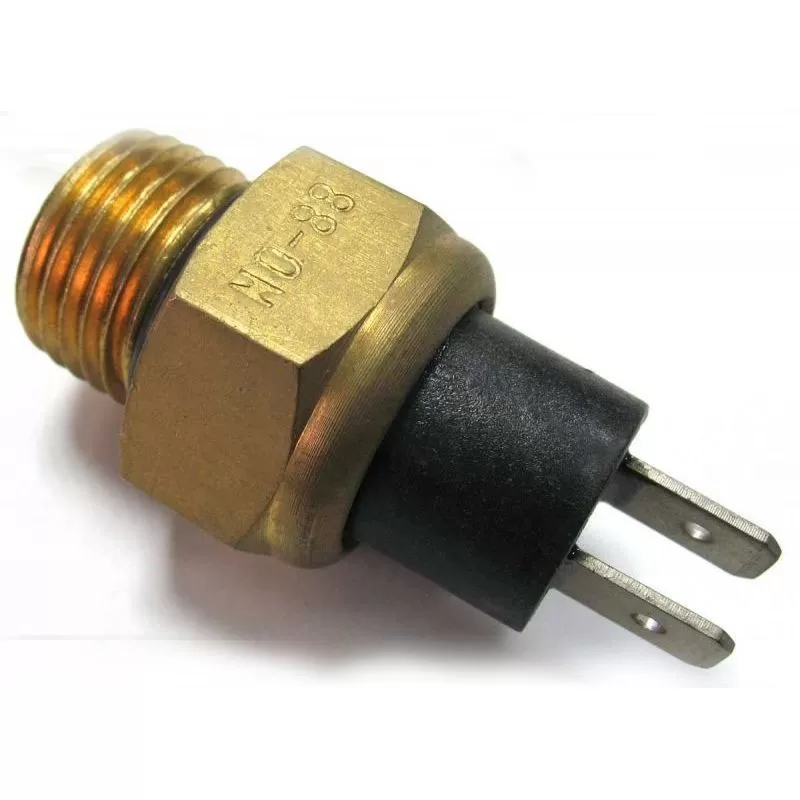
As for the device itself, it is structurally a closed brass or bronze box with a sensitive element inside. Outside there is a thread, as well as an electrical connector. The casing is screwed to the radiator through the O-ring at the hot liquid inlet (near the power unit nozzle).
The sensor is in direct contact with the coolant. Some systems have two sensors at once (at the radiator inlet and outlet) for more precise and flexible cooling control.
The sensors have a M22x1,5 thread, as well as a 29 mm hexagon. At the same time, there are other options where the thread is smaller, M14 or M16. As for the electrical connector, this connector is located behind the sensor, but there are sensors where the connector is located separately on the cable.
How to check the fan sensor and replace it
If the fan does not turn on in time or the engine constantly overheats, it is necessary to check the radiator sensor. Contact sensors can be checked with your own hands in an ordinary garage.
Please note that the first thing to check is not the sensor itself, but the cooling fan relay and wiring. To do this, you will need to disconnect the sensor wires and short them. If there are 3 wires, we close the middle and end in turn. Normally, the fan should turn on at both low and high speeds. If it lights up, then the wires and relay are normal and you need to check the sensor.
To check, take a container of coolant, a key to remove the sensor and a thermometer, and you will also need a multimeter, a pot of water and a stove.
- Next, the battery terminal is removed, the radiator drain plug is unscrewed and the liquid is drained;
- After draining the liquid, the plug is screwed back, the sensor wires are removed, after which the sensor must be unscrewed with a key;
- Now water is poured into the pan to cover the sensor, after which the pan is placed on the stove and the water is heated;
- The water temperature is controlled by a thermometer;
- In parallel, you need to connect the contacts of the multimeter and the sensor and check the "short circuit" at different temperatures;
- If the contacts do not close or malfunctions are noted, the sensor is faulty and needs to be replaced.
As for replacing the fan sensor, the whole procedure comes down to unscrewing the old sensor and screwing in the new one. It is also important to replace the gasket (O-ring).
Next, you need to check the level of antifreeze, add liquid if necessary and check the system's performance (warm up the engine and wait for the fan to turn on).
Recommendations
- It is important to understand that the fan sensor is a small but very important part of the cooling system. In this case, the specified sensor differs from the conventional coolant temperature sensor. If the radiator sensor fails, the result can be critical engine overheating or serious damage to the cooling system. For this reason, it is important to monitor the fan's accuracy and efficiency. As for the replacement of the radiator sensor, you can install both the original and the replacement and analogues. The main thing to consider when choosing is that the new sensor must have exactly the same temperature ranges for switching on and off the fan, suitable for voltage and connector type.
- Also note that motor overheating is not always related to the fan sensor. The overheating cooling system requires detailed diagnostics (checking the level and quality of antifreeze, assessing tightness, eliminating the possibility of airing, etc.).
- It also happens that the fan motor fails or the fan blades break. In this case, all faulty elements must be replaced, and the sensor on the radiator does not need to be changed. One way or another, in each specific case, a professional assessment is required, after which problems with the engine cooling system are eliminated with an integrated approach.