Primer for metal for painting a car - stages of work
Content
- What is a primer for?
- The main types of soils used for car repair
- What are car primers
- Preparatory work, preparing the soil and the car
- Automotive primer: how to properly prime a car
- How to properly prime a car before painting
- Step-by-step instructions on how to properly prime a car
- Do I need to apply a primer to old car paint?
- Paint choice
- Advantages and disadvantages of car priming
- Features of the primer at home
Priming a car before painting is a crucial moment. It's like a foundation on which the subsequent layers of the car's decorative coating are built (it's not for nothing that the word "Grund" in German means "base, soil"). Priming flaws cannot be corrected with the most professional painting skills. Therefore, it is important to know the properties and features of the material, the rules for working with it: application technology, drying mode, viscosity, surface preparation methods.
Restoring the paintwork of a car after an accident due to body corrosion or for tuning purposes is a common thing. Painting a car is a multi-stage process. A mandatory event in the restoration of metal and plastic elements that cannot be neglected is the primer of the car before painting.
What is a primer for?
For many drivers, an impeccable paintwork is a matter of prestige, an indicator of status. To achieve a perfectly smooth surface, it is necessary to prime the car before painting.
Primer - an intermediate layer between the base and car enamel - performs the following tasks:
- removes and prevents the appearance of rust on the body;
- fills cracks and dents, while accidentally obtained smudges are easily eliminated by grinding and finishing layer;
- protects processed parts from water and mechanical damage;
- serves for bonding (adhesion) of metal and plastic with paint.
The priming technology is simple: you need a minimum of improvised tools and consumables.
The main types of soils used for car repair
Depending on the condition of the body, bottom and wheel arches, the craftsmen choose a certain type of soil.
Primer for cars
In total, there are three main types of material:
- Acrylic is the most popular universal primer. The mixture is used when there are no serious dents, chips, signs of corrosion. The compositions are easy to apply, providing excellent adhesion of paint areas with paintwork.
- Acid - a draft layer that protects parts from moisture and salts. A thin film of the product is not intended for direct application of enamel: you must first treat the surface with a filler. Acid composition does not work with polyester putty and epoxy primer.
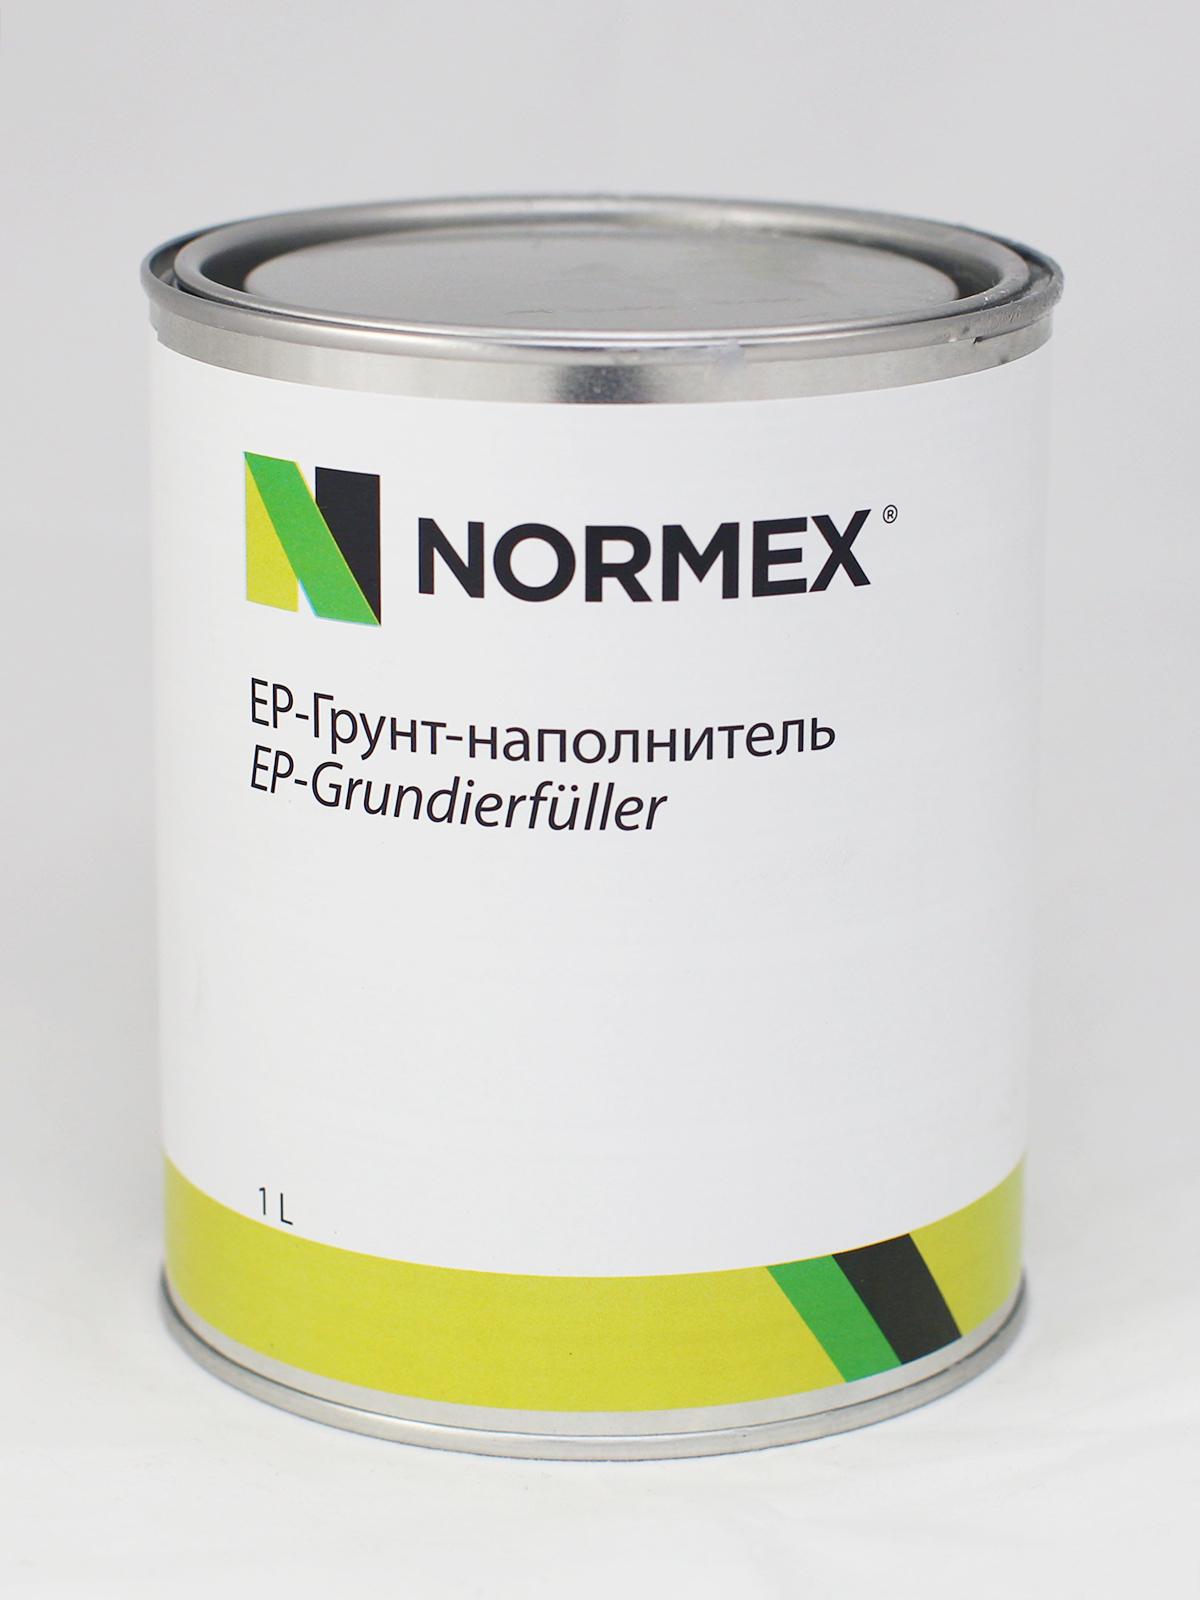
- Epoxy - a heat-resistant and moisture-resistant type of auto primer, created on the basis of natural materials. A durable base for painting successfully resists mechanical stress and rust.
Epoxy materials need to dry for at least 12 hours, which greatly delays the repair.
What are car primers
Priming a car before painting is a crucial moment. It's like a foundation on which the subsequent layers of the car's decorative coating are built (it's not for nothing that the word "Grund" in German means "base, soil"). Priming flaws cannot be corrected with the most professional painting skills. Therefore, it is important to know the properties and features of the material, the rules for working with it: application technology, drying mode, viscosity, surface preparation methods.
Primary
This is a group of primers (prime - “main, first, main”). Primary primers - they are also acidic, etching, anti-corrosion - are applied to bare metal in front of other layers and putties.
The compositions perform two functions: anti-corrosion and adhesive. The body of the car during movement experiences large stresses and alternating loads, especially at the junctions of parts. As a result, tiny cracks form on the durable varnish, through which moisture rushes to the thin body metal: soon you will observe the appearance of red spots on the seemingly whole coating.
Primers are used as insurance against such cases: the development of cracks stops at the boundary of primary soils. Accordingly, no corrosion centers are formed. In this case, the primer layer should be very thin - 10 microns. A thick primary primer applied several times under mechanical stress will crack faster.
Primary soils are divided:
- acidic (one- and two-component) based on polyvinyl butyral (PVB);
- and epoxy - universal, used as a secondary coating.
Nuance with "acid": they can be put on hardened putty. In this case, it is impossible to putty PVB.
Kudo PVB primer
Secondary
These substances (fillers) are called equalizers, fillers, fillers.
Fillers perform just such tasks: they fill in irregularities on the restored surface, scratches, roughness from sanding skins and sandpaper, which are used to process the previously laid putty.
The filler comes second: it falls on the primary primer, old paint, another layer, but not on bare metal. Filling primer isolates non-uniform repaired parts from aggressive enamels and varnishes. At the same time, it serves as an excellent intermediary between metal or plastic and paintwork.
Preparatory work, preparing the soil and the car
For the convenience of full or partial painting, remove all attachments of the car or only those that need to be repaired: hood, doors, glazing, fenders, bumper.
Further step by step:
- Sand chips, dents, cracks in panels down to bare metal.
- Weld holes and thoroughly rusted places.
- Go through the scars from welding with a petal circle, then with a metal nozzle on a drill.
- Eliminate loose, flaking particles.
- Do not forget to degrease the area first with acetone, then with alcohol.
- Heat the parts with an industrial hair dryer to about 80 ° C for treatment with a zinc-manganese rust converter, for example, the Zinkar compound (follow the instructions provided).
At the end of the preparation, putty (if necessary) the surfaces, proceed to the primer of the car for painting.
Tool kit
Prepare materials, tools and fixtures in advance.
List of required items:
- compressor with a capacity of up to 200 liters of air per minute;
- hose;
- spray gun;
- flexible silicone spatula;
- masking paper;
- construction tape;
- rags;
- grinding wheels of different grain sizes.
Take care of gauze or a paint sieve (190 microns) for straining the formulations. And also gloves, a respirator, overalls: after all, you will have to work with toxic substances. In a clean, warm (10-15 ° C), well-lit room, ventilation should work properly.
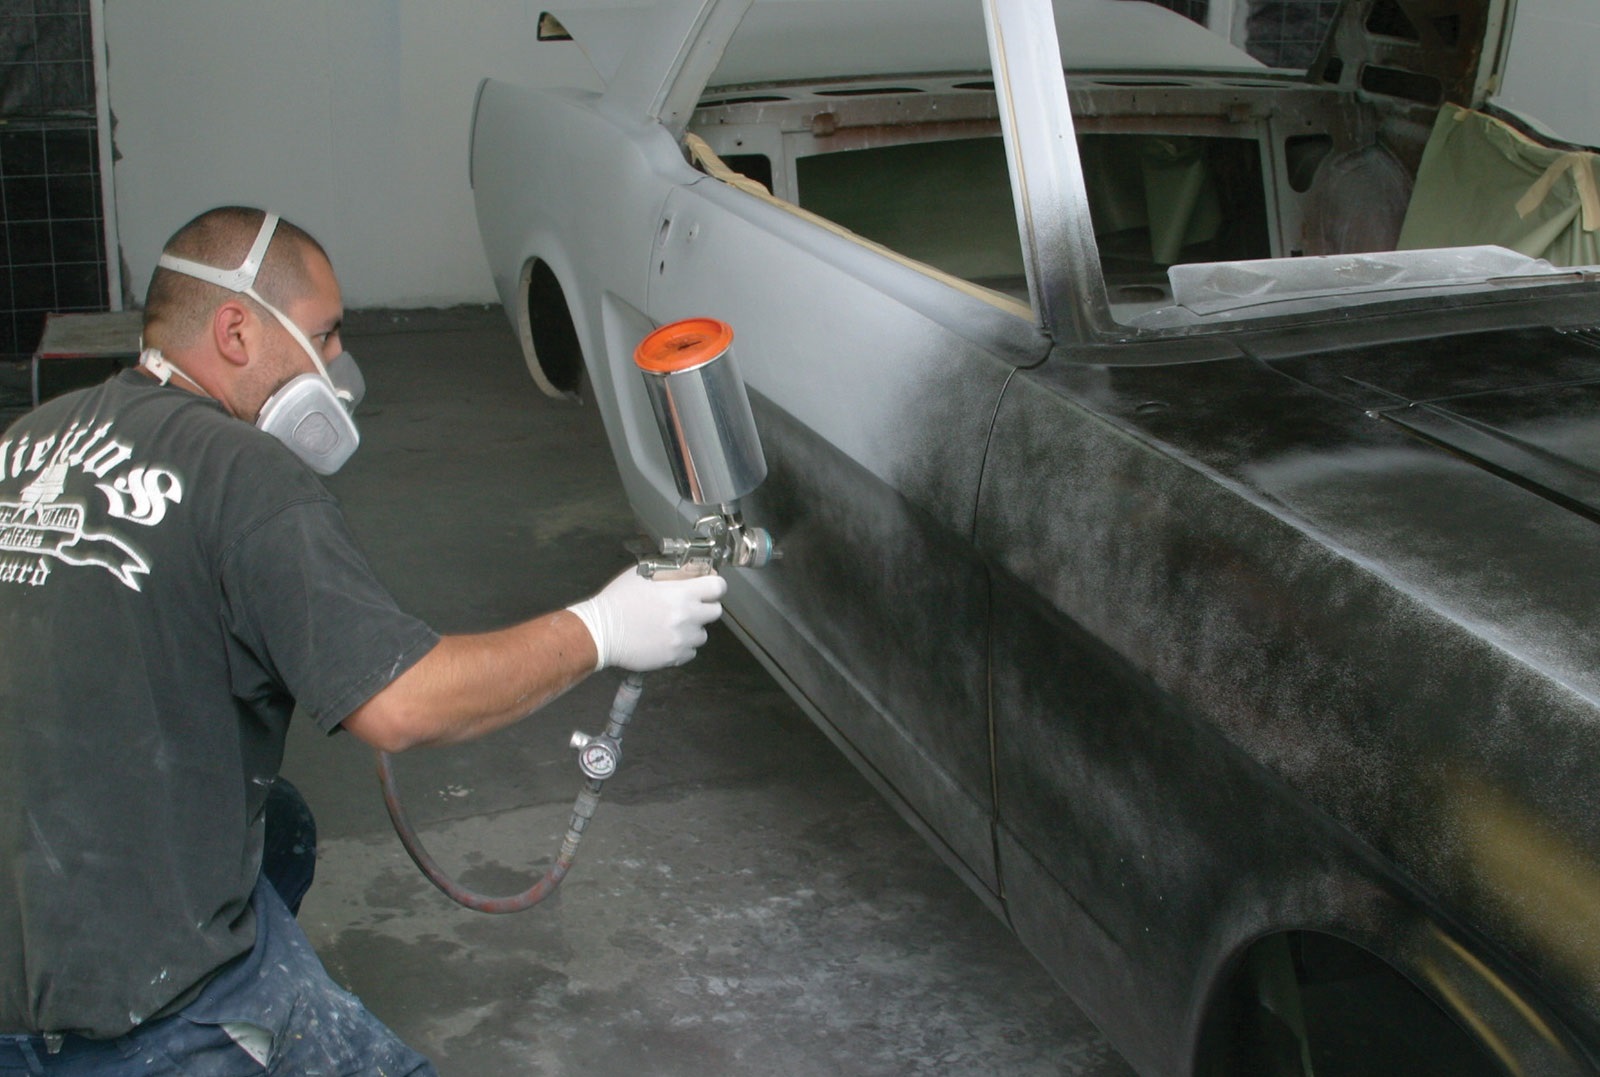
What kind of spray gun to prime a car
Rollers and brushes in the primer of the machine are acceptable, but it is better to choose a pneumatic paint gun. Spray gun models with HVLP spray system (high volume low pressure):
- save time;
- reduce material consumption;
- perform high-quality processing of the repaired areas.
The nozzle (nozzle) should be 1,6-2,2 mm in size (for spot work - 1,3-1,4 mm). When the fill material passes through the smaller diameter holes, the film is too thin: additional layers of primer have to be applied. Do a test spray, adjust the size of the fan by adjusting the pressure of the compressor.
How to dilute a primer for a car with a hardener
Suspended particles of the primer sit on the bottom of the can, so shake the contents of the container beforehand. Then mix the hardener and thinner in the proportions indicated by the manufacturer on the label.
Properly dilute the primer for a car with a hardener as follows:
- One-component primers: add 20-25% thinner (the hardener is superfluous here).
- Two-component formulations: add the hardener at the recommended ratio first. Then pour in the diluent with a measuring cup: bring the composition to a working consistency. Primer labels are accompanied by the inscriptions “3 + 1”, “4 + 1”, “5 + 1”, read as follows: 3 part of hardener is required for 1 parts of primer, etc.
Masking before priming
Dismantled car parts do not need to be masked. But if you did not remove the thresholds, other elements, nearby surfaces need to be covered so that soil does not get on them.
Use a molar tape with a lapel: then there is no "step" at the borders of the primed area. The latter, even if it is sanded, will show through after painting.
Stencils will also help well: cut them out of thick waterproof paper or polyethylene, glue them to the parts with adhesive tape. Special lubricants will cost a little more.
You can remove the masking after the complete drying of the primer and enamel.
How to apply filler
Filler is a more responsible layer for forming a substrate for finishing.
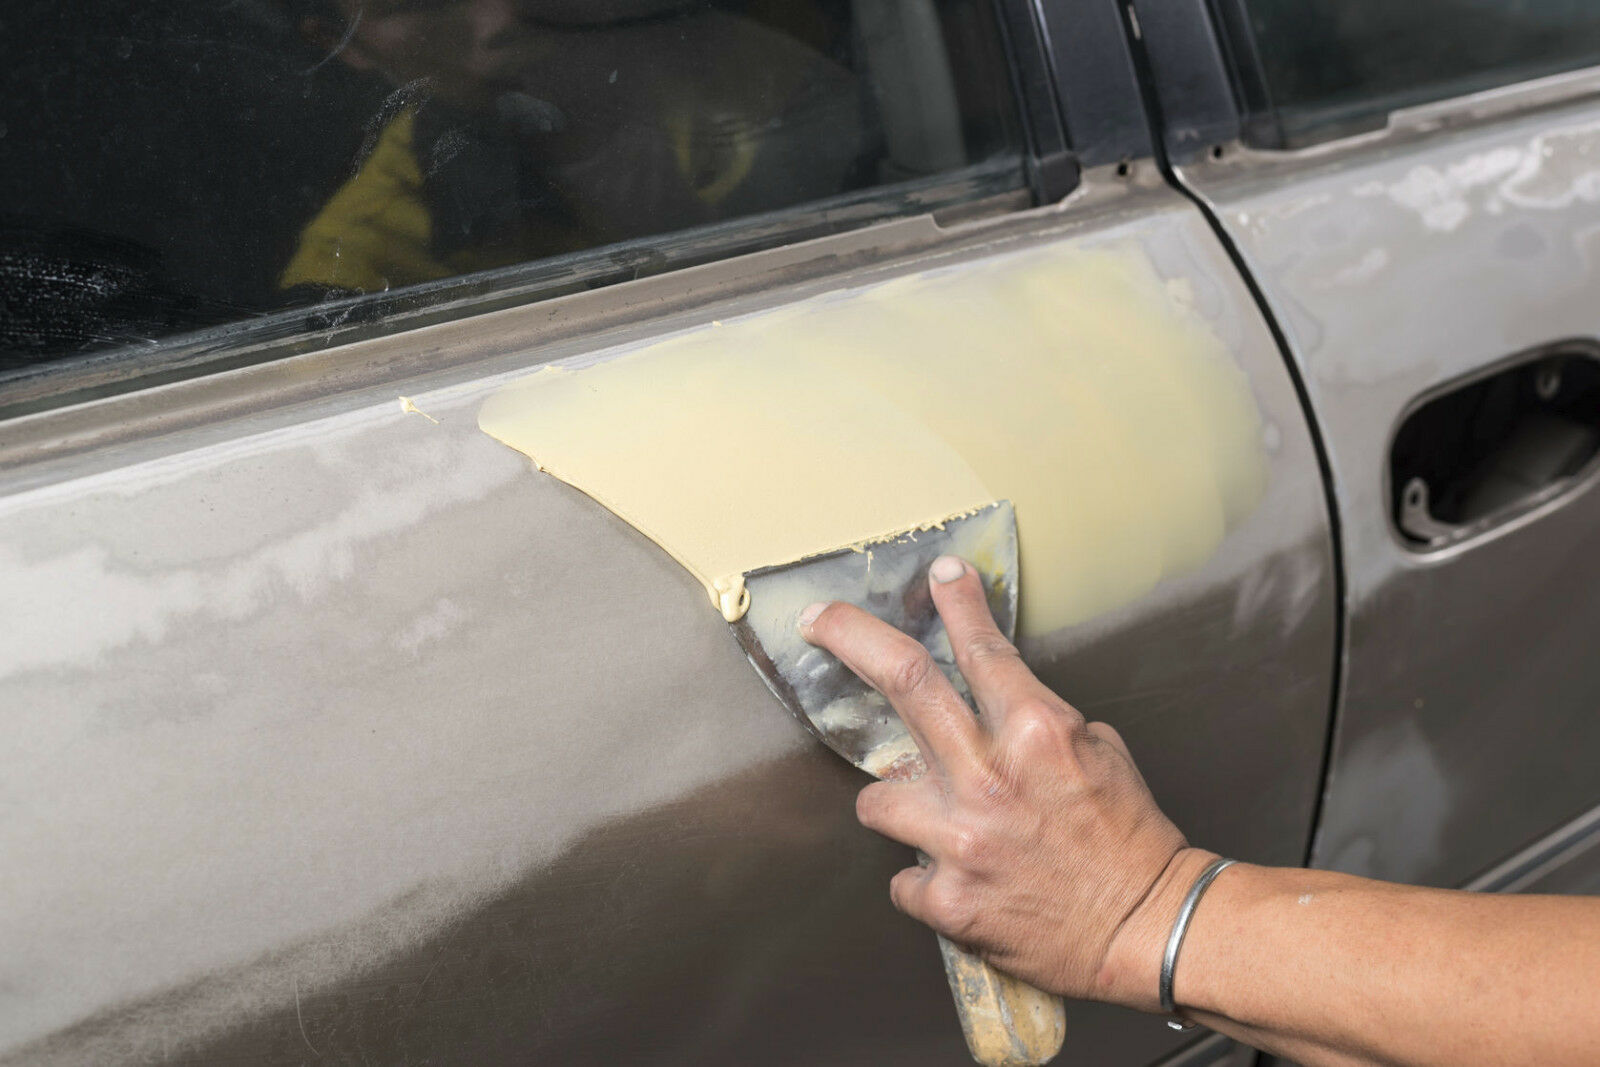
Applying a filler to a car
When applying, adhere to the following rules:
- apply the mixture in a thin even film;
- the number of layers for excellent preparation of the base is 2-3, between them leave for 20-40 minutes to dry;
- put one layer horizontally, the next - vertically: with cross movements you will get a flat and smooth surface;
- after applying the last layer of filler, wait 20-40 minutes, then raise the temperature in the garage: the primer will dry and harden faster;
- streaks and small irregularities are leveled by grinding.
Work with a pneumatic spray gun, grind parts with a power tool, or work by hand with dry or wet methods.
How to apply primer
The task of primers is to increase the adhesion between the base and the paintwork.
When working with primary compositions, consider the nuances:
- shake the jar with the substance well;
- make the first layer as thin as possible (use a brush or swab);
- wait 5-10 minutes for the soil to dry;
- make sure that the dried film is free of dirt, lint.
To remove roughness and pores, apply a second coat of primer.
How to deal with new parts
New original parts are degreased at the factory, then they are phosphated and covered with a cataphoretic primer by electroplating: the surface receives a matte finish with a low gloss. Cheap spare parts are treated with transport bright glossy or matte primer.
Remove the coating of dubious quality by grinding to bare metal, prime with primary and secondary compositions. With these measures, you will increase the bonding properties of the intermediate layer and increase the resistance to chipping.
Automotive primer: how to properly prime a car
It is not difficult to make an intermediate link between the body and the paint with your own hands. But the result does not tolerate negligence, so you need to properly prime the car before painting, armed with theoretical knowledge.
Plastic soil
The share of durable, lightweight, corrosion-resistant plastic parts in modern vehicles is constantly increasing. However, car enamel on bumpers, moldings, trim pillars and wheel arches does not hold well: smooth surfaces have low surface tension. To solve the problem, special soils are used.
The materials have high adhesive properties and elasticity, sufficient to withstand the twisting and bending of body elements when the car is moving.
According to the chemical composition, plastic soils are divided into two main groups:
- Acrylic - non-toxic, odorless compounds that easily fit on repaired surfaces.
- Alkyd - universal, made on the basis of alkyd resins, substances are considered professional products.
Both types of materials are made in the form of aerosols or packaged in cylinders for spray guns.
Acrylic one-component
The designation on the container is 1K. The group includes the so-called wet soils. One-component formulations are applied as a thin film for adhesion of the base to the paint and as a corrosion protection. The product dries for 12 hours at a temperature of +20 °C. The universal mixture is combined with all types of car enamel.
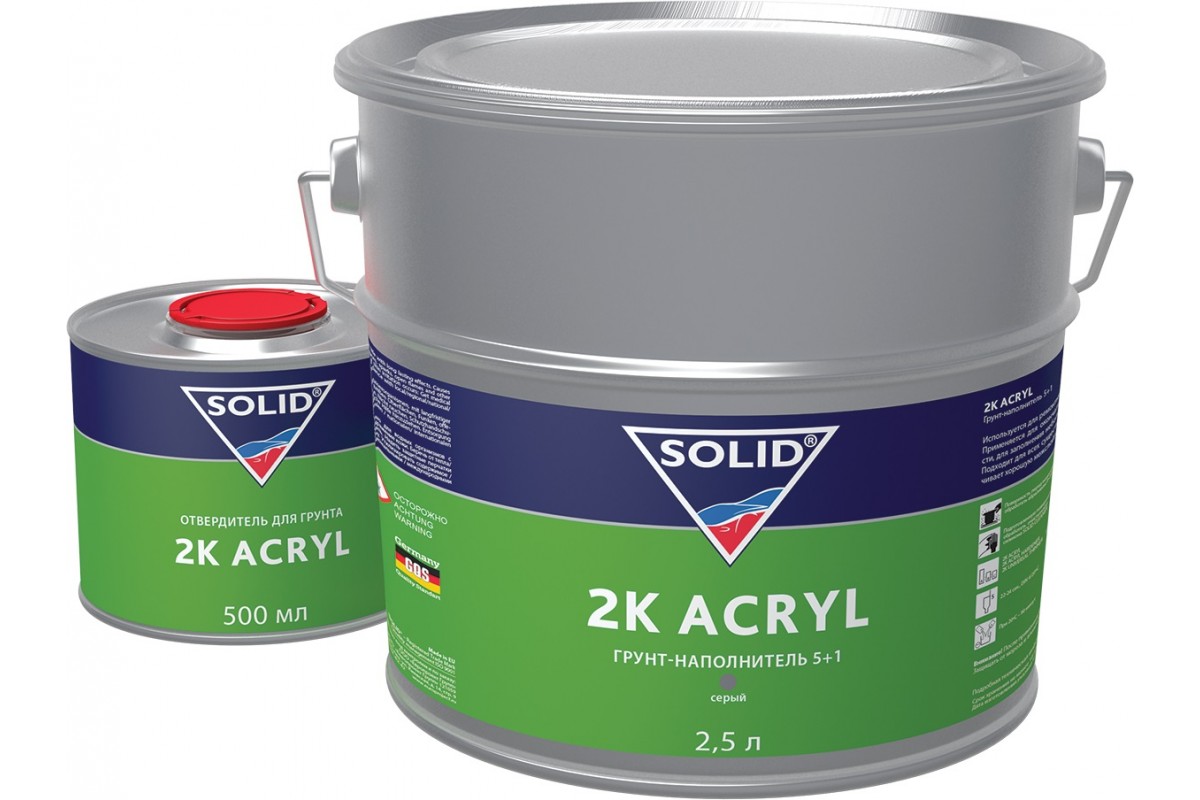
Acrylic two-component
Designation on the label - 2K. A filling primer for metal for painting a car often comes at the finishing stage. The mixture with the hardener is applied in a thick layer, leveling the grinding marks and other minor defects.
Anti-corrosion primer
This is an "acidic" product that is placed on bare metal as a primary layer. The task of a specialized composition is to protect body elements from rust.
Anti-corrosion primer must be covered with a secondary layer. Factory cataphoretic primer on new original parts is not treated with "acid".
How to properly prime a car before painting
You need to be well prepared for the procedure. First, provide a clean, well-ventilated and well-lit area. Next, prepare high-quality consumables from well-known manufacturers, equipment (grinder, air compressor, spray gun). Do not skip technological operations, carefully follow each step: the slightest negligence will affect the final result. Do not neglect the initial dry developing coating, which will expose every risk, chip, hall.
Step-by-step instructions on how to properly prime a car
Preparatory work takes up to 80% of the time allotted for the restoration of paintwork.
Begin priming:
- after washing the car;
- drying with an industrial hair dryer;
- dismantling of attachments, fittings, locks;
- masking seals, other elements that cannot be painted;
- manual or machine grinding;
- putties with liquid, soft or fiberglass compounds.
Carry out all the procedures, leave the car for a day.
Soil application methods
The primer is applied in different ways, depending on the composition of the material, the form of packaging, the purpose of using the mixture.
Car priming
If we discard the serial factory method of dipping the body and its parts in special baths, then locksmiths and motorists have access to:
- brushes, rollers - for small areas;
- tampons - for spot work;
- aerosol cans - for local repairs;
- pneumatic pistols - for the complete restoration of the paintwork.
Keep the nozzles of pistols and aerosols at a distance of 20-30 cm from the surface, start moving first horizontally, then vertically from the edge of the repaired area to the center.
Application of the first layer of soil
The first (dusting) layer is applied only once on a degreased and dust-free surface.
Rules:
- Movement - smooth, longitudinal.
- The film is thin and uniform.
- Compressor pressure - 2-4 atm.
- The return point of the nozzle is outside the boundary of the workpiece.
A barely noticeable dusty layer dries for 15-20 minutes until it becomes matte.
Grinding the initial layer
After the drying period of the primary layer has expired (check the instructions), take waterproof P320-P400 sandpaper and, constantly pouring water on the part, sand the treated panel. The process is called washing.
Applying the final coat of primer
After the part has dried, apply successively the second (semi-dry), third (semi-wet) and finally the fourth (wet) coats of primer. The application technique does not change, but you need to work more intensively. Intermediate drying time - 5-10 minutes.

Car priming
On the finish layer, as an indicator, apply a “developing” primer of a different color, which will clearly show the remaining roughness, risks, depressions.
Defects can be removed in two ways:
- “Wet” - wash, while the number of the last sandpaper should be P600-P800.
- "Dry" - an eccentric sander with a soft wheel.
It is impossible to overwrite the primer for a car for painting until putty or bare metal.
Drying
The primer with hardener dries in 15-20 minutes. However, experienced painters insist on 1 hour of drying. If the primer mixture was used without additives, then the time for complete drying of the body is extended for a day.
Keep the room clean: any lint and dust will spoil the work.
Do I need to apply a primer to old car paint?
If the factory enamel is firmly held, then it can be primed. However, from a glossy and not degreased surface, the product will run off. Therefore, a prerequisite for priming on the old coating is the treatment of the latter with abrasive materials.
Paint choice
There are several ways to select autoenamel. Ready-made car paint in 2-3 liter cans is easy to buy in a store. If the entire body is repainted, there are no problems with the shade, moreover, you can take the opportunity and radically change the exterior of the car.
Another thing is when the repair of the paintwork is local: in order not to make a mistake with the color, remove the cap from the gas tank and select the appropriate color scheme from it in the car shop. When applying enamel, do not make clear boundaries between the old and new coating. There is little chance of a 100% color match, so contact a specialized center where employees, mixing colors, will select the ideal option using a computer method.
Advantages and disadvantages of car priming
Auto primer is a multifunctional substance that forms a substrate for painting a car.
Priming materials have the following positive aspects:
- do not let moisture through, protecting body parts (especially important - the bottom) from corrosion;
- not afraid of temperature changes;
- elastic and therefore resistant to mechanical damage;
- durable;
- environmentally friendly: despite the rich chemical composition, they do not harm the health of users and the environment;
- provide coupling of the base with the paintwork;
- form a perfectly smooth surface for painting;
- easy to apply;
- dry quickly.
The disadvantages include the high cost. But the long service life justifies the cost of the product.
Features of the primer at home
The priming technology is the same, whether it is carried out in your own garage or a car service. Violation of the order of actions turns into a waste of time and money.
Good results come with practice. If you have the basic skills of a car mechanic, then priming a car before painting at home is real:
Evaluate how well the room is equipped.
- Is there a supply and exhaust ventilation system in the garage?
- Can you maintain the optimal temperature for drying mixtures.
- Calculate the cost of a protective suit with a respirator.
- Determine the cost of painting equipment.
Part of the products (hardeners, solvents, developing primers) will remain unused.
It is a mistake to think that working in a garage is easier and cheaper. After weighing all the risks, you may come to the idea of entrusting the restoration of the paintwork to professionals.
Related Videos: