Cable connection
Content
You need to be 100% sure of your motorcycle's cable fittings, whether they are connectors or solders.
You want to install a tall handlebar or extra lights on your motorcycle, or even repair the wiring harness of your classic motorcycle ... There is no shortage of work on two-wheelers, and whatever the job, you can't get away from it. this: you will need to plug in the (new) cables. Tying the wires together by simply holding them together with the tape may work for a while, but in the long run this D system will not hold up. If you have already experienced the “winning combination”: short circuit on a country road, at night and in rainy weather ... Now you will appreciate reliable cable connections.
Stripping cable insulation
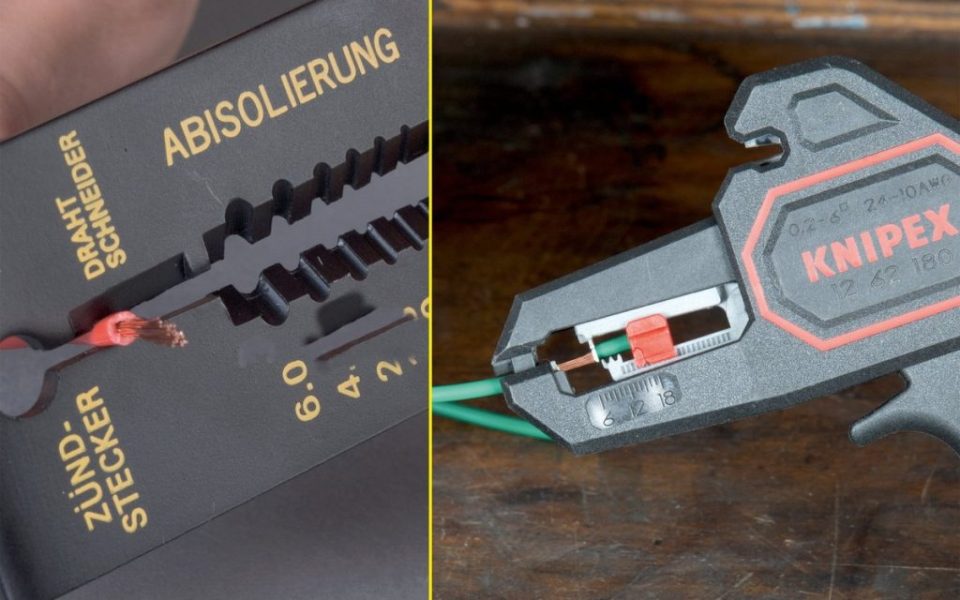
Before proceeding with the connection, you need to properly prepare the cables. To do this, it is necessary to clean the core (wire harness in the cable). You can of course try experimenting with a penknife, but then you risk damaging the strand.
For a safer, faster and more professional result, use a wire stripper. A cleaner result will make it easier for you to connect, no matter which method you choose next.
Japanese round pods
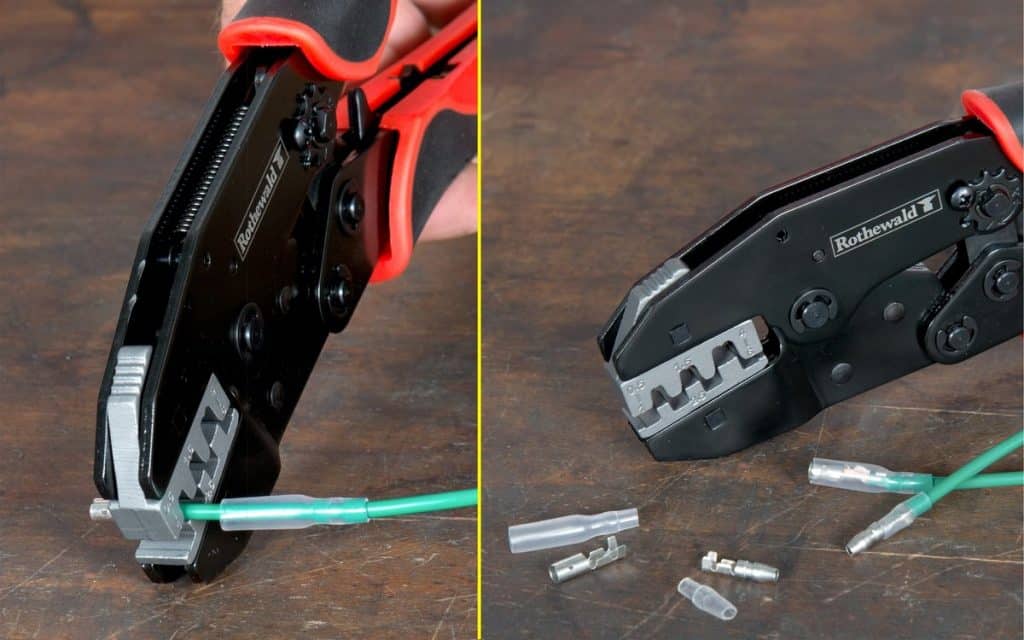
They make motorcycle wire harnesses look more professional than colored ferrules sold as car accessories. In addition, their plastic casings provide good moisture protection. If you need to mount a component to your motorcycle with multiple connecting cables, use the Japanese round eyelets for a consistently flawless result. It is important to securely crimp the Japanese round terminal. To do this, it is advisable to use a patented crimping pliers with suitable jaws, which include the connector tip and allow you to firmly and cleanly crimp the cable in one go.
Multiple connectors
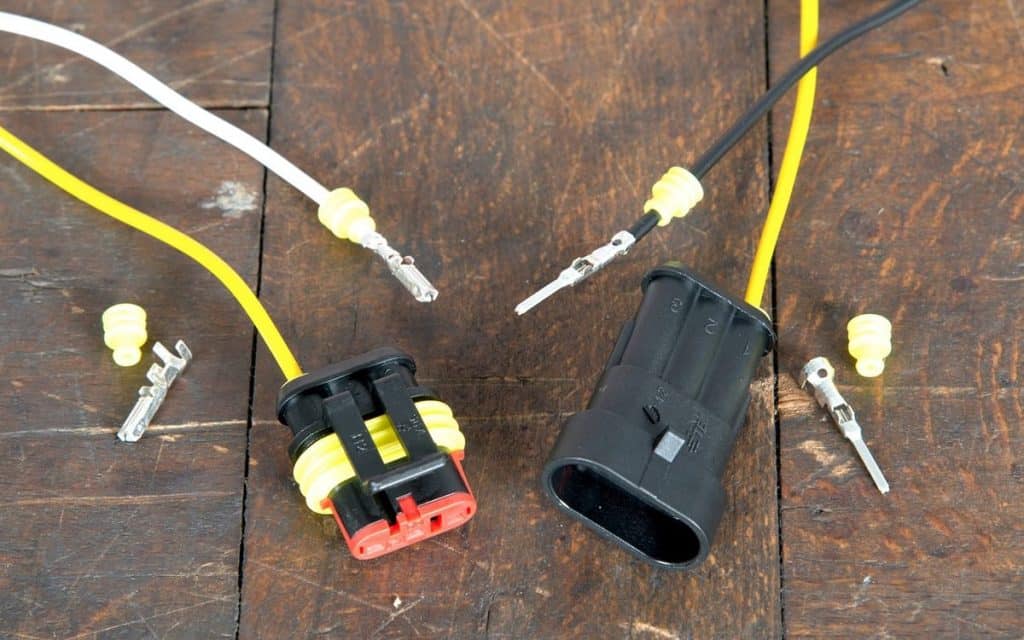
If you need to install a component with a lot of cable leads, or remove damaged or corroded connectors from an old wire harness, we recommend using multiple connectors. To remove the metal tabs from the plastic housing of the old connector, you must press down on the small tab from the bottom using a very thin screwdriver while pulling on the connector. To crimp the terminals, use the patented crimping pliers with matching jaws as for Japanese round terminals.
If you want to protect the connector from moisture, all you need to do is apply a flowable sealant to the cable gland after assembly is complete. Alternatively, you can also use the Seal waterproof connector directly, for example. Baath.
Thin cable tip

In most cases, it is difficult to connect very thin jumper cables securely enough as they easily detach from the connector. In this case, thread the stripped core over the insulated cable to increase its cross-section. This allows the connector to be securely attached to the cable.
Self-welded connectors
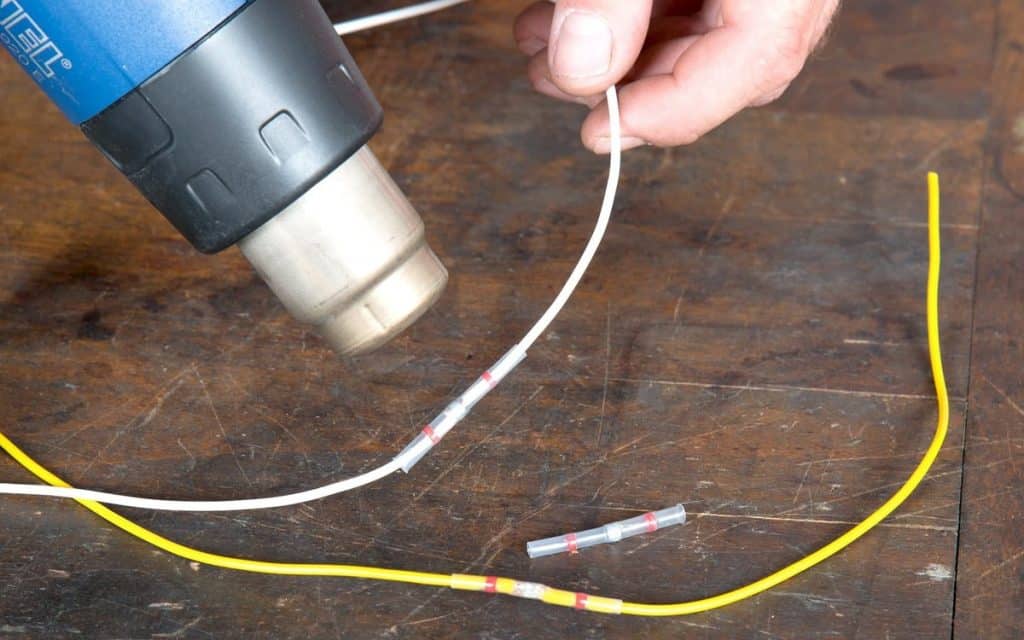
Transparent cable connectors with a metal solder in the middle are ideal for permanently connecting two cables. Indeed, these systems are waterproof, thinner, and more elegant than the colored crimp terminals marketed as car accessories.
In addition, their assembly is simple: the ends of the cables, stripped by a few millimeters, are inserted one opposite the other in the middle of the connector of the corresponding cross-section. Then it is enough to gently heat the brazing metal located in the middle with a heat gun or lighter until the cables are well welded.
You can also use them on the side of the road if needed, without electric shock, pliers or a soldering iron. This is why you should always have a few self-sealing connectors, a lighter, and a piece of spare cable in your in-flight excursion gear.
Welding and insulation
If you need to lengthen or shorten the cables where the cable connectors can spoil the overall appearance, we recommend that you solder the cable portions with a soldering iron. You can then insulate the weld with heat shrink tubing. The welded cable can then be enclosed in a sheath.
To make a weld, the contact points must always be clean and free of grease. For welding, always use cables that are free of corrosion in the core. Verdigris prevents old cables from being soldered, which in any case need to be replaced as they have too high resistance.
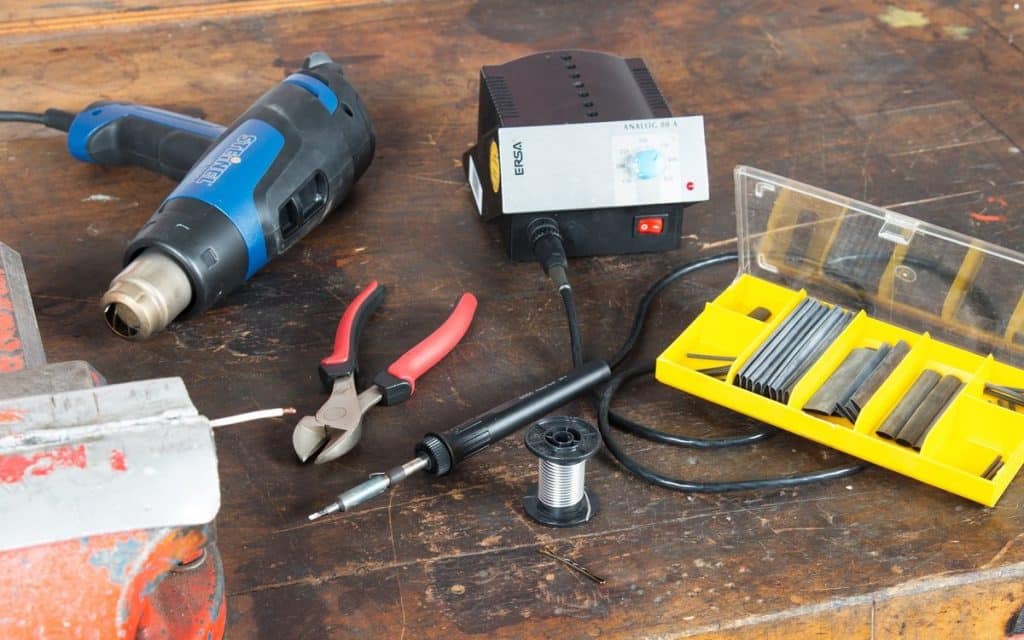
Connecting cables - let's go
01 – Soldering iron
- While the soldering iron is heating, you must prepare the cables before soldering them: to do this, you must shorten them, carefully strip them a few millimeters with a wire stripper, and slide them over one piece of the heat-shrinkable sleeve. cables.
- When the soldering iron is hot enough, tin the bare conductors at one end of each of the two cables. To do this, hold a soldering iron under it, and melt a little tin on top.
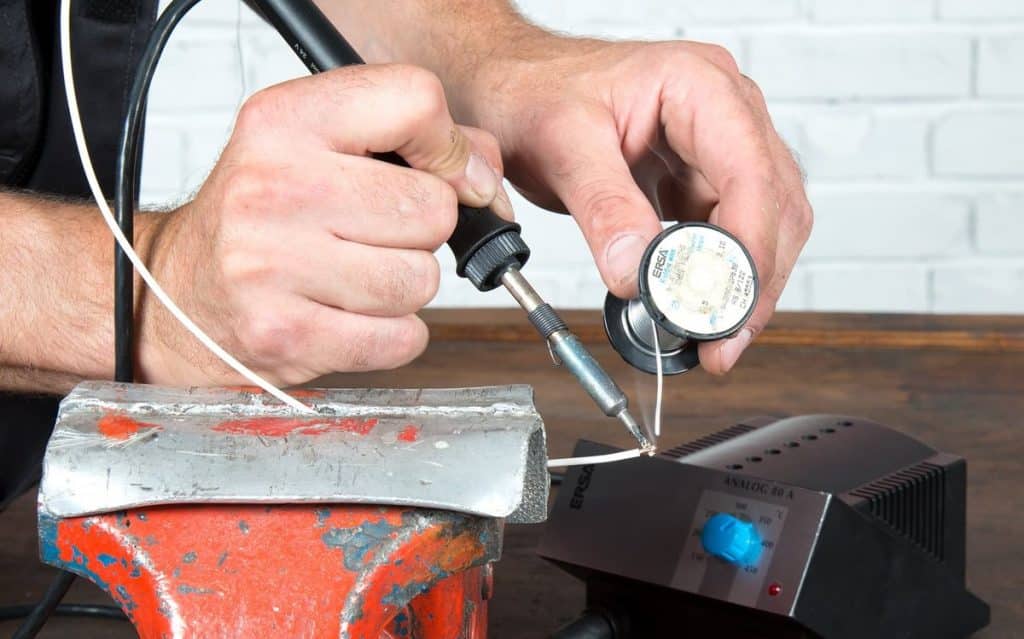
If the cable core is clean, the tin is cleanly "sucked" into the voids. If the beads are pewter, it means that the brazed metal wire is not clean enough. Ideally, the tinned cable should be clamped in a vise. If this is not possible, a third party can help you.
If possible, keep one end of the cable clamped in a vise, and then press the end of the second cable against it. Place the tip of the soldering iron under it until the metal to be soldered melts and the cables are connected.
02 – Quarrel
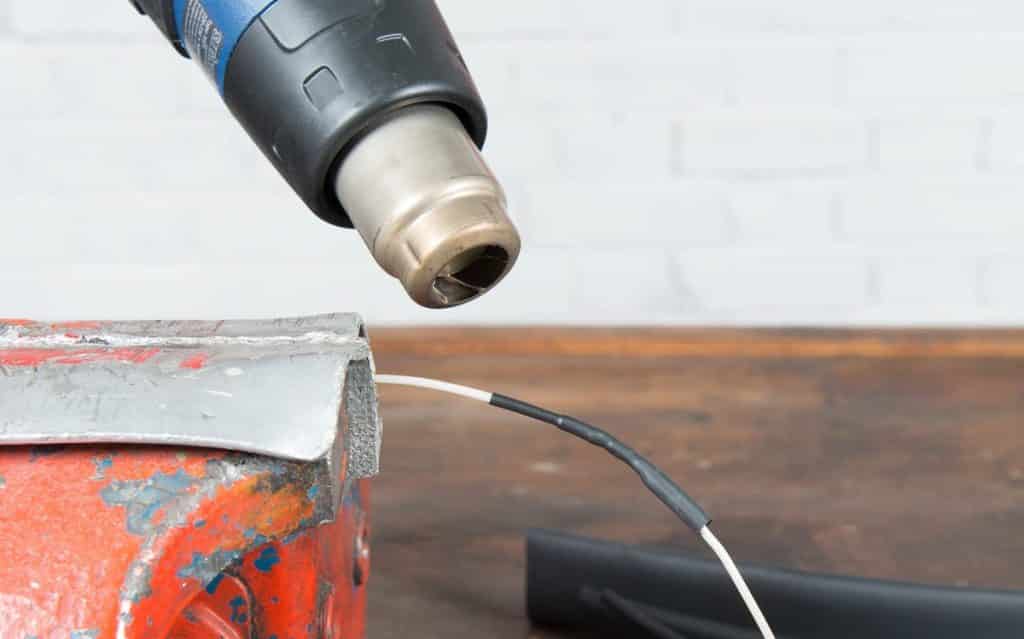
Let the stain cool slightly, then pass the heat shrink tubing over it. Heat it up with a lighter, keeping it at a short distance. The shell is removed. You can also use a hairdryer instead of a lighter, if you have one.