How to use a digger to dig a post hole?
Content
- Wonka's detailed guide: how to dig a post hole
- Step 1 - Check the security of the area
- Step 2 - Choose a place to dig
- Step 3 - Mark the dig site
- Step 4 - Hole Outline
- Step 5 - Digging to the right depth
- Step 6 - Remove trash
- Step 7 - Pack the Base of the Hole
- Step 8 - Fill the Base of the Hole
- Step 9 - Insert a message
- Step 10 - Post Security Options
- a - cover the base with dirt
- or, b - Fix the base with cement
- Step 11 - Fill the Hole
- Step 12 – Tamp the cement
- Step 13 - Wet Cement
- Step 14 - Secure the Pole with a Rail
- Step 15 - Complete the installation
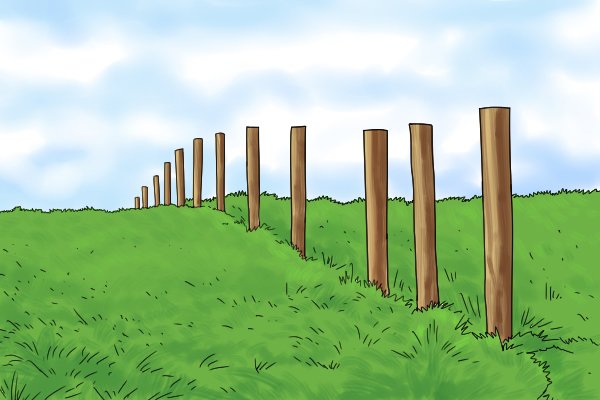
Wonka's detailed guide: how to dig a post hole
As with any other digging task, Wonkee Donkee first recommends:Step 1 - Check the security of the area
Check the location of any electrical wires and sewer or water pipes.

Step 2 - Choose a place to dig
Record their location and choose a safe and suitable place to dig.

Step 3 - Mark the dig site
Mark the spot on the ground where you want to dig - in this case your digging area will probably be too small for the outline of the rope to fit, but DONKEE recommends that you at least mark the spot where you want to start digging.
Now you can start digging!

Step 4 - Hole Outline
Use the edge of the chisel of the post hole chisel to mark a hole of the appropriate width for your post. As a guideline, most of the post holes are approximately 300mm in diameter.

Step 5 - Digging to the right depth
The depth of your hole depends on the height of your post - as a general rule, a quarter of the height of your post should be buried and the remaining three-quarters above ground.

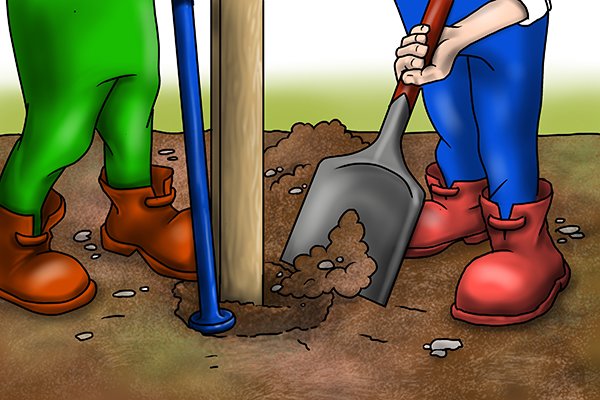
Step 6 - Remove trash
While digging, you can remove loose dirt from the hole by grabbing it with the jaws of the post excavator and lifting it up. Keep the moved soil near the hole as you will need it later.

Step 7 - Pack the Base of the Hole
When you have dug the hole to the required depth, tamp the base with a rammer head.

Step 8 - Fill the Base of the Hole
Fill the bottom of your hole with about an inch thick hard core or gravel (doesn't matter). This will help drain the soil and reduce the risk of dry rot at the foot of the post.

Step 9 - Insert a message
Install the post in the hole.

Step 10 - Post Security Options
By using a spirit level to keep the post level, you can now:
a - cover the base with dirt
Pack the dirt you removed earlier around the base of the post, using your rod's rammer head to tamp it down tightly. – This is faster but can lead to dry rot later as the wood can be weakened by the soil.

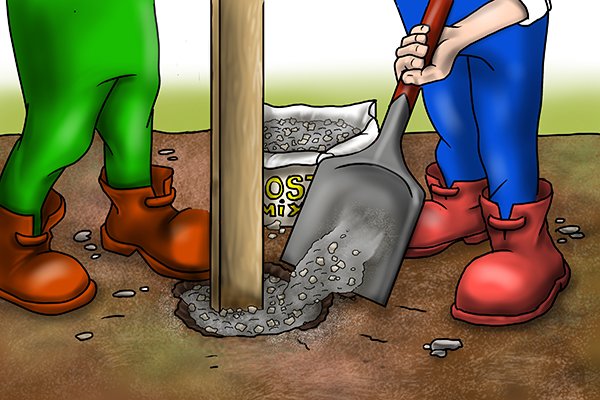
or, b - Fix the base with cement
Gradually fill the hole around the base of the post with dry post-fix cement. - This will protect your post from dry rot, but it's more expensive and takes more time.
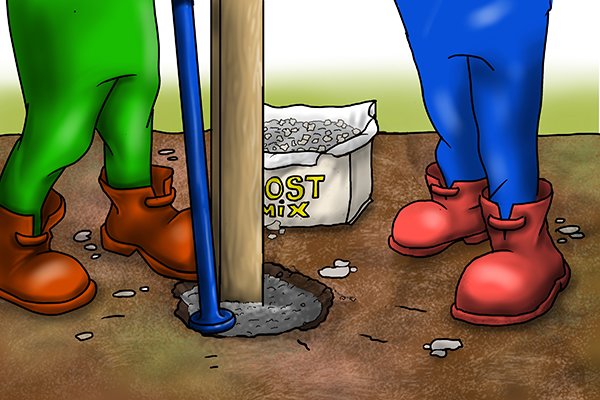
Step 11 - Fill the Hole
If you followed step "b", fill the hole about an inch from the top with cement.
Step 12 – Tamp the cement
Using your rod's rammer head, tamp down the cement, using a spirit level regularly to make sure your post is level.

Step 13 - Wet Cement
Pour water over the cement around the base of the post.

Step 14 - Secure the Pole with a Rail
Screw the two support rails to the base of the post, continuing to check regularly with a spirit level for evenness of the post - they will hold the post upright until the cement hardens.

Step 15 - Complete the installation
Once the cement base has hardened, you can remove the support rails and cover the unfilled inch at the top of the cement with earth or turf, enhancing the look of your post.
Congratulations! Your installation is complete.

