
How to set up an amplifier with a multimeter
Whether it's an early morning drive or a late night cruise, playing music from your car stereo is one of the better feelings. What makes it even better is a good sound system that gives you everything sound has to offer.
Proper gain setting on your amplifier will help you achieve superior sound quality. However, many people don't know what an amplifier is and don't know the correct steps to fine-tune a gain control.
This article introduces you All you need to know, including step-by-step amp tuning with just a DMM. Let's get started.
Why is a multimeter the right tool?
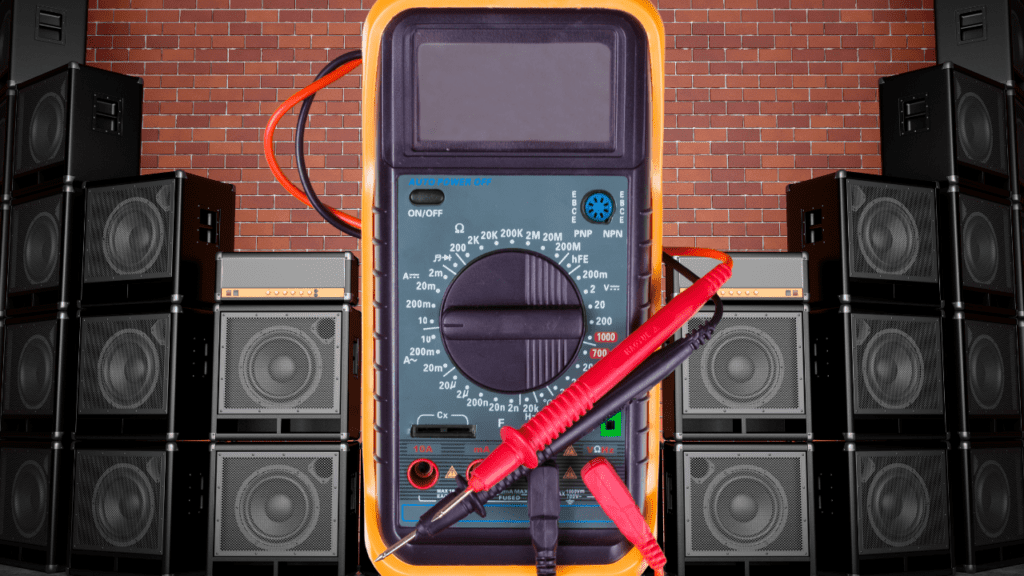
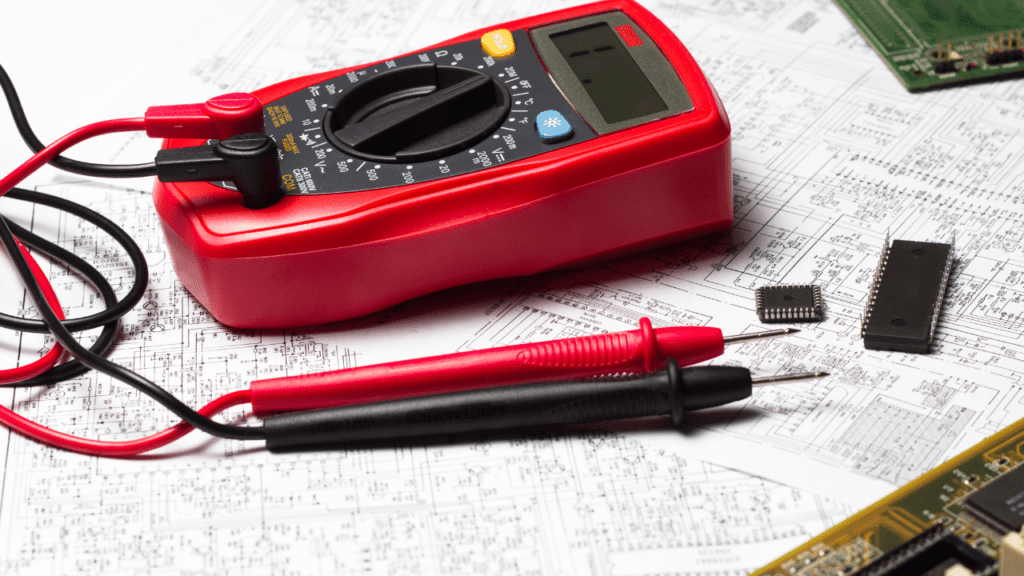
Also called a multitester or volt-ohmmeter (VOM), a multimeter is a device used to measure the amount of voltage, current, and resistance present in an electronic component. The multimeter is easy to use.
An amplifier, on the other hand, is an electronic device used to amplify or increase the voltage, current, or power (amplitude) of a signal to a certain gain.
What is Amplifier Gain? It's just a measure of the amplitude from the amplifier.
This is how a multimeter and an amplifier come together. Amplifier tuning simply means changing the amplitude level of your car's speakers. This affects the quality of the sound coming out of the speaker and, in turn, the overall listening experience.
You can only use your ears to determine how well these audio signals are coming out. However, this is not the best way to get the best sound, as the smallest distortion is likely to be missed.
This is where a multimeter comes in handy.
The digital multimeter shows you the exact amplification level of your audio signals.
Where you have specific values that you are aiming for with signal amplitude, a multimeter allows you to get them with relative ease.
Despite all this, it is not as easy as it seems. When setting up the amplifier, the voltage at the input of the head unit must be the same as at its output. This ensures that audio clippings are avoided.
Now that the basics are covered, let's get down to business.
Setting up the amplifier with a multimeter
In addition to a multimeter, you will need certain tools. These include
- Amplifier test speaker
- Amplifier manual to learn more about it
- Calculator to accurately measure the sum of stresses, and
- CD or other source that plays sound at 60 Hz.
All of them have their use when tuning an amplifier. However, you will also use a formula. That is;
E = √PRwhere E is the AC voltage, P is the power (W) and R is the resistance (Ohm). Follow these steps carefully.
- Check the manual for recommended output power
Refer to your amplifier's owner's manual for information about its output power. It won't change and you want to write it down before continuing.
- Check speaker impedance
Resistance is measured in ohms (ohms) and you want to record the ohms reading from the speaker. This procedure is simple.
All you have to do is plug the connectors into their respective sockets; the read output connector connects to the VΩMa connector, and the black connector connects to the COM connector.
Once this is done, you move the multimeter selector to the "Ohm" logo (usually represented by "Ω") and make sure it reads 0 before taking any other steps. This indicates that the lead connectors are not touching.
You are now touching the exposed circuitry components on the speaker with these pins. This is when you pay attention to the ohm readings on the multimeter.
Resistance values in ohms fluctuate around 2 ohms, 4 ohms, 8 ohms and 16 ohms. Here is a guide to measuring speaker impedance.
- Calculate Target AC Voltage
This is where the formula mentioned above comes in. You want to determine the target voltage using the recommended amplifier power and speaker impedance values that you have noted down.
This is where you insert values into a formula.
For example, if your amplifier output is 300 watts and the impedance is 12, your target AC voltage (E) will be 60 (square root of (300(P) × 12(R); 3600).
You will notice from this that when you tune your amplifier, you want to make sure the multimeter reads 60.
If you have amplifiers with multiple gain controls, the readings for them must be inserted into the formula independently.
Now for the next steps.
- Disconnect auxiliary wires
Having determined the target voltage, you move on to disconnecting all accessories from the amplifier. These include speakers and subwoofers.
One tip is to disconnect only the positive terminals. This will allow you to know where to connect them again after completing all the procedures.
Before proceeding, make sure the speakers are completely disconnected from the amplifier.
- Turn the equalizers to zero
Now you set all equalizer values to zero. By turning the gain knobs on them down (usually counter-clockwise), you get the maximum bandwidth range.
Equalizers include Bass, Bass Boost Treble, and Loudness, among others.
- Set the head unit volume
To keep stereo outputs clean, you set your head unit to 75% of maximum volume.
- Play tone
This is the audio output from a CD or other input source that you use to test and fine-tune your amplifier.
Whatever input source you use, you must ensure that your tone's sine wave is at 0dB. The tone should also be between 50Hz and 60Hz for a subwoofer and at 100Hz for a mid-range amplifier.
Keep the tone in the loop.
- Set up the amplifier
The multimeter is activated again. You connect the connectors to the amplifier's speaker ports; the positive pin is placed on the positive port and the negative pin is placed on the negative port.
Now you slowly turn the amplifier's gain control until you reach the target AC voltage recorded in step 3. Once this is achieved, your amplifier will be successfully and accurately tuned.
Of course, to make sure the sound from your sound system is as clean as possible, you repeat this for all your other amps.
- Reset head unit volume
Here you will turn the volume on the head unit down to zero. It also kills the stereo.
- Connect all accessories and enjoy music
All accessories disconnected in step 4 are then reconnected to their respective terminals. After making sure that all connectors are properly connected, you increase the volume of the head unit and turn on the music you want to listen to.
Results
You can see from the steps above that your amp setup seems a bit technical. However, having a multimeter handy will give you the most accurate readings that will give you the best sound.
Besides unreliably using your ears, other methods of getting rid of distortion include using oscilloscope.
If all these steps are a bit difficult to follow, this video can help you.
