How to clean an engine
Content
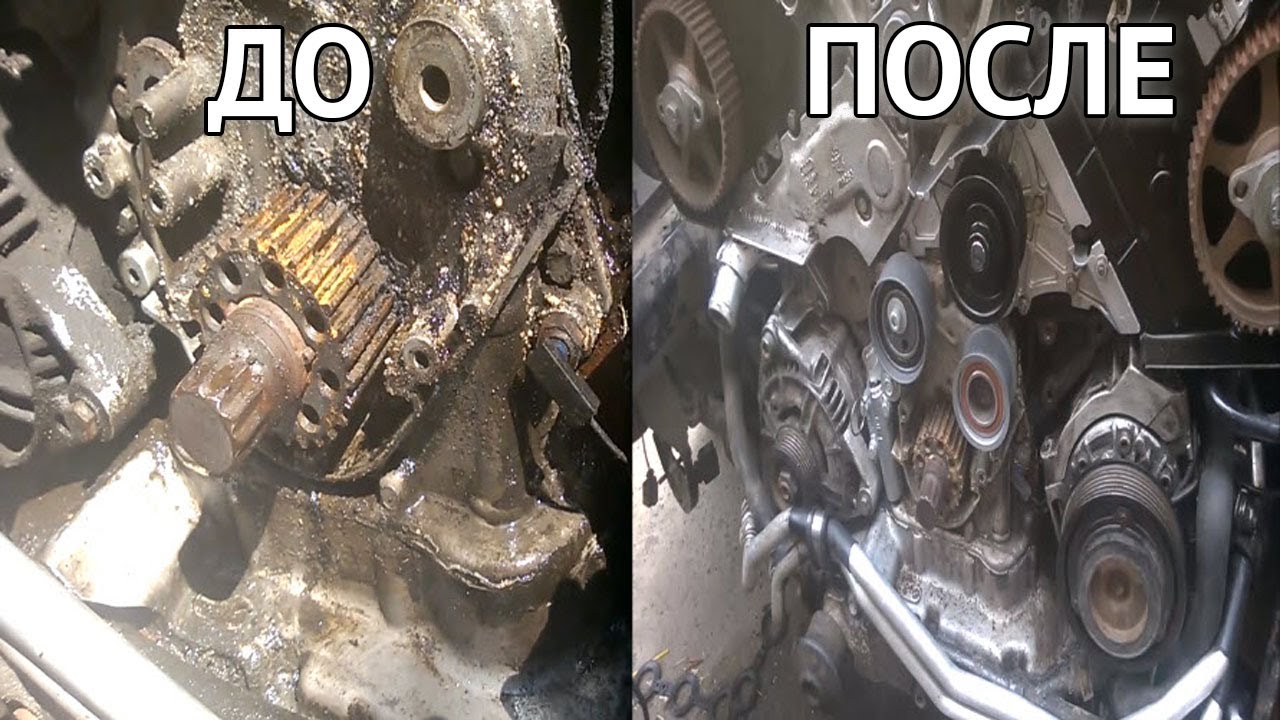
As cars age, they tend to accumulate quite a bit of grime and grime from the miles we've spent on roads and freeways. It doesn't help that the fluid residue that previously leaked from old repairs is still visible mess left behind. Engines can start looking dirty very quickly and proper cleaning will be required to clear the mess.
Whether you want to see a shiny engine bay, are about to sell your car, or need to clean your engine to help diagnose leaks, rest assured that cleaning your engine is something you can do yourself with a little patience and a little bit of advance. knowledge.
Part 1 of 3. Choose a location
Where you clean your engine is the first important step to consider in this process. Dumping contaminated water down the drain or onto city streets is illegal, so you need to find a safe place to collect engine water for proper disposal. Many self service car washes offer a place to clean the engine, just make sure they have the proper disposal facilities when you get there.
- Functions: Never wash a hot engine, as cold water on a hot engine may damage it. A hot engine can also cause the degreaser to dry on the engine, leaving spots. Let the engine cool down completely. Cleaning the engine compartment is best done in the morning after the car has been sitting overnight.
Part 2 of 3: Materials needed to clean the engine
- Bucket
- Bristle brush or dishcloth
- Gloves
- Engine degreaser
- Plastic bags
- Safety glasses
- Shop vacuum cleaner or air hose
- Water, preferably hot
Water hose with trigger nozzle to control water flow or spray gun
A warning: Never wash a hot engine, as cold water on a hot engine may damage it. A hot engine can also cause the degreaser to dry on the engine, leaving spots. Let the engine cool down completely. Cleaning the engine compartment is best done in the morning after the car has been sitting overnight.
Part 3 of 3: Car Engine Cleaning
Step 1: Cover the parts that shouldn't get wet. Locate and close the generator, air intake, distributor, coil pack, and any exposed filters.
Use a plastic bag to cover these parts. If these parts get wet, the car may not start until they are completely dry.
Cover any other parts that you may be concerned about getting wet.
Don't forget to remove the bags after cleaning.
Step 2: Prepare the degreaser solution. Mix the degreaser of your choice in a bucket of water to make a soapy mixture, or follow the directions on the bottle. This also applies to applying it to the engine - always be sure to follow all safety instructions listed on the product.
Step 3: Flush the engine bay and engine. Use a pressure washer or hose set to low or medium pressure.
Work from the back of the engine bay to the front, starting at the firewall and moving forward. Rinse the engine compartment thoroughly. Avoid direct spraying on electrical components.
- A warning: Setting the washer too high may damage engine components or allow water to enter electrical connections, causing problems.
Step 4: Degrease the perimeter of the engine compartment. Apply degreaser according to manufacturer's instructions. Do not apply degreaser to painted surfaces.
Rinse off the degreaser with a hose or pressure washer. Repeat this step if the degreaser does not remove all dirt from the first pass.
- A warning: Move quickly and do not let the degreaser dry on the engine or components as it may leave unsightly stains.
Step 5: Gently clean the engine. With a bucket of mixture, use a stiff bristled brush or other cleaning brush such as a dishcloth to gently clean the engine.
Step 6: Let the degreaser soak in. After that, do not rinse, but leave the engine degreaser for 15-30 minutes. This will give the engine degreaser time to break down the grease and debris that the scraper failed to remove.
Step 7: Rinse off the degreaser. After the degreaser has been standing for some time, you can begin to rinse off the degreaser using a hose or a spray bottle filled with water.
The ideal spray setting would be mist rather than full pressure. We want to gently remove engine degreaser and dirt, not force water or dirt where it shouldn't be.
Functions: For hard-to-reach areas, you can use a brake cleaner with a chute attachment to shake off dirt-dried areas that your hand can't reach.
Functions: Any plastic parts in the engine compartment, such as fuse box covers and engine covers, can be wiped down with a damp cloth and a plastic-safe cleaner in an aerosol can.
Step 8: Repeat the process on stubborn areas. After everything is washed away, you may notice some areas that have been overlooked or areas that may need extra attention. If you see this, feel free to repeat the above process as many times as needed.
Always take care to catch all dripping water and keep non-waterproof parts covered with plastic.
Step 9: Dry out the engine bay. Use clean towels or a blower if you have one. Use cans of compressed air to dry any areas that are difficult or impossible to reach with a towel.
Leaving the hood open can help the drying process on a hot, sunny day.
Step 10: Remove Bags from Engine Components. Wipe off any water that gets on them with a clean cloth.
Step 11: Detail the engine hoses and plastic parts.. If you want to give a shine to hoses and plastic parts in the engine bay, use a rubber or vinyl protector designed for use in the engine bay. They are available at any auto parts store.
Use a clean cloth to apply the protectant according to the manufacturer's instructions.
Be sure to remove plastic bags covering electrical components before finishing work and closing the hood.
Once you've made sure you've removed all the dirt and grease from the engine, you can be proud to have cleaned your car's engine yourself! Not only will this help the engine over time by making it easier to spot leaks and fluids, but it can definitely help if you're selling your car as it shows potential buyers how well you've taken care of your car.