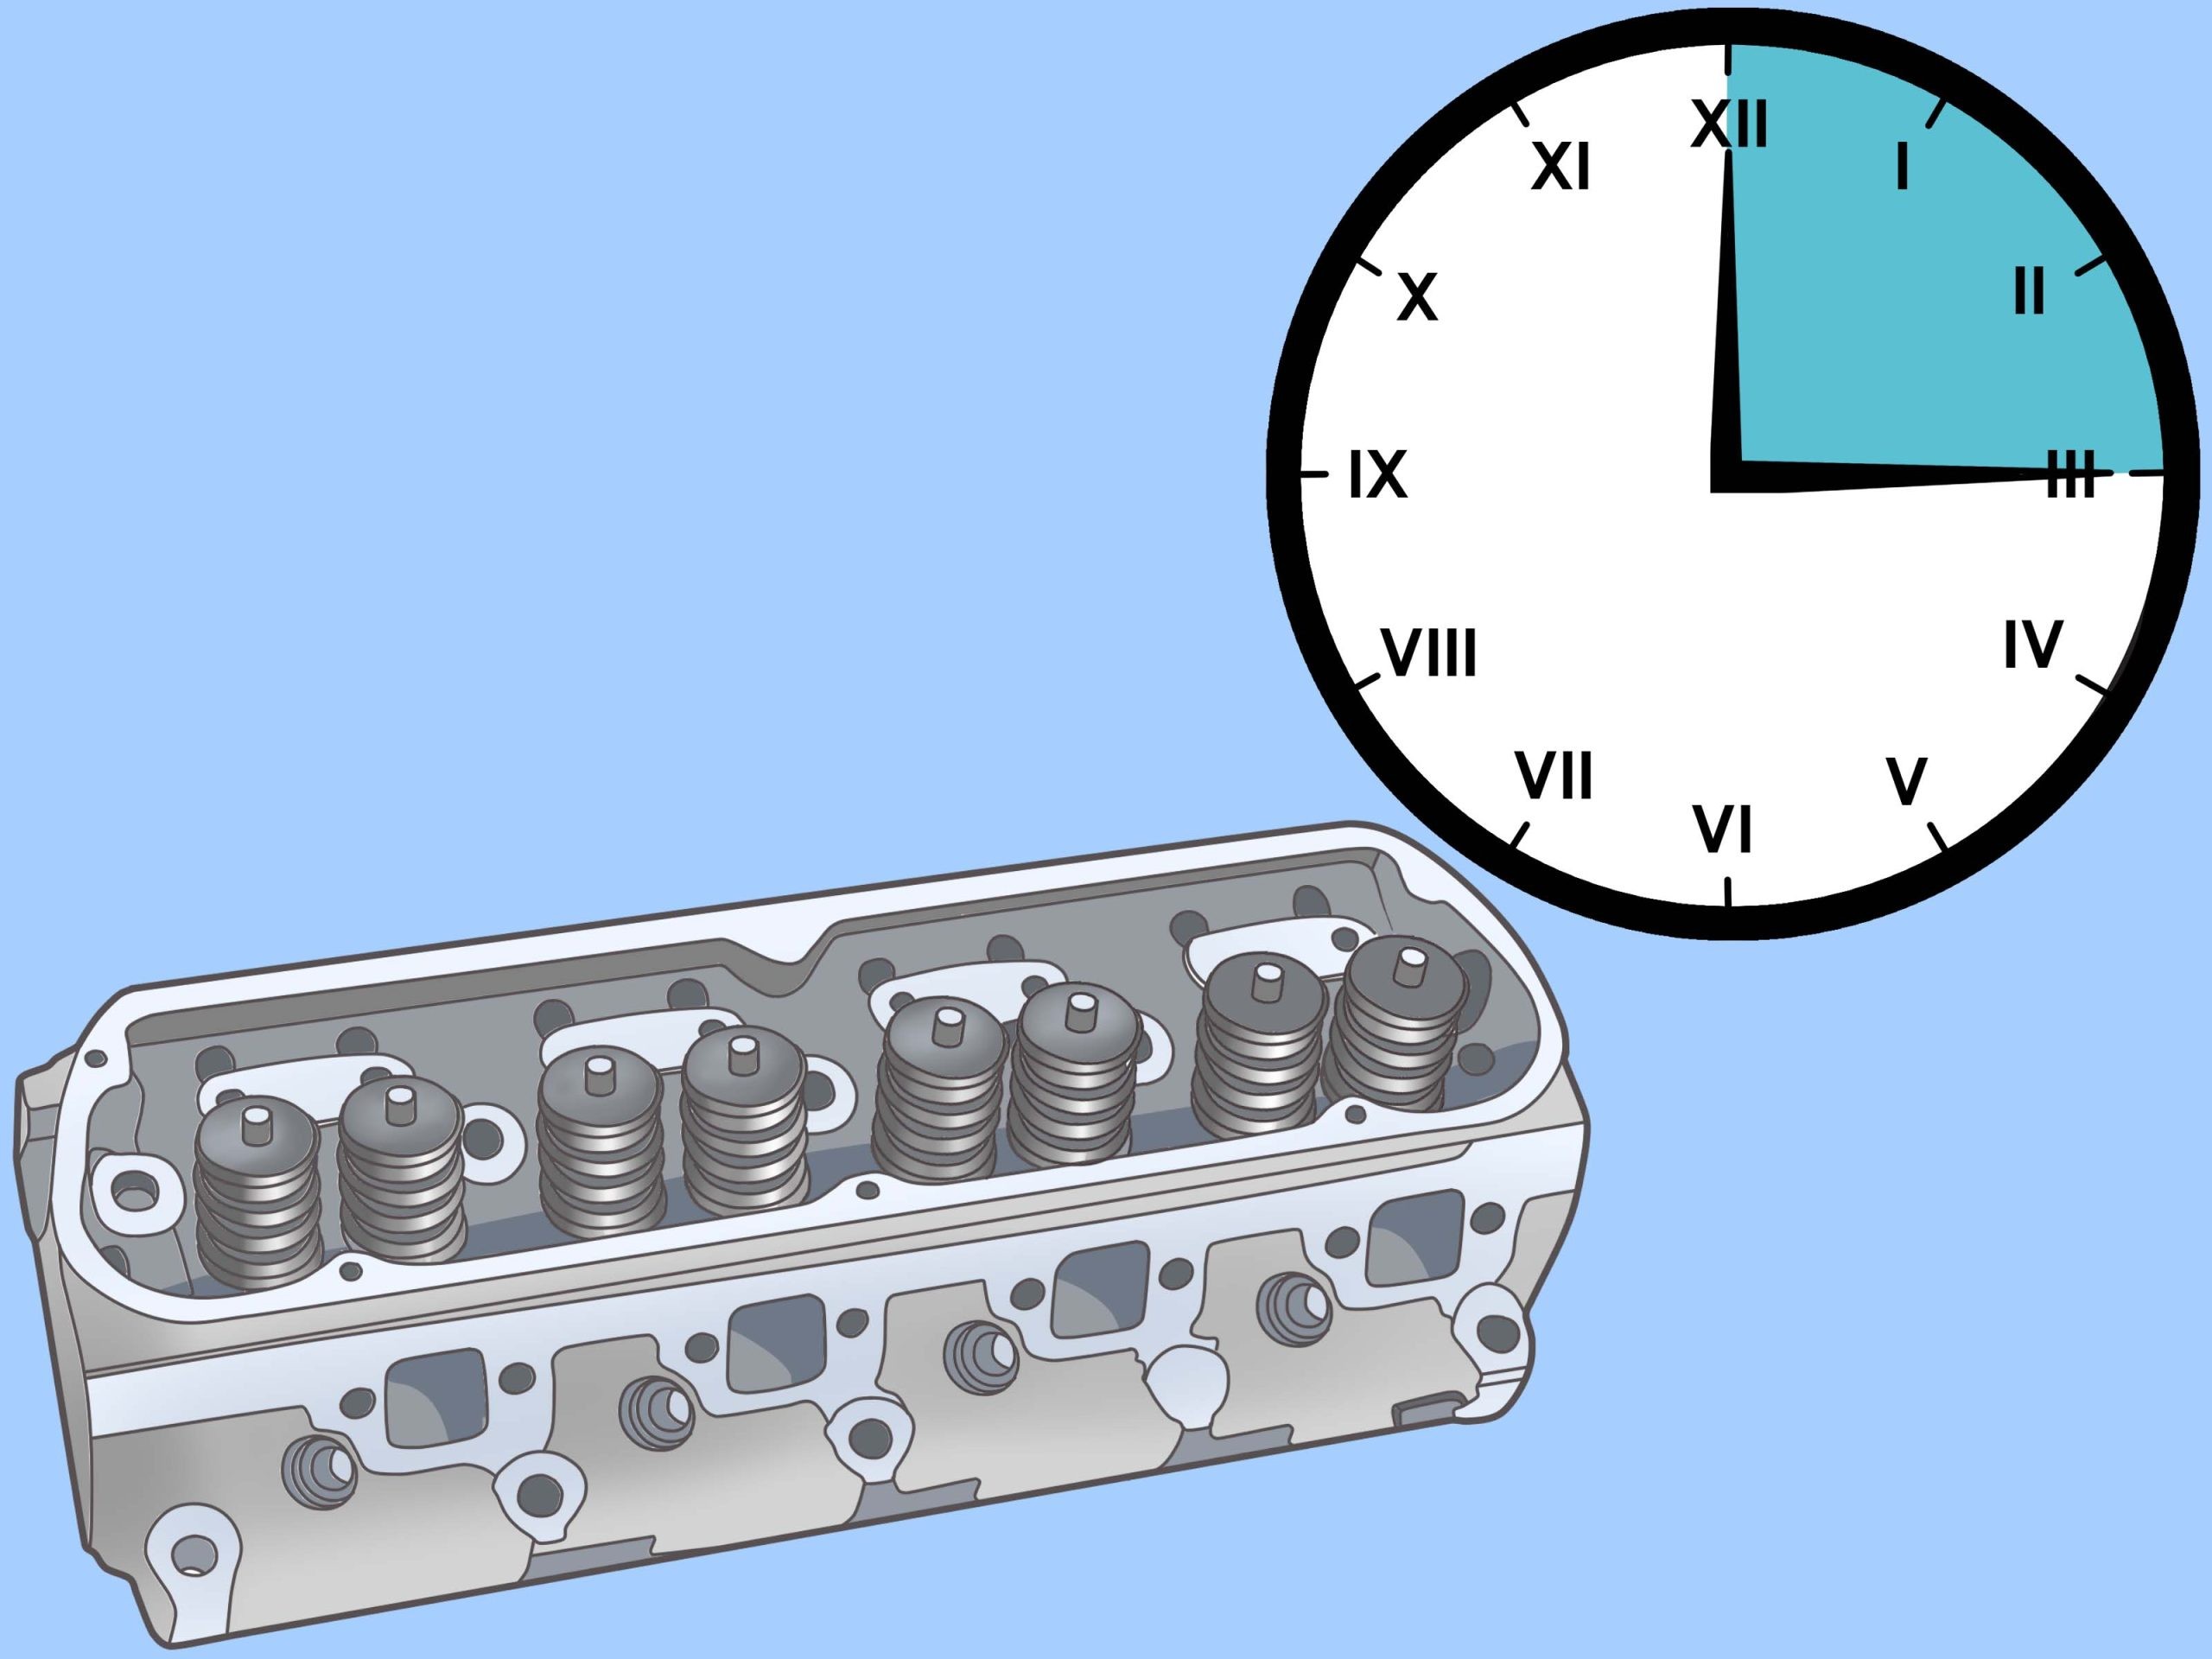
How to clean cylinder heads
The engine cylinder head has many channels for coolant and oil and can accumulate dirt over the life of the engine. After the cylinder head is removed from the car, it becomes easy to clean it from deposits of sludge and dirt.
The operation of the cylinder head is complex, and to learn more about its operation.
There are several ways to do this cleaning. This article will talk about the home cleaning process for cylinder heads that have already been removed from the car.
- Functions: If the engine is remanufactured and the engine undergoes mechanical work, clean the cylinder head in the machine shop with a sandblaster.
Part 1 of 1: Clean the cylinder head at home
Necessary materials
- Brake cleaner or parts cleaner
- Compressed air
- Chemical resistant gloves
- Eye protection
- Large tub or bucket
- Paper towels or shop rags
- Plastic scraper
Step 1: Preparing for cleaning. Cleaning cylinder heads can be a messy process and can be quite time consuming.
Wear gloves to protect your hands from chemicals used to clean cylinder heads. Place the cylinder head in a large tub or container so that it can be worked on.
Step 2: Remove the old cylinder head gasket material from the bottom of the head.. Most likely, part of the old cylinder head gasket will stick to the head and will need to be removed first. Using a plastic scraper, carefully remove the old cylinder head gasket material without scratching the surface of the cylinder head. This may take a few minutes, after which the surface will become smoother.
- A warning: Do not use a tool that may scratch the mating surface of the cylinder head. Since this is a machined surface, any scratches can lead to leaks and failure of the head gasket.
Step 3: Cleaning the cylinder head. A parts cleaner or brake cleaner is good for cleaning the cylinder head. With the cylinder head in the bath, start cleaning the head using a cloth dampened with cleaner to remove oil and dirt.
Clean the cylinder head as best as possible, including all channels and parts that can be easily reached by hand. You can exclude any hard to reach places with nooks and crannies.
Step 4: Soak the cylinder head. Soak the cylinder head in warm water to soften any remaining dirt and particles. This is done to clean the various channels and channels for oil and coolant that cannot be reached by hand. Warm water will help remove oil and dirt residue from the first cleaning cycle.
After that, remove the cylinder head from the bath and rinse it with clean water to remove any remaining dirt.
Step 5: Blow out the channels with compressed air.. Wipe the cylinder head with a dry towel or rag to remove excess water.
Blow out all channels with compressed air until no more water comes out. This is done in order to remove all water from the passages, which may otherwise take several days to dry completely.
Install the cylinder head in a safe location to dry out any remaining water before adding a new cylinder head gasket and completing the reassembly and installation process.
Proper cleaning of cylinder heads can take a lot of effort, but it is necessary to remove all the dirt and engine deposits that have accumulated over the years. This dirt can affect engine performance if not completely removed.
If you are not comfortable cleaning the cylinder head yourself, seek help from a certified mechanic.
