How to replace a serpentine belt
If your engine squeals in the morning when you first start it, take a look at the V-ribbed belt under the hood. Any cracks, glazed areas, or visible threads mean you need to replace it. Let it be too long and your...
If your engine squeals in the morning when you first start it, take a look at the V-ribbed belt under the hood. Any cracks, glazed areas, or visible threads mean you need to replace it. Let it run for too long and your belt will eventually break, which can damage your engine components.
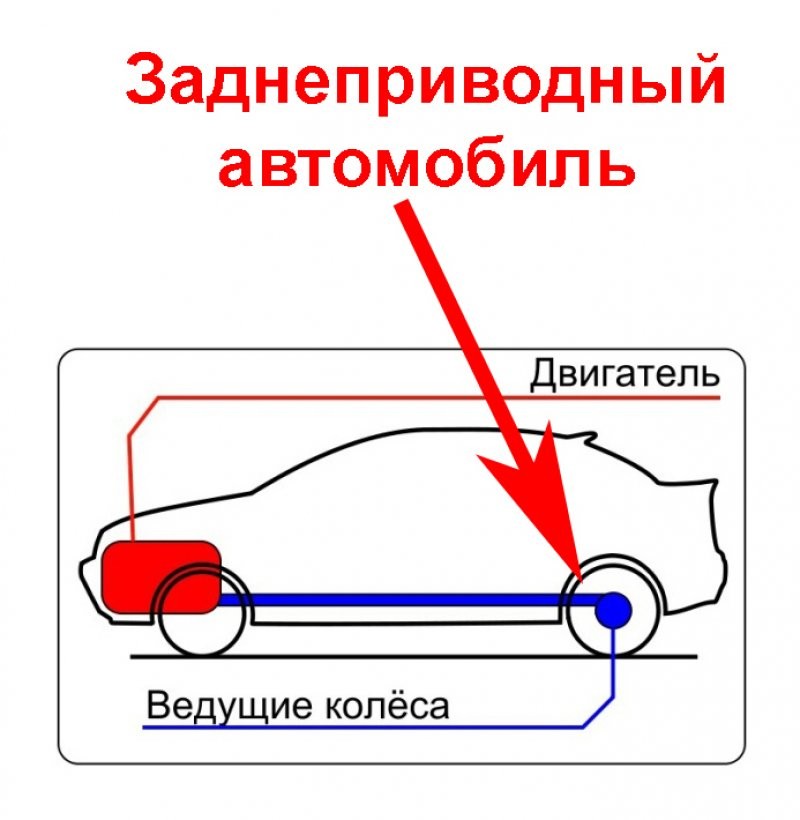
The V-ribbed belt takes on part of the rotational force of the engine and transmits it through the pulleys to other components. Things like the water pump and generator are usually driven by this belt. Over time, rubber ages and becomes weaker, eventually breaking.
This manual is for engines that use an automatic tensioner. The auto-tensioner houses a spring that applies the necessary pressure to the belt so that all the various components can be effectively actuated. They are very common on modern cars and with an automatic tensioner you don't have to take anything apart. In the end, the spring will also have to be replaced. So if you have a new belt that is slipping, make sure the tensioner is putting enough pressure on the belt.
This guide shows you how to remove the old serpentine belt and install a new one.
Part 1 of 2: Removing the old belt
Necessary materials
- ⅜ inch ratchet
V-ribbed belt replacement
Attention: Most tensioners have a ⅜-inch drive that fits in and turns to loosen the tension on the belt. Use a long-handled ratchet to increase leverage. If the ratchet is short, you may not be able to apply enough force to move the tensioner spring.
Attention: there are special tools that make this job easier, but they are not always necessary. They can help when you need a lot of leverage or when there isn't a lot of room to fit a normal sized ratchet.
Step 1: Let the engine cool down. You are going to work on the engine and don't want to get hurt by any hot parts, so let the engine cool down for a few hours before starting work.
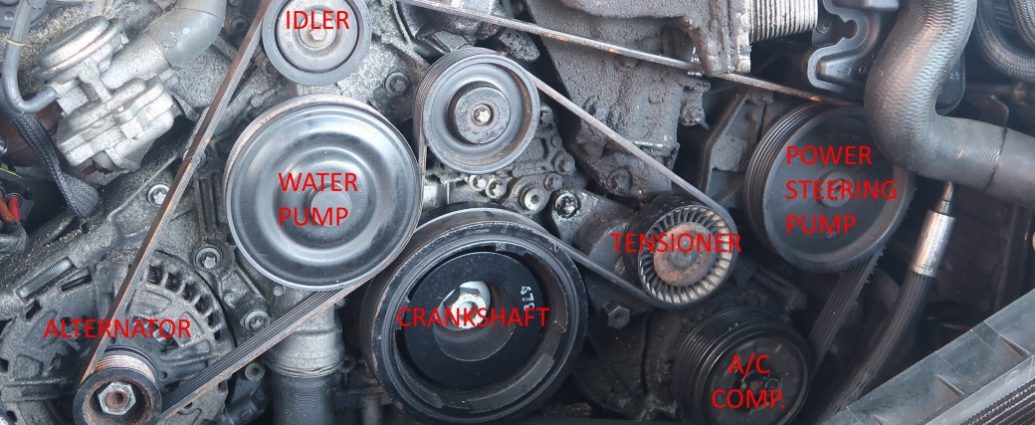
Step 2: Familiarize yourself with how the belt is laid. There is usually a diagram on the front of the engine showing how the belt should go through all the pulleys.
The tensioner is usually indicated on a diagram, sometimes with arrows indicating how it moves.
Note the differences between systems with and without an air conditioning (A/C) belt. Make sure you follow the correct pattern if there are multiple images for different engine sizes.
- Functions: If there is no diagram, draw what you see or use your camera to take pictures that you can refer to later. There is only one way the belt should move. You can also find a schematic online, just make sure you have the right motor.
Step 3: Find the tensioner. If there is no diagram, you can find the tensioner by pulling on the belt in different places to find the moving part.
The tensioner usually has a lever with a pulley at the end that applies pressure to the belt.
Step 4: Insert the ratchet into the tensioner. Turn the ratchet to create some slack in the belt.
Hold the ratchet with one hand and remove the belt from one of the pulleys with the other.
The belt needs to be removed from only one pulley. Then you can slowly bring the tensioner to its original position.
- A warning: Make sure you have a firm grip on the ratchet. Striking the tensioner can damage the spring and the components inside.
Step 5: Completely remove the belt. You can pull it over the top or let it fall to the ground.
Part 2 of 2: Installing the new belt
Step 1: Make sure the new belt is identical to the old one.. Count the number of grooves and tighten both belts to make sure they are the same length.
Very slight differences in length are allowed as the tensioner can compensate for the difference, but the number of grooves must be the same.
- AttentionA: Make sure your hands are clean when you pick up a new belt. Oil and other liquids will cause the belt to slip, meaning you will have to replace it again.
Step 2: Wrap the belt around all but one of the pulleys.. Usually the pulley you managed to remove the belt from will be the last one you want to put the belt on.
Make sure the belt and pulleys are aligned correctly.
Step 3: Wrap the belt around the last pulley.. Rotate the tensioner to create some slack and fasten the belt around the last pulley.
As before, hold the ratchet firmly with one hand as you install the strap. Slowly release the tensioner so as not to damage the new belt.
Step 4: Inspect All Pulleys. Check again to make sure the belt is properly tightened before starting the engine.
Make sure the grooved pulleys are in contact with the grooved belt surface and the flat pulleys are in contact with the flat side of the belt.
Make sure the grooves are well aligned. Make sure the belt is centered on each pulley.
- A warning: If the flat surface of the belt comes into contact with the grooved pulley, the grooves on the pulley will damage the belt over time.
Step 5: Start the engine to check the new belt.. If the belt is loose it will most likely squeal and make a sound like it is being slapped while the engine is running.
If it is too tight, the pressure can damage the bearings of the components connected to the belt. The belt is rarely too tight, but if it is, you'll probably hear a buzz without vibration.
With a V-ribbed belt replacement, you can be sure that you won't get stuck in the middle of nowhere. If you're having difficulty getting the belt on, our certified technicians here at AvtoTachki can go out and install the ribbed belt for you.