How to paint a brake caliper?
Content
- Step 1. Raise the car.
- Step 2: remove the wheel
- Step 3. Disassemble the caliper.
- Step 4: clean the caliper
- Step 5: hide the plastic parts
- Step 6: Prepare the paint for the brake caliper.
- Step 7: Apply the first coat of paint to the brake caliper.
- Step 8: Let the paint dry
- Step 9: Apply a second coat of paint to the brake caliper.
- Step 10: Let the paint dry again
- Step 11: Assemble the brake caliper and wheel.
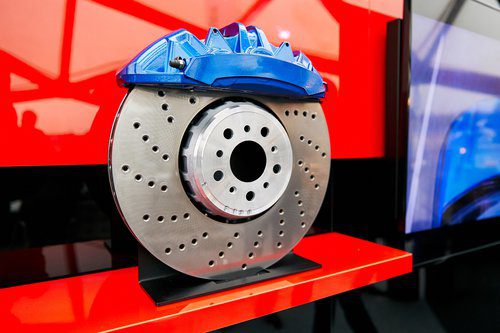
Painting brake calipers is a good way to give your car a personal touch and enhance its appearance. The brake caliper can only be painted with a brush. There are paint kits that include a hardener that you just need to mix before applying it to the brake caliper.
Required material:
- Brake paint kit
- Tools
- Protective gloves
- Protective glasses
- Jack or candles
- Painting tape for painting
Step 1. Raise the car.
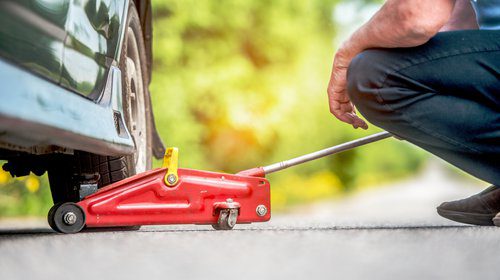
Start by lifting the vehicle with a jack or jack. Be careful when placing the vehicle on a level surface to ensure that the vehicle is stable during the intervention.
Step 2: remove the wheel

Once the vehicle is raised, you can begin removing the wheel by loosening the rim lock nuts. Feel free to refer to our wheel replacement guide for how to remove it correctly.
Step 3. Disassemble the caliper.
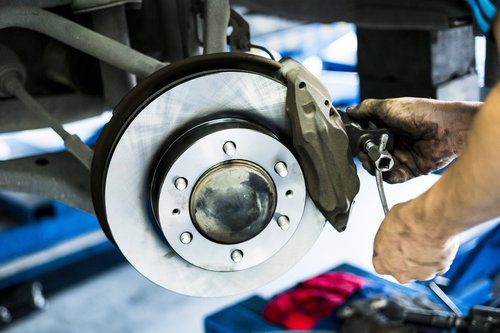
Now that you have access to the brake caliper, you can disassemble it by unscrewing the mounting screws. Also remember to remove the brake hoses attached to the brake caliper.
Note : It is possible to repaint the brake calipers without removing them. However, we recommend that you disassemble them in order to get the best finish and to avoid paint on your brake discs or pads, which can affect your braking performance.
Step 4: clean the caliper
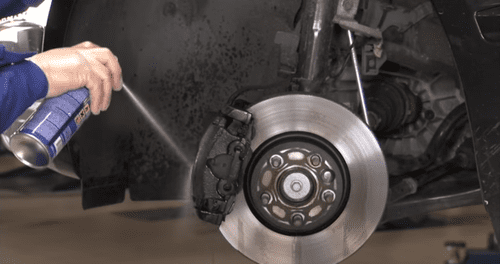
Use a brake cleaner to remove grease and dirt from the brake calipers. The brake cleaner is usually included in the brake paint kit. You will also find a wire brush included to help you clean the brake caliper better.
Step 5: hide the plastic parts
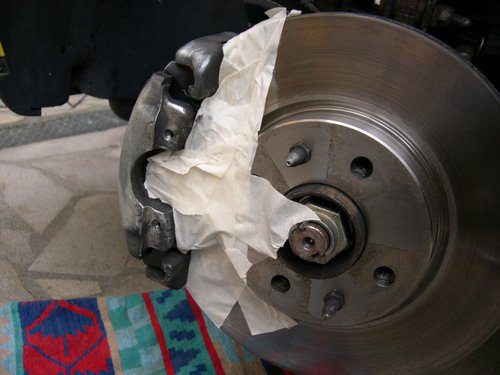
When the brake caliper is completely clean and dry, cover all plastic parts of the caliper with masking tape.
Attention : If you decide not to disassemble the brake caliper in order to paint it, you will have to pay special attention to the masking step. In fact, cover the disc and pads well so that no paint gets on them.
Step 6: Prepare the paint for the brake caliper.
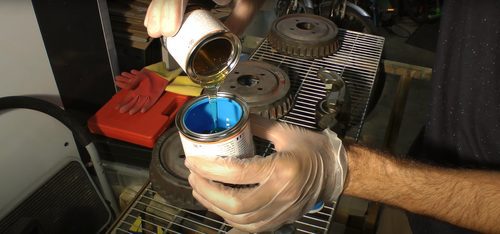
Read the instructions for the brake paint kit to properly mix the paint and hardener.
Note : When paint and hardener are mixed, do not delay using it because they dry quickly.
Step 7: Apply the first coat of paint to the brake caliper.
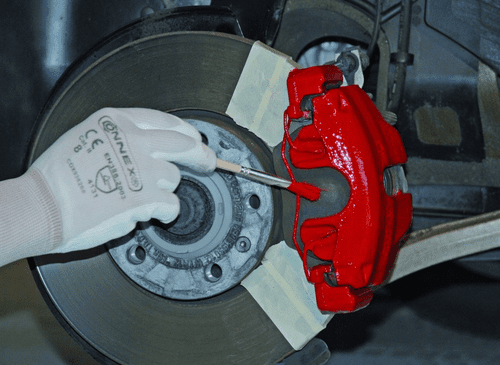
Use the supplied brush and apply the first coat of the paint and hardener mixture to the brake caliper. Be sure to paint over the entire surface of the caliper, avoiding areas covered by tape.
Step 8: Let the paint dry
Let the paint dry for about XNUMX minutes. You can check the manufacturer's recommendations for drying times in the instructions for your brake paint kit.
Step 9: Apply a second coat of paint to the brake caliper.

When the first coat of paint has dried well, the second coat can be applied. Be sure to repaint the entire caliper, once again avoiding the areas masked by the tape.
Step 10: Let the paint dry again
Let the second coat dry. We recommend letting it dry overnight to keep the paint from moving. Also, be careful to dry the caliper in a clean dry place to avoid paint defects.
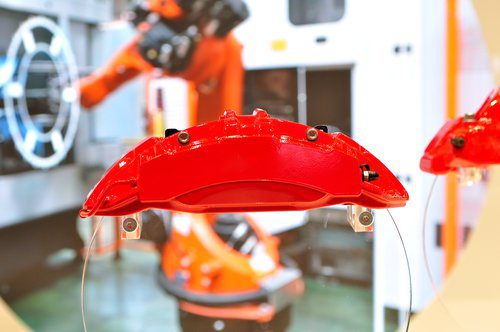
Step 11: Assemble the brake caliper and wheel.
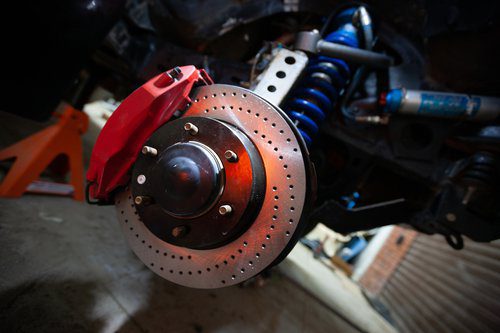
When the paint is completely dry, you can finally reassemble the brake caliper and wheel. That's it, now you have beautiful brake calipers!
If you do not want to paint the brake calipers yourself, remember that you can contact one of our trusted mechanics directly. With Vroomly, you can easily compare best bodybuilders next to you to paint the brake calipers.

One comment
anonym
Brake pumps not brake pads.