How to change the clutch cable?
Content
The clutch cable is play is essential for the proper functioning of your clutch. In this article, you will learn how to change the clutch cable on your own car. This simple guide lists all the important steps to help you replace your clutch cable, even if you are not a mechanic!
If there are problems, for example, with the VAZ 21099 carburetor, for example, the door bolt is very rusty, then this review tells, how to repair a VAZ 21099 for a beginner if there are no suitable tools at hand.
Replacing the clutch cable is a relatively simple procedure that you can do yourself if you have a good set of tools. However, if this intervention seems too difficult for you, consider contacting a reliable mechanic to replace the clutch cable.
Necessary materials:
- Protective gloves
- Protective glasses
- Complete set of tools
- Candles
- socket
Step 1. Raise the car.

Begin by lifting the vehicle onto the jack supports. Remember to raise the vehicle on a level surface to ensure stability of the vehicle when changing the clutch cable.
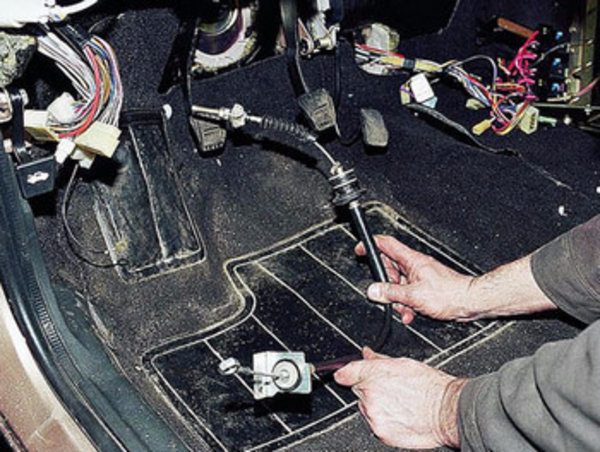
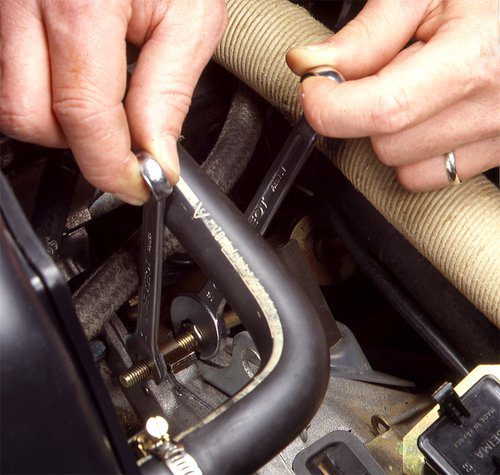
Step 2: Remove the harness (pedal side)
Then locate the clutch cable mount on the clutch pedal. The cable is usually held in place with a keyed anchor bolt. Therefore, use pliers to remove the key. On some clutches, the cable is not held by a key, but only by a slot on the pedal. You just need to pull on the clutch cable to pull the cable out of the groove. Also remember to remove the brackets from the cab firewall that can be attached to the cable box.
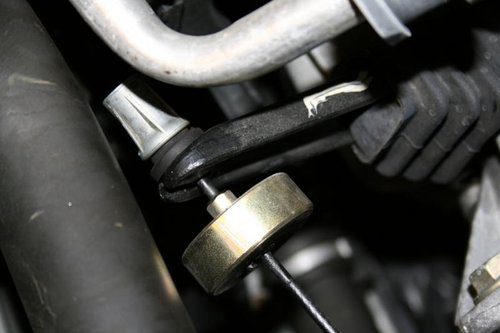
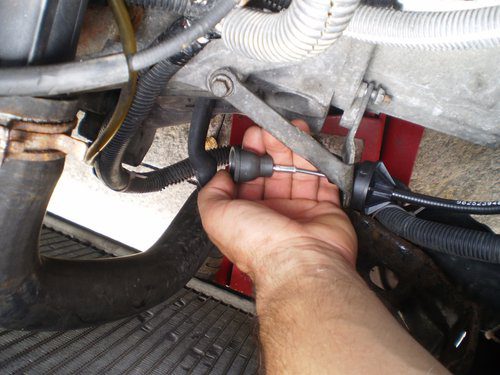
Step 3: Remove the mount (fork side)
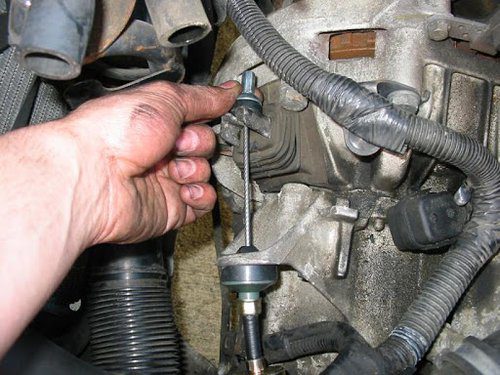
Now go under the car and find the clutch fork. Simply disconnect the clutch cable by pulling it out of the groove in the fork. On some car models, it is possible to attach the clutch cable brackets to the transmission case. If this is the case on your vehicle, be sure to remove these fasteners.
Step 4: Remove the HS clutch cable.
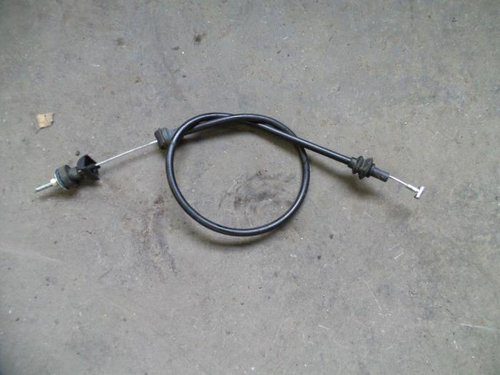
Now that the cable has been disconnected on both sides, you can finally remove the clutch cable by pulling on the fork. Be careful, you may need to remove some of the cable ties that hold the cable along the fender or frame. Do not put force on the cable, if it blocks, then most likely there are fasteners.
Step 5: check the plug
Take the opportunity to check the condition of the clutch fork. If the plug is defective, do not be afraid to replace it.
Step 6: Install a new clutch cable.
Now that the HS clutch cable has been removed, you can install the new cable in your vehicle. To assemble a new cable, follow the previous steps in reverse order. Remember to reattach any cable supports that you removed during the procedure.
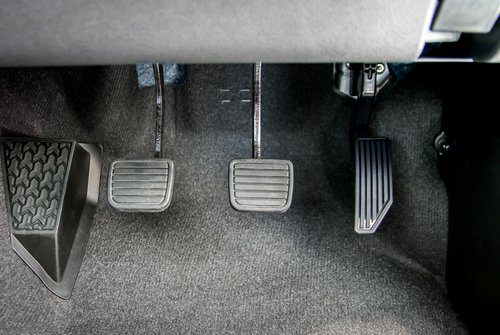
Step 7. Adjust clutch free play.
Once the new cable is attached to the fork and clutch pedal, you need to adjust the clutch cable clearance. To do this, pull the clutch cable until you feel the clutch lever snap into place: this is the length of the cable that needs to be adjusted. All you have to do is tighten the adjusting nut to the desired level. Then tighten the lock nut to secure the position of the clutch adjusting nut. Finally, to finish, make sure the pedal travels well and that the gear changes are correct. Do not hesitate to change the clutch cable travel adjustment if necessary.
And voila, now you need to replace the clutch cable. However, remember to carry out checks in parking and on the road after replacing the clutch cable. If in doubt, do not hesitate to contact one of our certified mechanics to have your clutch cable checked as soon as possible.