How to build a trunk for your pickup
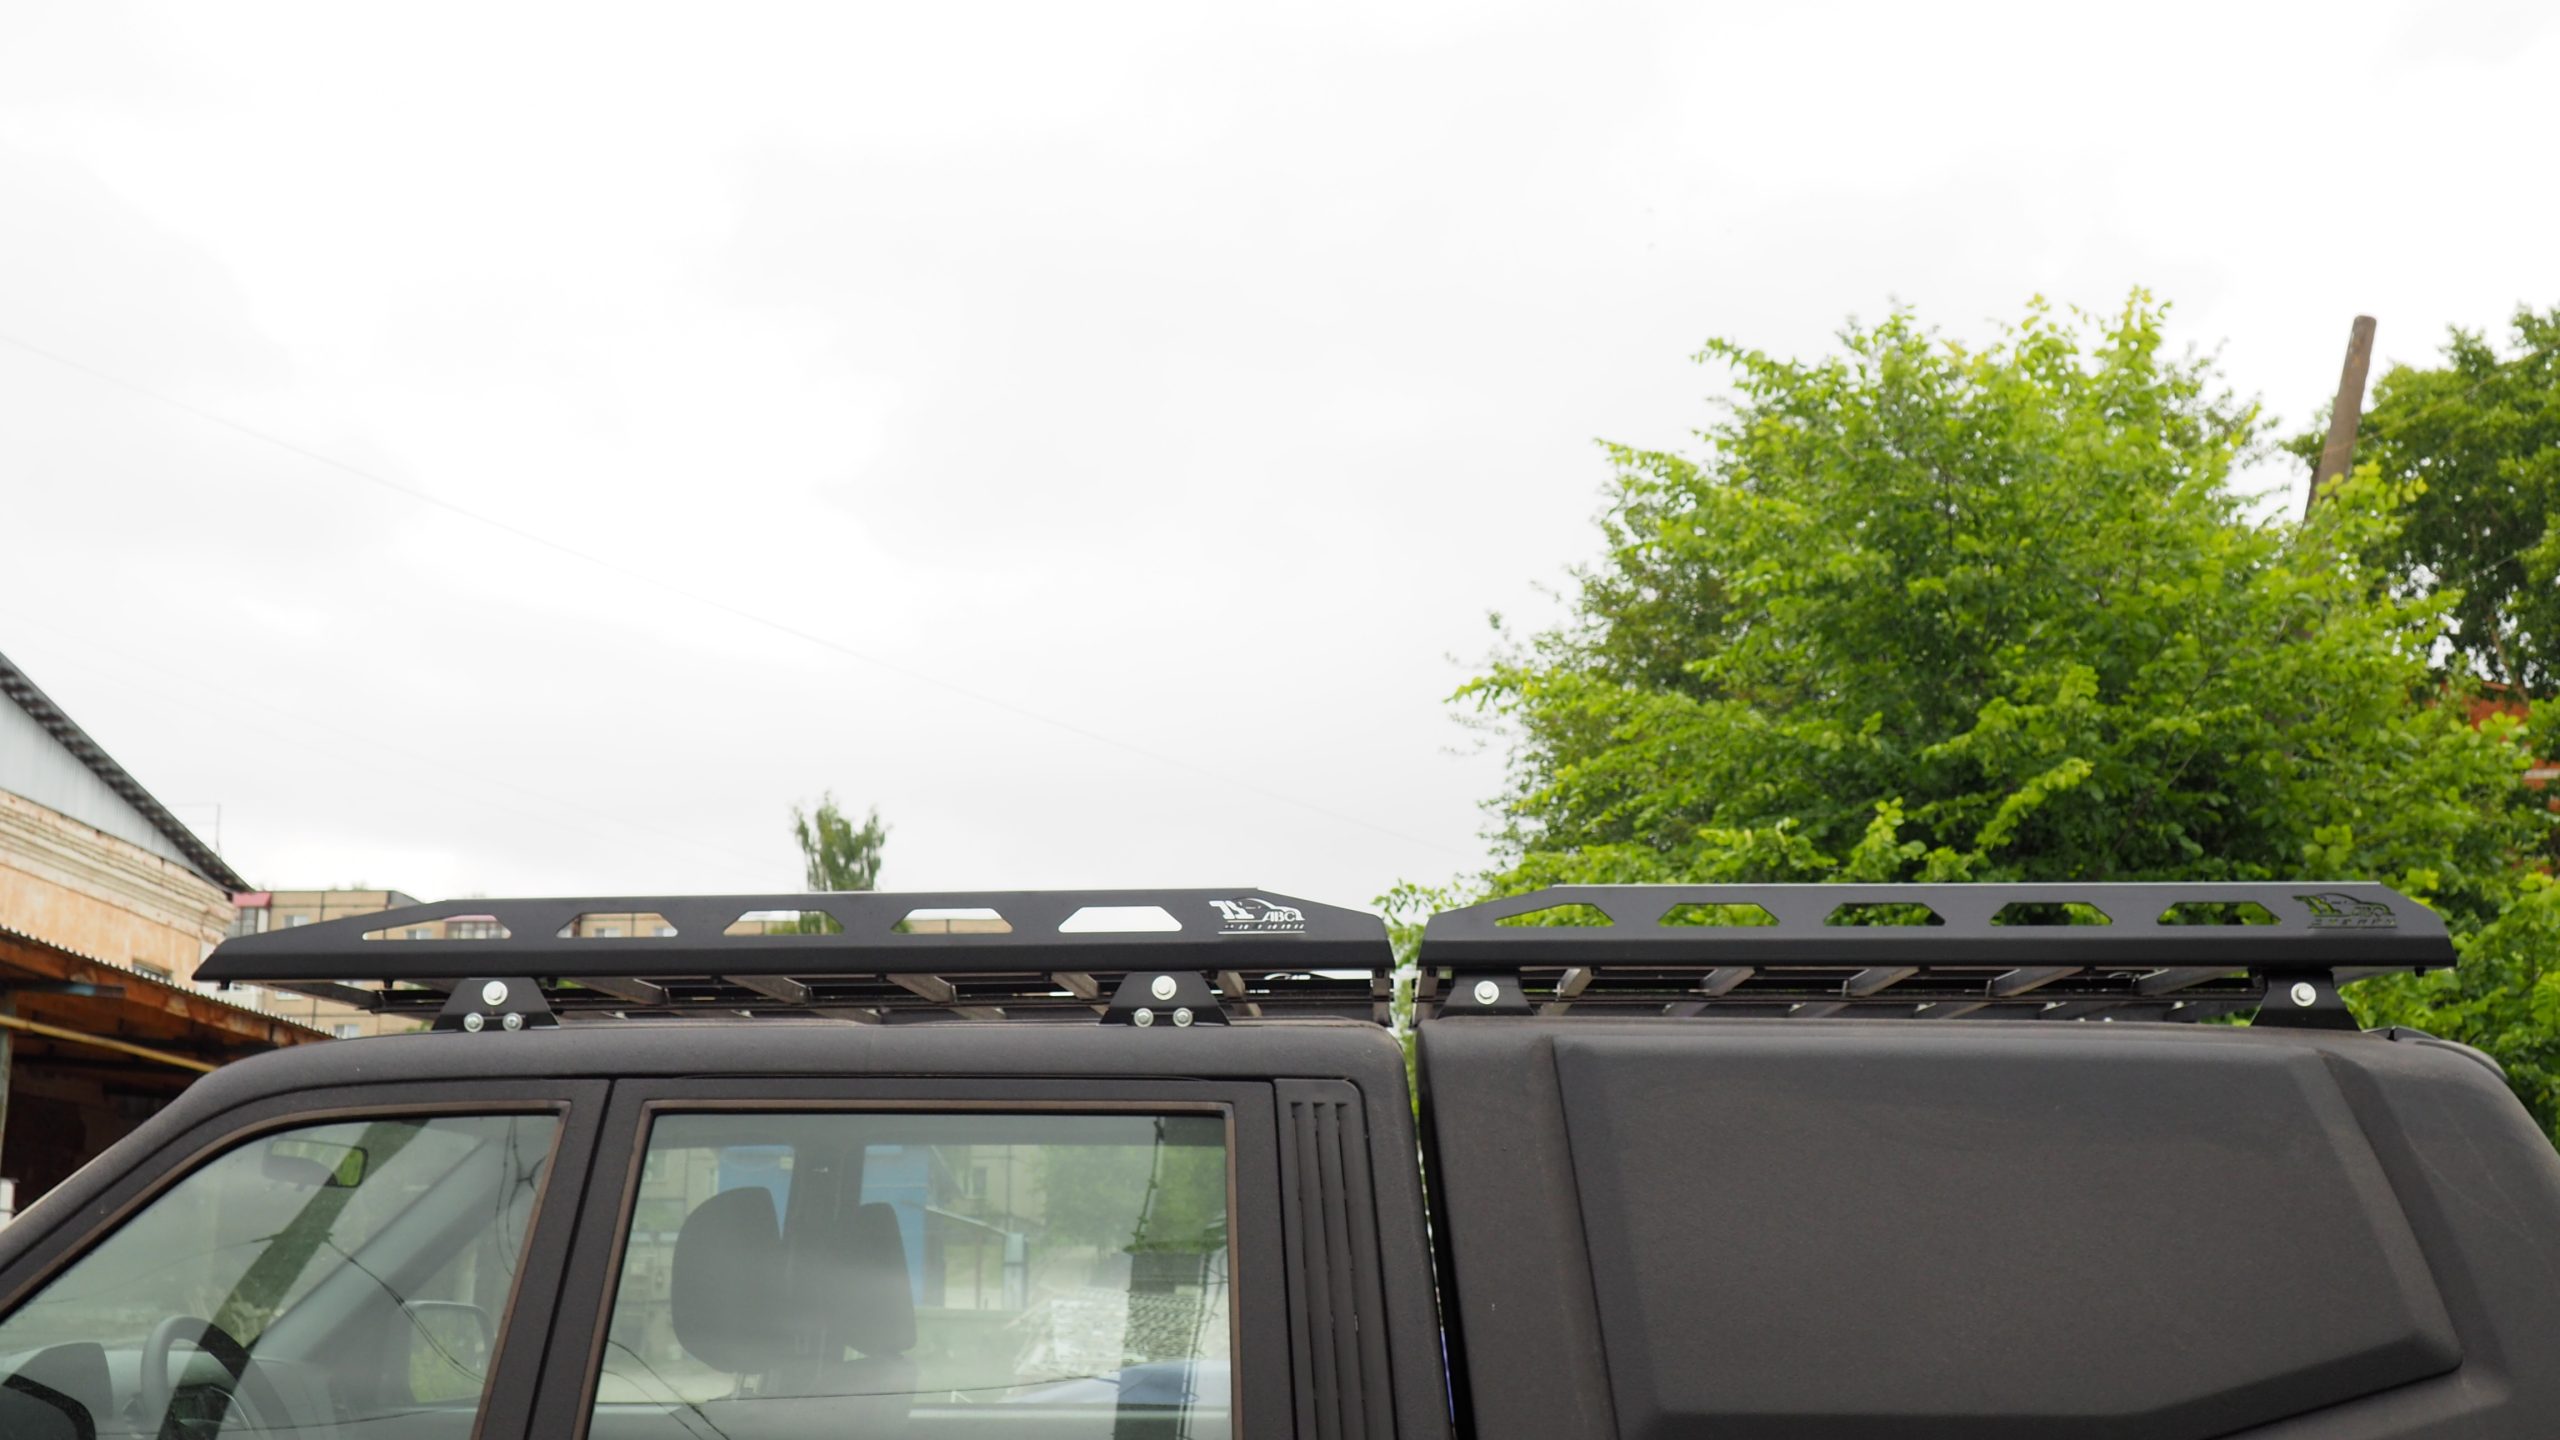
The Headache Rack is something commonly seen on commercial vehicles and is used to protect the rear of a truck cab. It protects it by keeping anything that could slide on the bodywork, come into contact with the rear of the cab, which could cause dents or break the rear window. Installing a headache rack can help protect your truck from damage. They are fairly easy to build and install with the right tools and a little welding experience.
The headache rack is not commonly found on most trucks for daily drivers. It is found mainly on commercial vehicles that carry items in the back. You'll also see them built on flatbed trucks such as tow trucks that protect the truck during hard stops so the load doesn't damage the truck. There are an unlimited number of ways in which you can create it, depending on what kind of look you want to get. Many people even install lights on them.
Part 1 or 1: Rack assembly and installation
Necessary materials
- Square steel pipe 2” X 1/4” (approximately 30 feet)
- 2 steel plates 12” X 4” X 1/2”
- Bolts 8 ½” X 3” class 8 with lock washers
- Drill with 1/2" bit
- Ratchet with sockets
- Cut-off saw for steel
- Roulette
- welder
Step 1: Measure the top of your truck cab with a tape measure to determine the trunk width.
Step 2: Using a tape measure, measure from the outside of the top of the body rails from the passenger side of the truck to the driver's side.
Step 3: Measure from the bed rail to the top of the cab to determine the height of the rack.
Step 4: Using a cutoff saw, cut two pieces of square steel into two lengths to match the width of the post and two equal pieces to match the height you measured.
Step 5: Using a tape measure, find the center of both steel pieces used to determine the length and mark it.
Step 6: Place the shorter piece of steel over the longer one and align their center points.
Step 7: Place two pieces of steel that have been cut to height between the top and bottom about twelve inches from the ends of the top piece of steel.
Step 8: Grab the steel together.
Step 9: Using a tape measure, find the length needed to go from the bottom end of the upright to the top end.
Step 10: Using the size you just made, cut off two pieces of steel that he will use as the ends of the headache rack.
- Functions: You can usually cut the ends at a thirty degree angle, which will make them easier to weld.
Step 11: Weld the end pieces to the top and bottom rails.
Step 12: Raise the headache rack and place metal plates under each end as if they were facing the back of the bed and tack them in place.
Step 13: Now that the headache is built, you need to fully weld all the joints until they are solid.
Step 14: If you are going to paint the rack, now is the time to install it.
Step 15: Place the rack on the side rails of your truck, being careful not to scratch it.
Step 16: Move the stand until it is where you want to install it.
- A warning: The trunk must be at least one inch away from the cab and must not come into contact with it.
Step 17: Using a drill and a suitable drill bit, drill four evenly spaced holes in each of the plates, making sure the holes go all the way through the bed rails.
Step 18: Install the four bolts you have using the lock washers until they are tight by hand.
Step 19: Using a ratchet and appropriate socket, tighten the bolts until snug.
Now that the headache rack is in place, you need to make sure it's secure. You have to push and pull it to make sure it doesn't move and that the welds are tight.
You have now built and installed your own headache rack on your vehicle. By doing this, you protect the cab of your truck from any shock if it moves while driving. Keep in mind that when building a headache rack, you can add as much metal to it as you like to make it more durable or more decorative. If you want to make it stronger, you can add more of the same square pipe between each piece.
If you want to make it more decorative, you can add smaller or thinner pieces of steel as you like. When designing and assembling the rack, always take into account the limitations of visibility through the rear window. The more material you add, the harder it will be to see. You should always try to keep it clear of any obstructions directly behind the rearview mirror. If you don't know how to weld or don't want to go that far into building your own stand, you can always buy one yourself. Ready-made racks are much more expensive, but much easier to install as they are ready to go out of the box.