How to properly adjust the car headlights - it's very simple!
Content
A number of factors need to be taken into account in order to provide optimum illumination of the road with a headlight, such as the cleanliness of the reflector and the plexiglass (Plexiglas) cover, adequate mounting, the correct bulb, as well as proper alignment. A headlight that is not properly adjusted can blind oncoming traffic or fail to illuminate the road. Both can lead to dangerous situations when driving in the dark. Read in this guide how easy it is to adjust your car headlights at home.
Before you start...
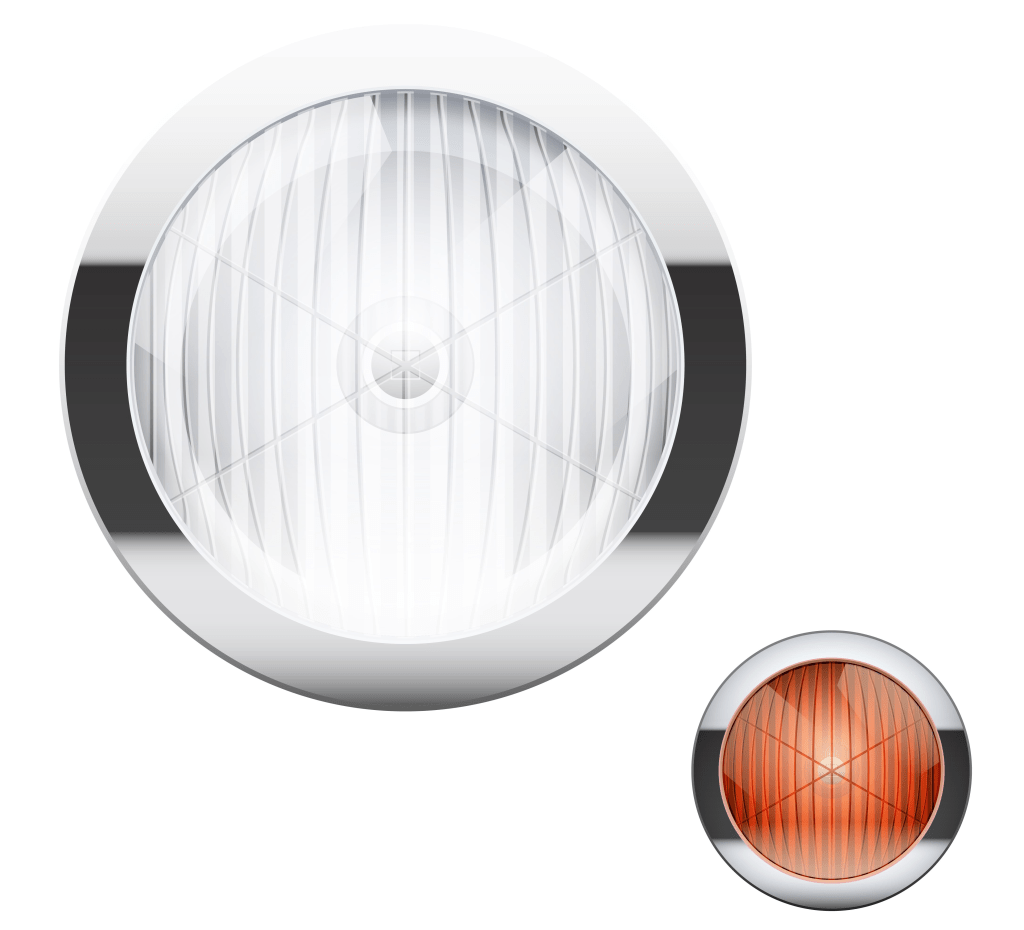
Like other elements of car design, headlights are subject to fashion trends. Tail fins and pop-up headlights have come and gone and we are now in the era of plexiglass (plexiglass) headlight covers. These clear assembly-mounted covers are made of plastic, which is a lower quality than earlier hard ground glass car headlights. The reasons for this change are many, but essentially a wear part has been created. Plexiglas coatings scratch and tarnish easily, and ultimately fail the inspection test.
In this case, the auto industry recommends a replacement. What makes this challenging is the fact that the caps are not available as a wear or replacement component. Often, in the case of a matte finish, it is necessary to replace the entire headlight, and since the car has two headlights, this is especially advantageous for the aftermarket.
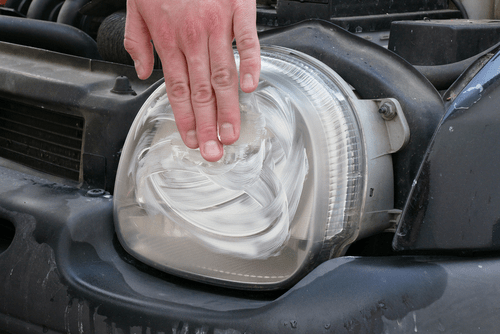
First, you can try repairs, which cost almost nothing:

The accessory shop offers special headlight polishing kits. With a little practice, even severely scratched and dull headlights can be brought back to their original brightness. This is quite a time-consuming task, although worth considering the costs. Only when this rescue attempt fails is it necessary to replace the glass or the entire headlight. Household solutions such as toothpaste often do not give satisfactory results. In the case of cracked or broken glass or a dull and rusty reflector, a complete replacement is the only option. For older vehicles with little residual value, a visit to a recycler may be helpful. He often has car headlights of all types in stock.
Automotive Headlight Adjustment Guide
Correctly adjusted headlight is essential for maintenance. Therefore, it is useful to check and, if necessary, adjust the headlights before visiting the service station. To do this, you need:
 – 1 flat, level area or field ideally bordered by a white wall (garages are ideal) – Paper for printing - Pencil – Criterion – Wide colored electrical tape – Possibly a long screwdriver |
Before adjusting the headlights, check the following:
1. Are the air pressures in all tires correct? 2. Is the shock absorber OK? 3. Is the headlight dimmer at zero (highest point)? |
These checks are necessary to ensure that the vehicle is standing straight. In addition, you should check the headlight level control. The headlight leveling system is mandatory in the EU and UK .
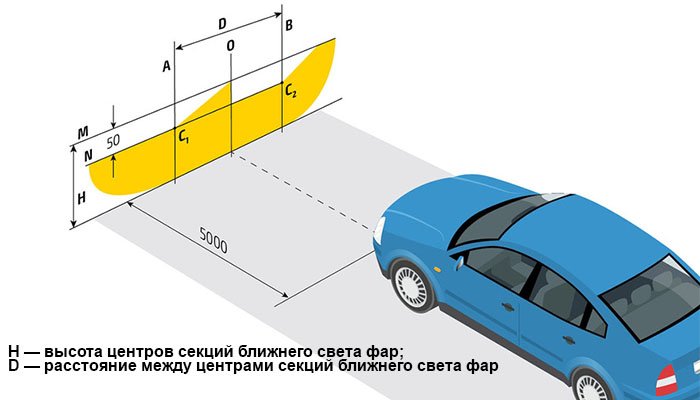
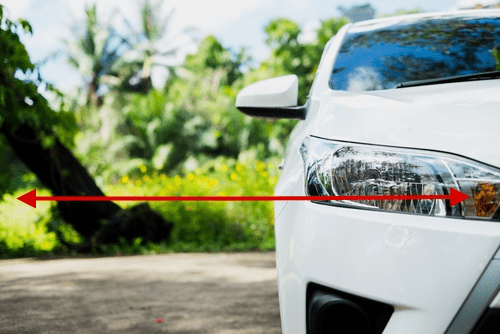
1. Position the car at a precise distance of 10m from the wall.
A distance of 10 m is ideal for calculating desired and actual values.
The headlight angle is different for every car.
Distance of 10 m allows easy calculations .
If only 5 m is available, the calculated result must be divided by two.
The distance should not be less than 5 m.
2. Find the top edge of the light emitting surface
The top edge of the light emitting surface of a low beam car headlight can be measured using a white piece of paper and a ruler. Stand in front of the car and hold the sheet in front of the headlight. You will notice that the beam has a brightly shining top. The darker bottom area is ambient light and should be ignored. Measure the height of the top edge of the light emitting surface and record it.
In this case, you can also measure the lower edge of the light emitting surface. It should not be lower than 500 mm . This applies to all vehicles, including motorcycles.
If this edge is lower, it represents a serious defect that may cause the vehicle to fail the MOT.
This problem occurs more often in vehicles with low ground clearance. Even though the suspension was initially allowed, gradually lowering the suspension could cause this threshold to change.
3. Transmission of the height of the light emitting surface
The height of the edge of the light-transmitting surface is now transferred to the illuminated wall.
If the wall is not white enough, stick a sheet of paper on the wall at the appropriate level.
The measured height of the edge of the light emitting surface is transferred to the illuminated wall using a pencil and a ruler.
4. Calculate the desired height
With the right slope ( typically 1 to 1,5% ) and the distance between the vehicle and the wall, you can calculate the desired headlight height. At a distance of 10 m and an inclination of 1%, the upper edge of the light emitting surface shall be 10 cm below the edge of the transmitted light surface of the headlamp. . The required value is now marked on the wall. The marking is underlined with a wide piece of colored insulating tape so that it is clearly visible at a distance of 10 m.
5. Headlight adjustment
When the desired value is marked on the wall, the headlight can be adjusted with a screwdriver. A few turns should be enough. The process is repeated with the other headlight. Now the headlights of the car are adjusted, clean and safe. Nothing stands in the way of a successful technical inspection.
When the headlight range control does not work
| Headlight leveling is mandatory for all vehicles. In many cars, such as the Fiat Cinquecento or the Volvo 480, the headlight range control was hydraulic. As a result, alignment control often ended after 5 years. Refueling or repairing it proved to be quite difficult and rarely successful. Therefore, most headlight beam throw adjustment systems are electrically controlled. This is not only much more reliable, but also easier to maintain. The headlight range control motors are durable and robust and can be easily replaced in the event of a malfunction. However, in most cases, corroded plug contacts or broken cables are responsible for headlight beam throw control failure. These repairs are simple. If you have a vehicle with hydraulic headlight beam throw adjustment, you should check if it is possible to convert to an electric module. Surprisingly, the Fiat Cinquecento's leveling system can be easily replaced by the Volkswagen Polo 86C 2F's electric leveling system. |
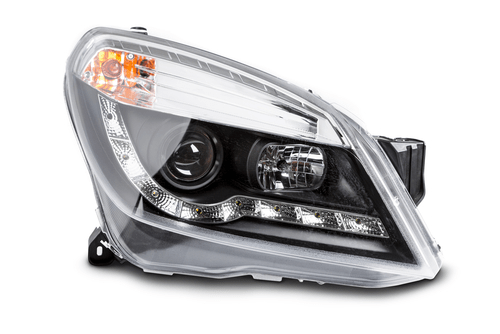
Always use the best lamps

Even old cars without powerful xenon headlights can be upgraded with more modern lighting. It is important to use the maximum possible. More and better lighting means safer driving and better visibility for other road users.
If not, it may be helpful to install daytime running lights.
This integration can be done on a Saturday afternoon for an automotive lighting overhaul.
Replacing the old tailgate and front and side turn signal bulbs with LED bulbs completes the modernization, adaptation and tuning of your car's lighting system.