
How to test a circuit breaker with a multimeter
Content
One of the most important electrical components in your home electrical system are circuit breakers.
These small devices protect you from fatal hazards and your much larger devices from irreparable damage.
Now, perhaps you suspect that one of your electrical circuit breakers is faulty and don't want to call an electrician, or you're just curious about how these electrical components are diagnosed for faults.
Either way, you've come to the right place.
This step by step guide will teach you how to test a circuit breaker with a multimeter.
Let's get started.
What is a circuit breaker?
A circuit breaker is simply an electrical switch that protects a circuit from being damaged by overcurrent.
This is an electrical switch, usually located in an electrical panel box, that is held in place with a screw or latch.
Overcurrent is when the supply of current exceeds the maximum safe power for the device for which it is intended, and this poses a great fire hazard.
The circuit breaker disconnects its contacts when this overcurrent occurs, stopping the flow of current to the device.
While it serves the same purpose as a fuse, it does not need to be replaced once it has blown. You simply reset it and turn it back on so that it continues to perform its functions.
However, these components fail over time and protecting your device is very important. How to diagnose a circuit breaker?
How to know if the circuit breaker is faulty
There are many signs that indicate if your circuit breaker is bad.
These range from a burning smell coming from the circuit breaker or electrical panel, to burn marks on the circuit breaker itself, or the circuit breaker being very hot to the touch.
A faulty circuit breaker also trips frequently and does not stay in reset mode when activated.
Other symptoms are invisible on physical examination, and this is where a multimeter is important.
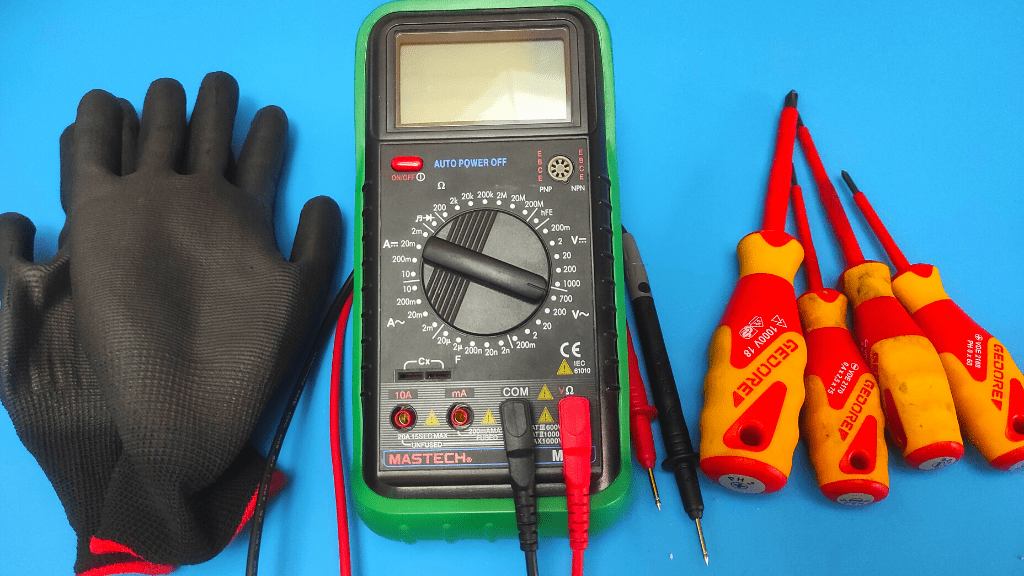
Tools needed to test the circuit breaker
To test the circuit breaker you will need
- multimeter
- Insulated gloves
- Set of isolated screwdrivers
An insulated tool will help you avoid electric shock.
How to test a circuit breaker with a multimeter
To safely test circuit breakers, set your multimeter to the ohm setting, place the red test lead on the power terminal of the circuit breaker, and the black test lead on the terminal that connects to the panel. If you don't get a low resistance reading, the circuit breaker is faulty and needs to be replaced..
There are other preliminary steps, and you can also run a voltage test on the circuit breaker. All this will be spread.
- Power off the circuit breaker
Testing the resistance of circuit breakers is the safest method of testing circuit breakers for faults because you don't need power running through them to diagnose correctly.
Locate the main or general switch on the electrical panel and turn it to the "off" position. This is usually a rather large switch located at the top of the box.

Once this is done, proceed with the following procedures step by step.
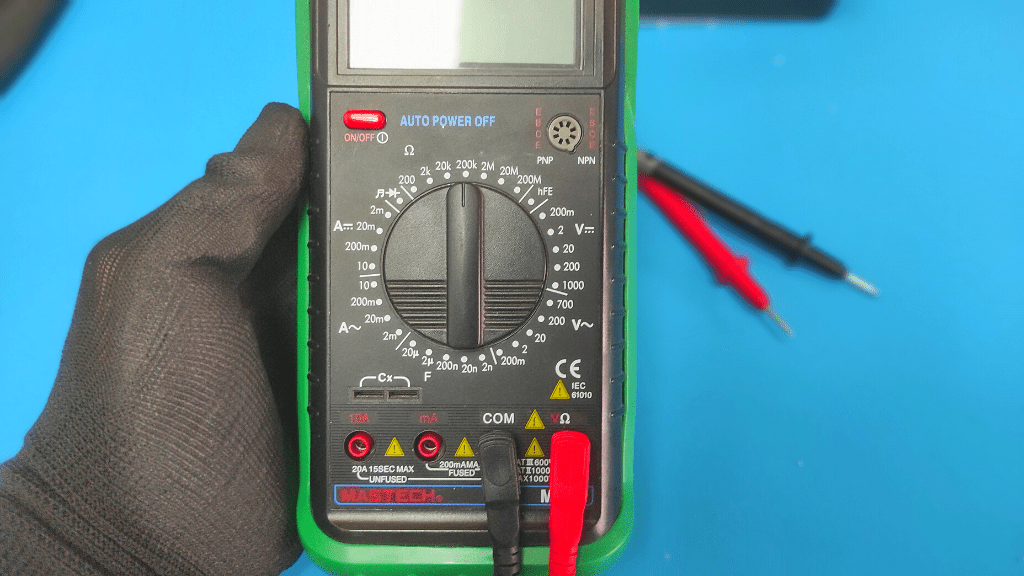
- Set your multimeter to ohm setting
Turn the indicator dial to the ohm position, which is usually indicated by the symbol Omega (Ω).
While you can use the meter's continuity mode to test for continuity inside the circuit breaker, the Ohm setting gives you more specific results. This is because you also know the level of resistance within it.

- Disconnect the circuit breaker from the breaker box
The switch is usually connected to the electrical panel box either through a snap-in slot or through a screw. Disconnect it from the switch panel to expose another terminal for testing.
At this point, move the breaker switch to the "off" position.
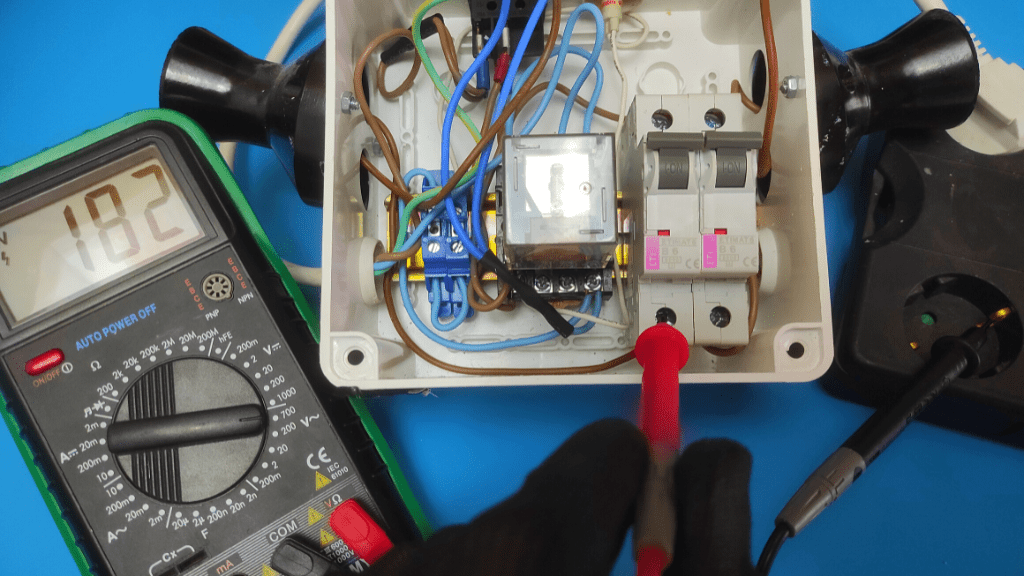
- Place multimeter leads on circuit breaker terminals
Now place the red positive test lead on the power terminal of the switch and the black negative test lead on the terminal where you disconnected the switch from the switch box.

- Rate results
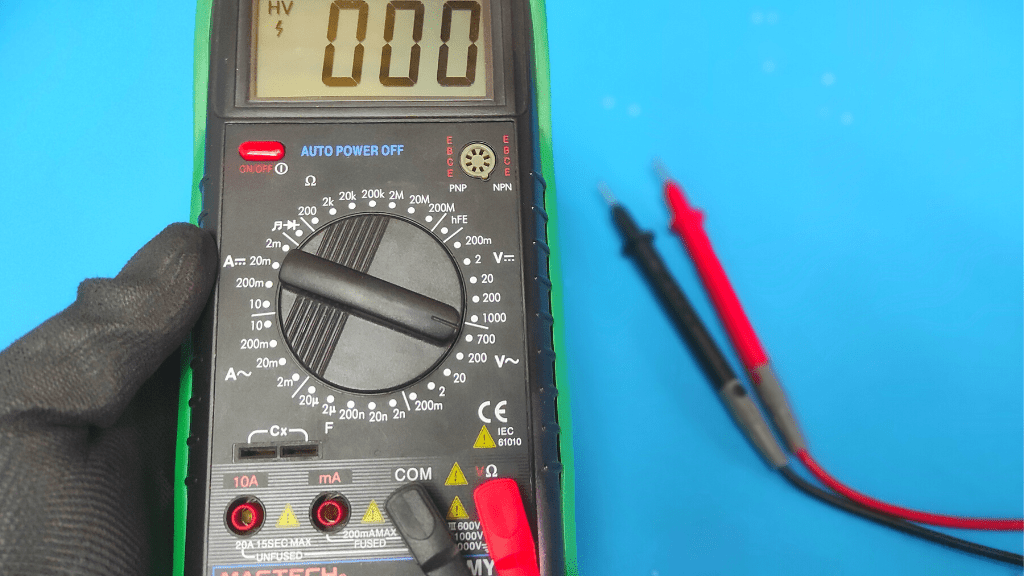
Move the switch to the "on" position to complete the circuit and check the meter reading.
If you get a zero (0) ohm reading, the switch is in good condition and the problem may be with the wires or the switch box.
A good circuit breaker usually has a resistance of 0.0001 ohm, but a multimeter cannot test this range specifically.
On the other hand, if you get a value of 0.01 ohms, then there is too much resistance inside the breaker and this could be a problem.
Resistance inside the switch above 0.0003 ohm is considered too high.
Only professional electricians usually have a standard tool for making these micro-measurements.
Also, getting an OL reading definitely means the switch is bad and needs to be replaced. This indicates a lack of continuity within the block.
You can find all this guide in our video:

Checking the voltage inside the circuit breaker
Another method an electrician uses to diagnose problems with a circuit breaker is to check the voltage applied to it.
You don't expect the breaker to work properly without enough current.
- Take Security Measures
To test the voltage inside a circuit breaker, you need to have current flowing through it. Of course, there is a risk of electric shock and you don't want to get hurt.
Be sure to wear rubber insulated gloves and goggles if you have them. Also make sure that the probes do not touch each other during the test so as not to damage the instrument.

- Set the multimeter to AC voltage
Your home uses AC voltage and the amount used varies from 120V to 240V. The meter also usually has two AC voltage ranges; 200 VAC and 600 VAC.
Set the multimeter to the AC voltage range that is most suitable to avoid blowing the multimeter's fuse.
The 200 range is appropriate if your home uses 120 volts, and the 600 range is appropriate if your home uses 240 volts. AC voltage is displayed on the meter as "VAC" or "V~".
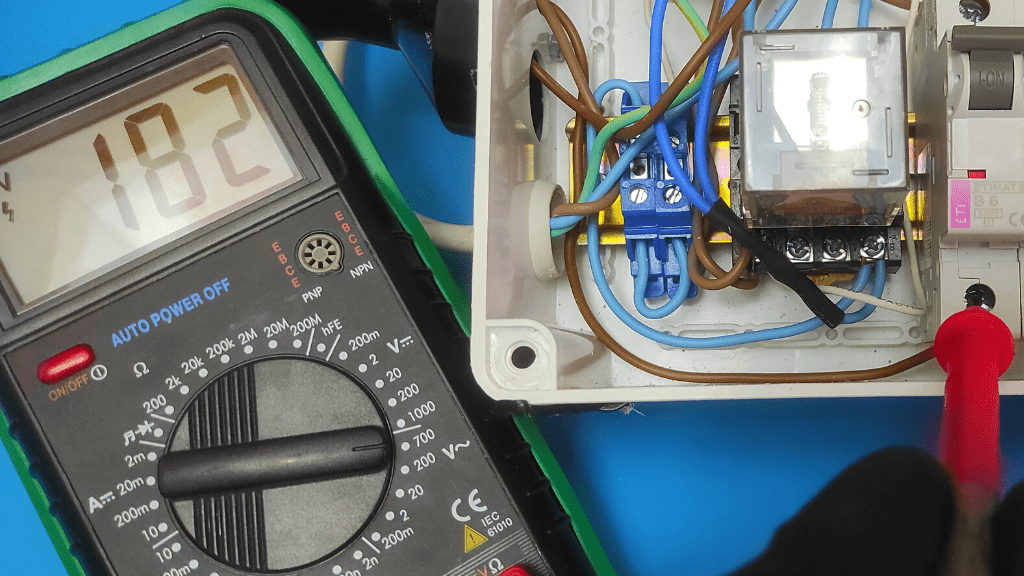
- Place the multimeter probe on the ground and activate the terminal
Now that the switch is energized, place the multimeter's positive probe on the switch's power supply terminal and ground the connection by placing the negative probe on a metal surface nearby.
These locations are the same even if you are using a two-pole circuit breaker. You simply test each side individually.
- Rate results
At this point, the meter is expected to show an AC voltage reading of 120V to 240V, depending on the amount used in your home. If you do not get a proper reading in this range, then your switch's power supply is defective.

Conclusion
Two tests on your circuit breaker help diagnose various problems. A resistance test identifies a problem with the switch itself, while a voltage test helps identify a problem with the power supply.
However, each of these tests is useful, and following the procedures mentioned above in sequence helps save money and avoid calling an electrician.
F.A.Q.
How do you know if a circuit breaker needs to be replaced?
The circuit breaker is replaced if you notice physical damage, such as burn marks, a burning smell, or if the case becomes very hot. You can also use a multimeter to determine other invisible pointers.
Can a circuit breaker become weak?
Yes, the circuit breaker gets weaker each time it trips. These trips usually affect its circuitry and wiring and eventually cause the device to stop working after 4 (four) to five (5) trips.
