
How to test an outlet with a multimeter
Content
So, your light bulb doesn't light up and you decide to buy a new one.
You install this new light bulb and it still won't light up.
Well, now you just have the feeling that there is a malfunction in the outlet.
However, how to check sockets?
This article answers that question as it provides information on what lamp sockets are made of and how to do quick tests with a simple multimeter.
Let's get started.
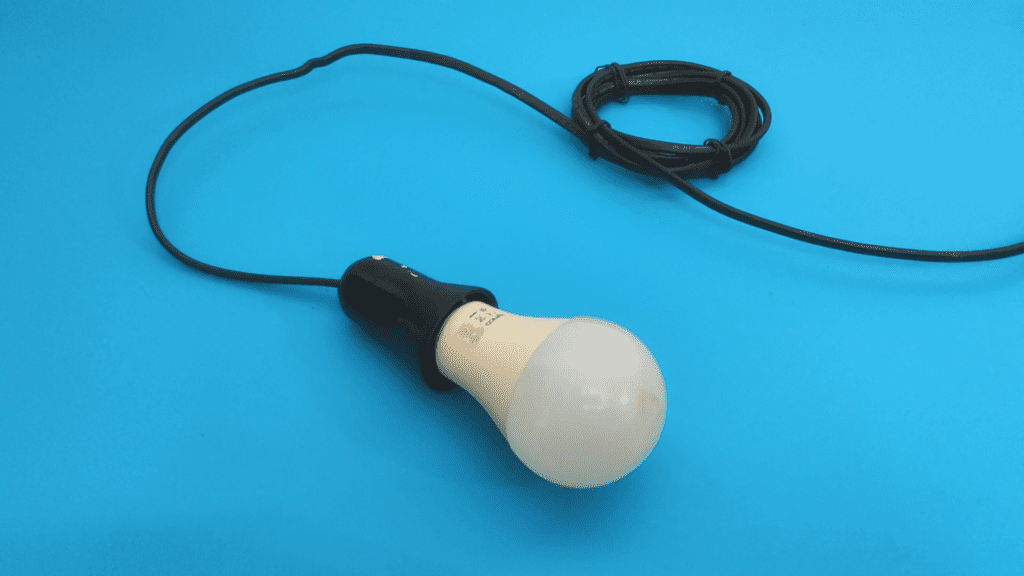
What is a light socket
The socket is the part of a lamp or lamppost that holds the light bulb.
This is a plastic and/or metal component to which the lantern is screwed or screwed.
How does a light socket work
The light socket consists of two main contact points.
The wires supplying the electrical current to the lamp are connected to the metal component on the inside bottom of the socket (first contact).
This is usually a flexible brass tongue or just metal welding.
Your light bulb is also held in place by a silver (metal) sheath on the inside of the socket, and this is either a thread or a hole (the second pin).
Either way, it's made of conductive metal and helps complete the circuit.
If there is a problem with any of them, the light socket is not working.
A multimeter is an incredible device for testing an outlet and, in addition, for diagnosing other electrical parts.
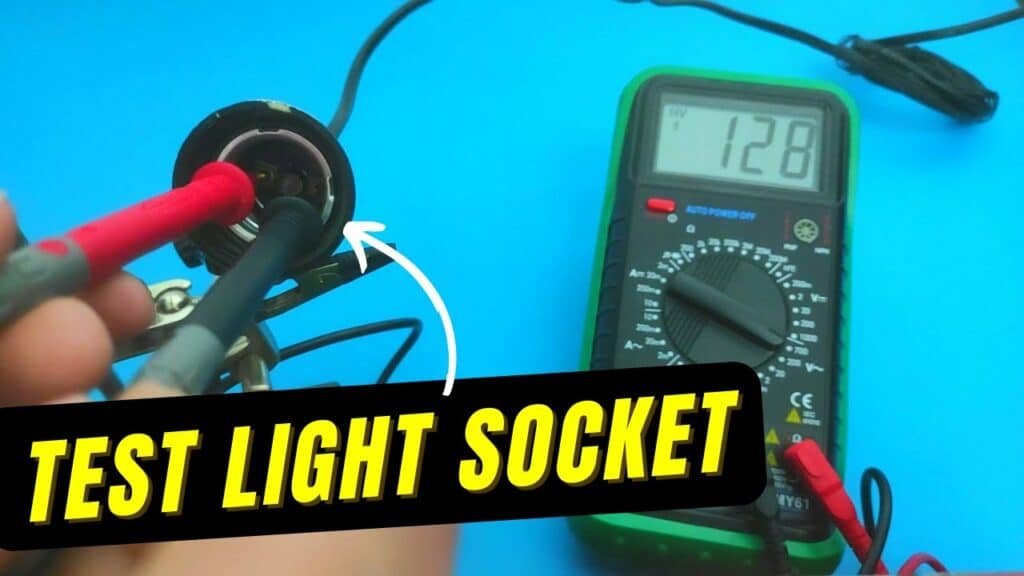
How to test an outlet with a multimeter
Set the multimeter to 200V AC, place the black test lead on the metal shell of the socket (where the lamp is screwed or hooked), and place the red test lead on the metal tab on the inside bottom of the socket. The multimeter shows from 110 to 130 if the outlet is working properly..
Additional explanations will be provided on the steps to be taken.
- Take Security Measures
To check if your outlet is working properly, you need current to flow through its circuit.
This means that you must take precautions against the danger of electric shock.
The most important measure here is to wear insulated rubber gloves and make sure that your hands or any part of your body are not wet.

- Prepare for the socket test
When testing a light socket, your socket is either already unplugged or still in the ceiling.
If your outlet is still connected to the ceiling wiring, it's safer and more convenient to remove the power supply and unplug it.
Connect the wires to the outlet terminals and find a power source to which they can be connected.
You can get a separate power source from your home electrical outlet as it is safer.
The most important thing is that there is enough current flowing through the light bulb socket to determine if it is working or not.
- Confirm power supply
A voltage detector is great for this. Simply touch the metal tab on the inside bottom of the socket with a voltage detector.
If the light comes on, then there is current in the outlet.
Now you move on to the multimeter.
- Set the multimeter to AC voltage
Household appliances, including light bulbs, use alternating current (AC voltage).
This means you need to turn the multimeter dial to the AC voltage setting, represented by either "VAC" or "V~".
For the most accurate reading, set it to the 200 VAC range.
This is because light bulbs typically run on 120VAC rather than 240VAC or higher like other larger appliances.
- Place the multimeter probes on the contact points
Now you place the red probe on the metal tab that receives current from the wires, and place the black probe on the metal housing that holds the bulb in place.
Make sure none of them are touching each other.
- Rate results
The optimal current that can be expected from the outlet in this test is 120V AC.
However, a reading between 110V and 130V AC still means the outlet is in good condition.
If you get a reading outside of this range, it is considered too high or too low.
You either change the outlet or check if your power supply provides the right amount of voltage.
Our video on testing sockets with a multimeter is a great visual aid that you can follow:

Outlet Continuity Testing
Another way to check if your outlet is good is to run a continuity test on it.
Continuity testing helps to detect the presence of a short or open circuit in a circuit.
This will also help you ultimately determine if the issue is with the outlet or the power supply.
- Disconnect the socket from the power source
You don't need current through the light outlet to perform a continuity test.
Disconnect the outlet from the ceiling wires or any other power source.
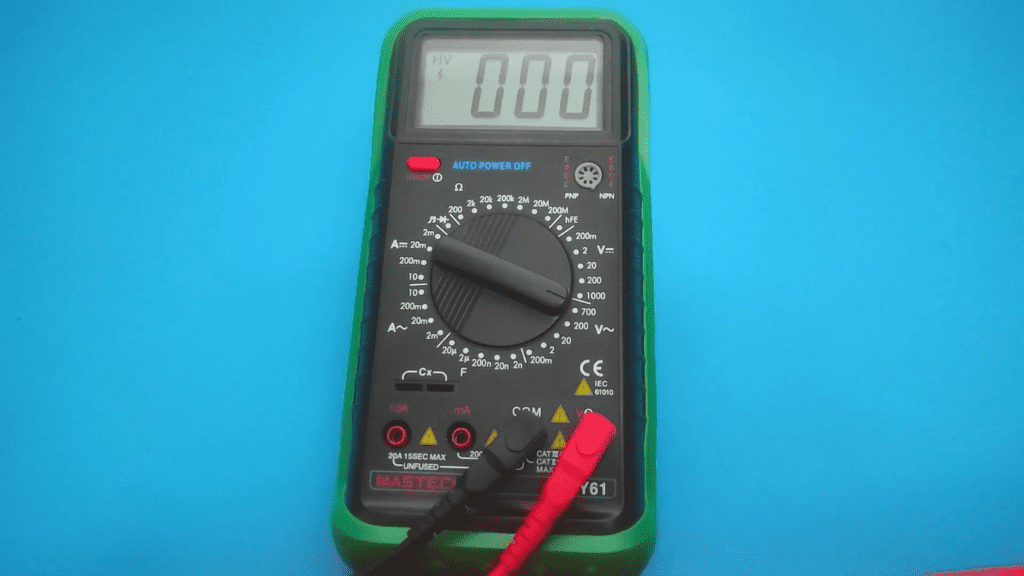
- Set multimeter to continuity or ohm mode
The continuity mode of your multimeter is the most appropriate for this step.
If your multimeter does not have a continuity mode, the ohm setting is also effective.
- Place sensors at points of contact
Now you place the multimeter probes on different contact points in the chuck.
Place the red probe on the metal ledge that carries the current, and ground the black probe on the metal holder.
- Rate results
If the multimeter beeps or reads close to zero (0), then the outlet is good.
If it does not beep or you get "OL", a very high reading, or a "1", then the lamp socket is bad and needs to be replaced.
These readings represent an open loop in the circuit.
Conclusion
After running these two tests, you should have identified the source of the problem.
If the light bulb still does not light up with the socket, you can replace the light bulb.
Alternatively, you check the socket for rust on metal components. Use a cloth or toothbrush dampened with isopropyl alcohol to clean.
F.A.Q.
How many volts does the outlet have?
In a home light fixture, the outlet is expected to have a voltage of about 120 volts (alternating current). If you want to test this with a multimeter, set the scale to the range closest to 120VAC.
Does the light still have power when the switch is turned off?
No, as the power goes through the switch in front of the outlet. However, if power passes through the light outlet to the switch, there will be current in it.
What causes power to be supplied to the outlet, but no light?
If the power to your outlet is OK, but you are not getting light from it, then the power source is not good enough, the outlet is defective, or the light bulb you are using is damaged.
