
How to test a light switch with a multimeter
Content
Has your light stopped working?
Have you changed the light bulb and checked the cartridge, but still can't find what the problem is?
If yes, then another component to diagnose is the light switch.
This could be the culprit. Unfortunately, not many people know how to perform this simple process.
In this guide, we will give you a step by step process to test the light switch with a multimeter.
Let's get started.
How does a light switch work?
A switch is an electrical device that interrupts the flow of current in a circuit.
It is usually a toggle switch, but also comes in different styles such as buttons and rockers.
When the switch is turned on, the circuit is completed and current can flow to the appropriate electrical device.
When turned off, the circuit is opened and the path through which the current flows is interrupted.
This is just the basic anatomy of a light switch, and how it ultimately works depends on the type of switch.
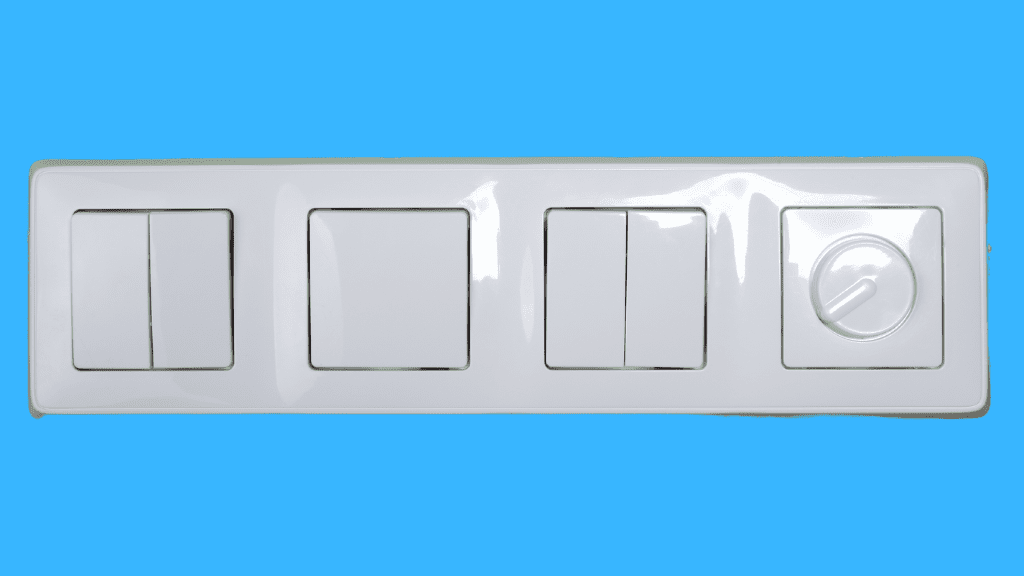
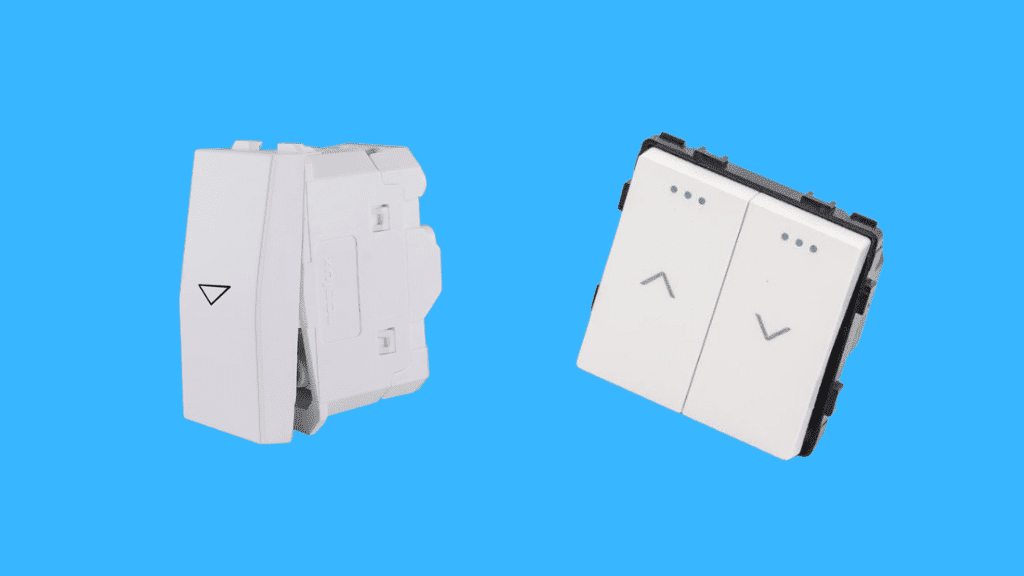
Types of light switches
There are three main types of light switches; single pole switch, three position switch and four position switch.
Single-pole and three-position light switches are most common in homes.
The four position switch is more common in large rooms and hallways.
The single pole switch is the simplest switch and has clear distinctions between on and off.
Metal gates close and connect two wires when the switch is turned on, and vice versa.
A three position switch is used to control one luminaire from two different locations.
It contains one (usually) black wire carrying current (common single pole) and two wires running between two switches (travelers).
A four position switch is used if you want to control the luminaire from three or more different locations.
The setup is similar to the XNUMX position switch, the only difference is the addition of more travelers.
Tools needed to test the light switch
Tools needed to diagnose a light switch include:
- multimeter,
- multimeter probes,
- voltage tester,
- And a screwdriver.
The most important tool for evaluating light switches and other electronic equipment is the multimeter.
How to test a light switch with a multimeter
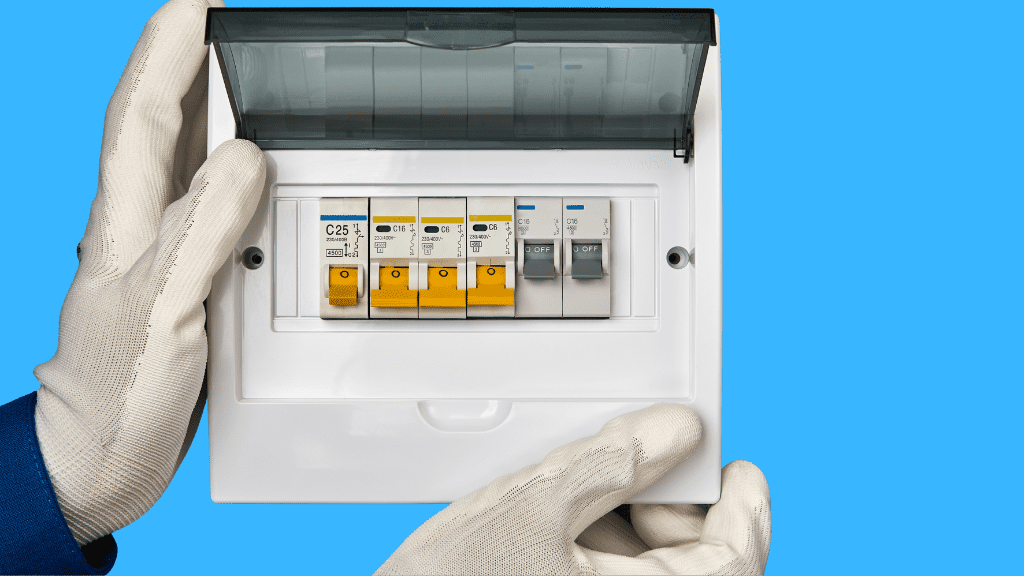
- Turn off the electricity in your home
This is an important preliminary measure as you will need to remove the switch from the wall in order to test it.
To ensure your safety, go to your home machine and turn on the appropriate switches.
If you are using a fuse box, simply disconnect the fuse from the terminals.
However, that's not all. You must be absolutely sure that there is no power to the switch before you pull it out.
To do this, simply use a non-contact voltage tester to check the voltage inside the wires.
If voltage is still present, go back to the switch or fuse box and turn on the appropriate switch or remove the correct fuse.
- Determine the type of light switch
As mentioned earlier, there are up to three types of light switches. Before disconnecting the wires, check which type of switch you have installed.
This is important because the type of light switch you use determines where you place the multimeter test leads.
You also mark where each wire goes so you don't mix them up when reconnecting.
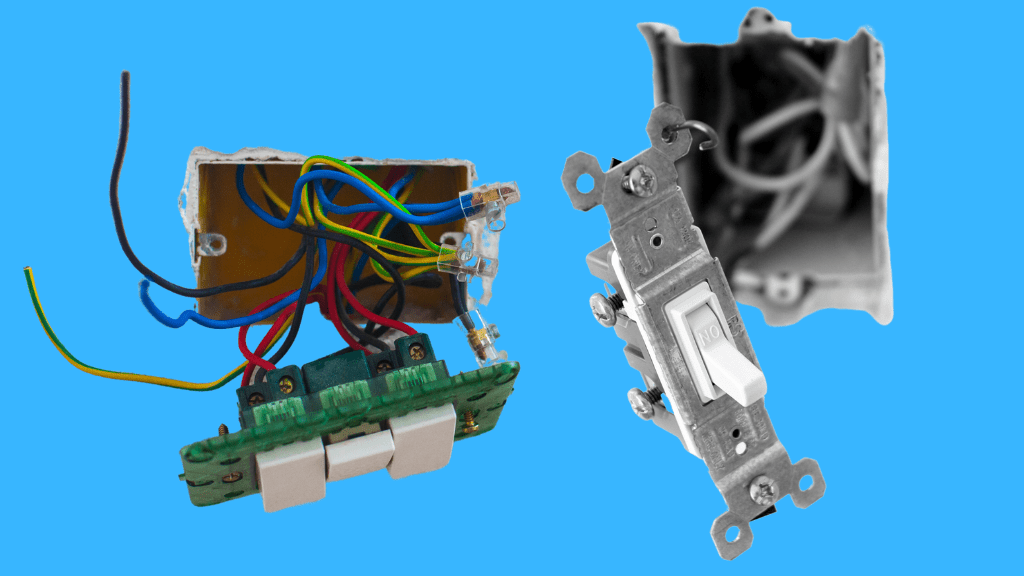
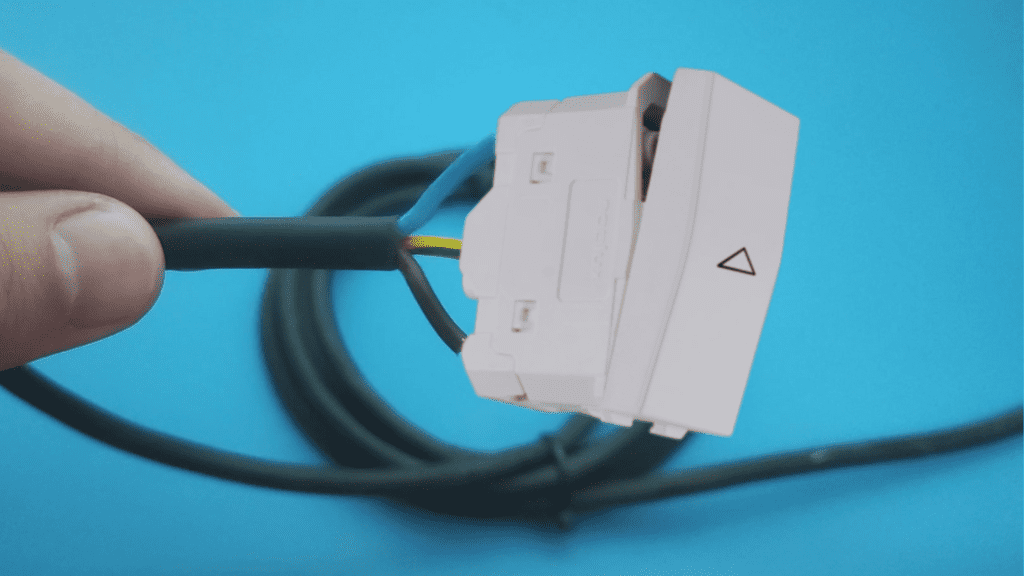
- Disconnect Switch
Now you unplug the switch from the wires to free it.
Just use a screwdriver to loosen the screws on the terminals and pull out all the wires.
If the wires were connected via push-in connections, use a screwdriver to activate the latch and release them.
- Set multimeter to continuity or ohms
With the light switch, we intend to diagnose the state of its electrical circuit.
We check if the circuit has closed or remains constantly open due to damage.
To test the continuity of a light switch circuit, you set the multimeter to continuous mode.
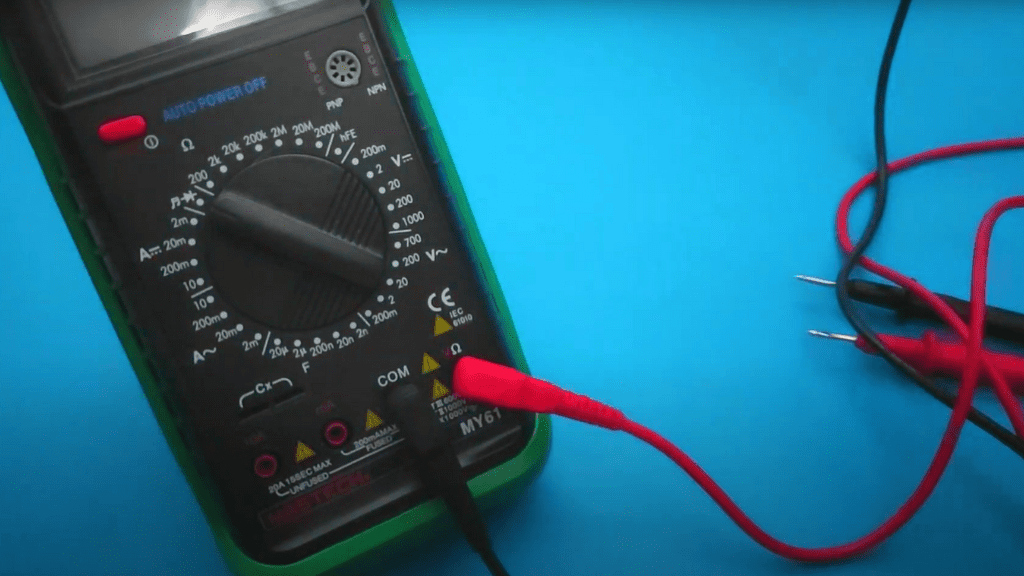
If your multimeter does not have a continuity measurement mode, use the ohm setting.
This checks the resistance in the circuit and helps to determine if there is a fault or not.
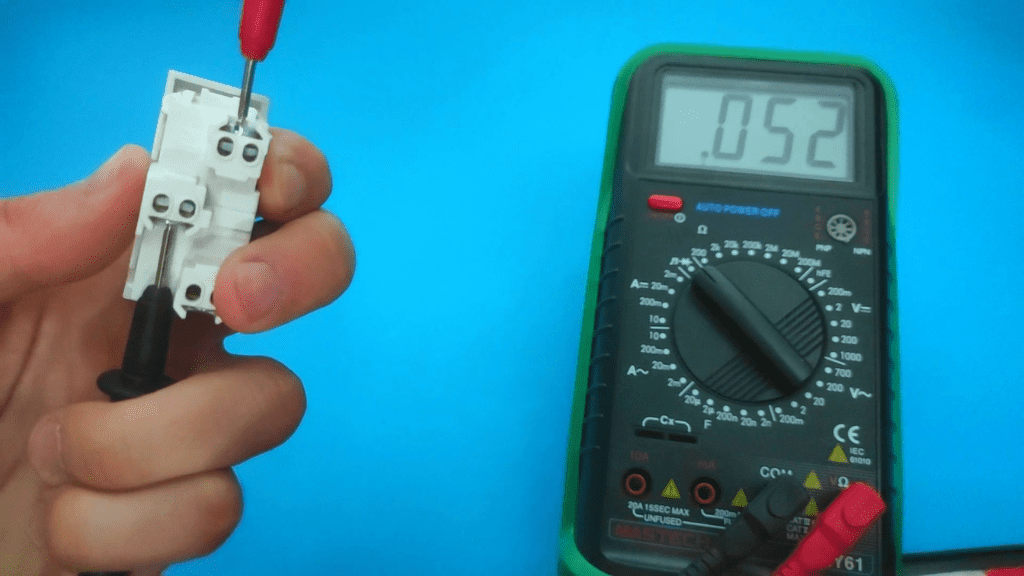
- Place the multimeter leads on the screw terminals
Remember, we talked about how the type of your light switch determines where you place your multimeter leads.
For a single pole switch, simply insert the multimeter probe into the two screw terminals. This is the simplest.
If using a three-position switch, place one multimeter probe on the "common" terminal, usually black.
Place the other multimeter probe on any of the other traveler terminals.
For a four position switch, place one multimeter probe on one of the dark screw terminals and the other probe on the lighter terminal on the same side of the switch.
This other lead can be made from brass.
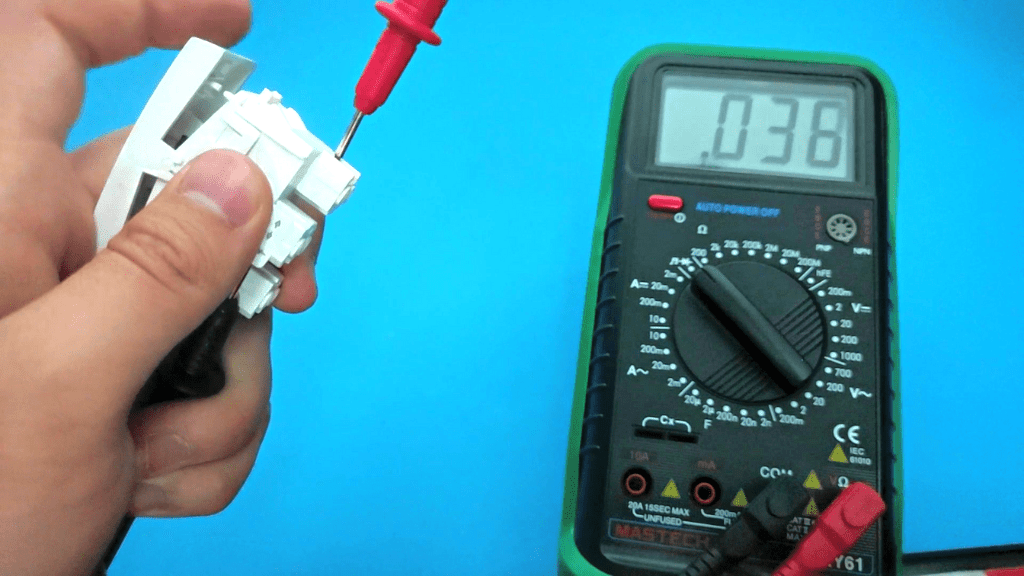
- Rate results
Now, to complete the test, turn on the switch and see what the multimeter shows you.
If the multimeter beeps or shows "0" when the flip is turned on, then the light switch is good.
This means that the chain is completed as expected.
When the flip is off, you break the chain. With a good light switch, the multimeter is silent or shows "1".
If the light switch is faulty, the multimeter is silent or shows "1" even if the switch is on.
Change the switch if you experience this.
If these steps are a bit confusing, here is a video that will walk you through everything you need to know about testing a light switch with a multimeter.

- Connect light switch
If you have determined that the light switch is faulty, you will need to replace it.
In this case, it is desirable to get the same type of light switch that you removed from the wall.
You get a light switch with the same current and voltage ratings.
This makes it easy to reconnect the wires the way you met them and ensure no problems in the future.
Screw the wires tightly into the appropriate terminals and screw the switch back to the wall. Test to make sure everything works fine.
F.A.Q.
How to know if the light switch is on?
Use a non-contact voltage tester to check for voltage on wires. By bringing the tester close to the wire, check if the tester lights up or beeps. This signals that the light switch is energized.
How to know if the light switch is faulty?
When the light switch is faulty, your light bulbs may not light up. You may also hear buzzing, crackling, clicking, or popping sounds when you turn the control. A bad switch can also be hot to the touch.
What causes a light switch to stop working?
A light switch can fail if there is an overload in its circuit. Physical components can also be damaged due to wear and tear when the controller is turned on and off.
