
How to disassemble a lighthouse?
Content
It is important for your safety and the safety of other motorists to be seen on the road. Failure to comply with lighting rules is even punishable in route code... If the lamp breaks down or fire malfunction, therefore it is necessary to disassemble the headlamp to have it repaired before proceeding.
Material:
- Chiffon
- Tools
🔋 Step 1. Disconnect the battery.
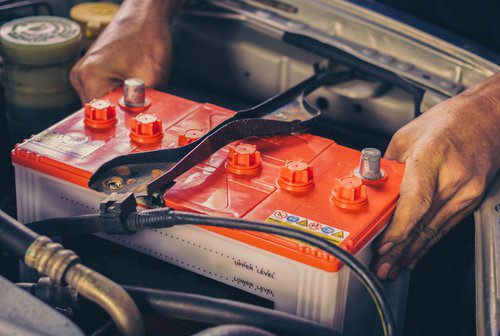
Before disassembling the headlight, be sure to disconnect battery to avoid accidents, especially if you planned to handle the lamp - for example, to replace it. Also let the car cool down, especially the optics. Do not disassemble the headlight after use: you risk getting burned.
🔧 Step 2: Remove the front bumper
The procedure for removing the headlamp depends on the vehicle. On some vehicles, it is not enough to remove the plastic headlight cover. This is really necessary drop it bumper remove the optics from the front. To do this, unscrew the grille fixing screws with a wrench. Usually there are 4 to 6 screws plus a center mount.
Depending on the car model, you may also need to remove the mudguard on the side of the lighthouse that you want to disassemble. For others, you only need to lift the hood and remove the plastic headlight cover. This is especially true for old cars.
Talk to Technical overview your car to find out what situation you will find yourself in. In fact, in order to remove the headlamp, it is necessary to make available the screws that secure the optical assembly. So drop what you need until you get to them.
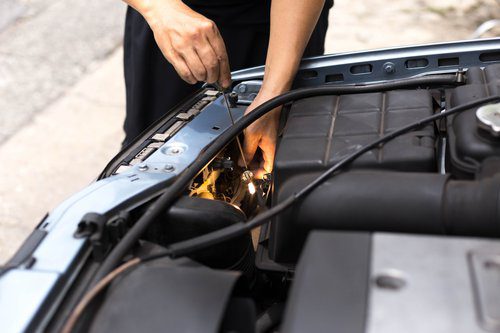
💡 Step 3. Disassemble the optical unit.
When the fixing screws of the optical unit are visible, remove them. Delete plastic cover optical block. To remove the headlamp, pull it towards you, paying attention to Electric wires... You have to disable them, it depends on your car model, as access to them depends on the car.
The white socket is usually the side light and the black socket is the low beam. To disconnect these two sockets, you sometimes need to pull on the tab or pry with a screwdriver. Then disconnect the plugs, and blinking if it is part of the optical unit - again, depending on the model of your car.
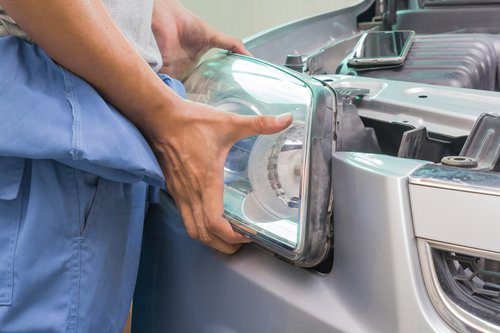
When everything is off you can finally disassemble the lighthouse... You can now remove the light bulb if that was the purpose of the maneuver. You just need to unscrew its capsule and detach the pin from the light bulb. To connect a new one, treat it with a rag and graceful things.
As you climb the lighthouse, don't forget adjust optics... Then, when you reconnect the battery, be sure to check the indicators to make sure everything is working fine.
The taillight is often easier to remove than before: you can access the light from the trunk by pulling on the plastic clip and folding the carpet. Then all you have to do is unscrew the retainer and pull on the headlamp to extract the light and replace the bulb.
Headlight disassembly is a very simple procedure that takes only ten to fifteen minutes on a somewhat old car. But on recent models, technology has complicated the process. Also, removing the headlight varies a lot from car to car. Therefore, it is better to entrust your headlights to a professional; go through our garage comparator to find one you can trust!