How to make a refrigerated glove box in any car
Content
Is it possible to implement the option of a cooled glove box, which is not present in all cars, into your car yourself? Quite. We'll tell you how.
The principle of operation of the cooled glove box
If the car has an air conditioning system, you can connect a glove box to it. To do this, it is enough to connect the upper air duct of the air conditioner, through which the cold air flow flows, to the glove compartment. The degree of cooling will depend on the power of the air conditioner and the intensity of the airflow. The latter, in turn, can be regulated by a special valve mounted when the glove box is connected to the air conditioning duct. The more the passenger deflector in the cabin is covered, the more actively cold air will flow into the glove box and the colder it will be inside it. An undoubted convenience is the possibility of turning a glove compartment cooled in the summer into a heated one in the winter.
Materials and tools needed for work
The main tool that will be required to remove the storage compartment and return it to its original place is a Phillips screwdriver.

In addition, you may need:
- scissors for cutting insulation;
- knife;
- drill.
Of the materials to create a cooling effect in the glove box, you will need:
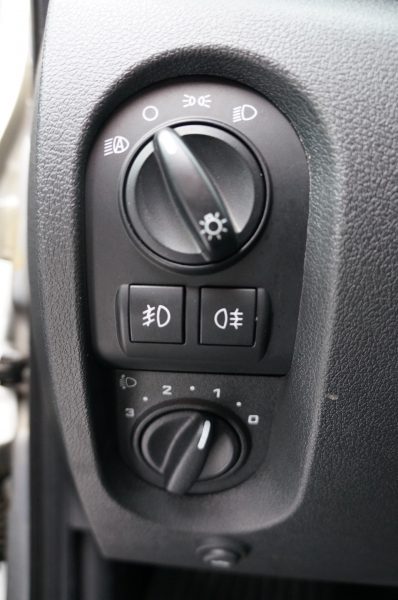
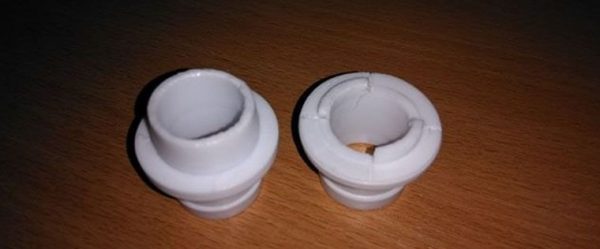
- handle from the headlight corrector "Lada-Kalina" worth 80 rubles;
 This top-mounted headlight corrector knob on the Lada Kalina is very well suited for making a valve valve
 drain hose for a washing machine (0,5 m) at a price of 120 rubles;
2 fittings (with rubber gaskets) worth 90 rubles;
Such fittings and rubber gaskets in it will require a pairinsulation material, which costs 80 rubles / sq. m;
Madeleine ribbon at the price of 90 rubles;
- 2 small screws;
- 2 clamps;
- glue Moment worth 70 rubles.

To cool the glove compartment on cars of any brand, a half-meter hose is enough. Most often it has to be shortened, based on the layout of the parts. Insulating material is also enough in almost all cases in the amount of not more than 1 sq. m.
Instructions on how to make a cooled glove box
Glove boxes on all cars are connected to the air conditioning system according to the same principle and in a similar way.
The general scheme looks like this:
- Get the glove box out of the dashboard, which happens differently in each car make and model and requires special actions.
- Install a valve in the glove compartment that regulates the air supply.
- Make a hole in the upper air duct of the air conditioner and insert a fitting into the hole.
- Install the second fitting on the back of the valve.
- Tape the outside of the glove compartment with insulation.
- Put the glove box back in place.
- Wrap the hose with madeleine.
- Connect the hose to the air duct fitting and the other end to the glove box fitting.
- Return the storage box to its original place.
Here are the step-by-step actions to give the glove box cooling functions using the Lada-Kalina car as an example:
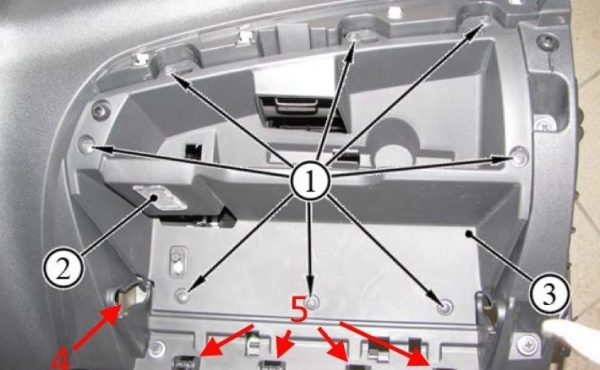
- The glove compartment lid is removed by pressing on the engagement of the left or right (number 4 in the diagram) hinges and snapping off 4 latches (5) on the underside of the lid. To remove the drawer cover (3), you must first dismantle the decorative trim by pulling it towards you, overcoming the force of the locks. After that, using a Phillips screwdriver, unscrew the 8 fixing screws (1) and then disconnect the mounting block (2) with the wires leading to the lamp in the glove box.Using this diagram, you can easily remove the cover and body of the glove box
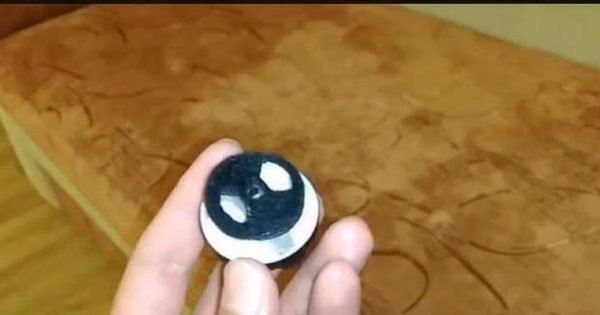
- To make a valve, it is necessary to cut a circle from any hard plastic with a diameter corresponding to the diameter of the lower part of the headlight adjustment knob. In the plastic circle, you need to make a small hole in the center and two in the form of a butterfly on the sides.These butterfly holes will either let in or slow down cold air.
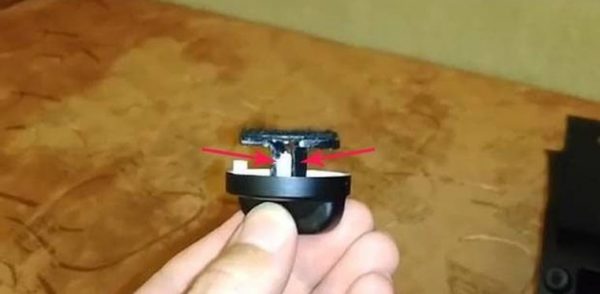
- From the same plastic, you need to cut 2 parts in the form of the letter "G". With the vertical side they are glued by the Moment to the square stem on the handle, and the horizontal side - to the plastic circle.Thus, the valve circle with butterfly holes is attached to the handle.
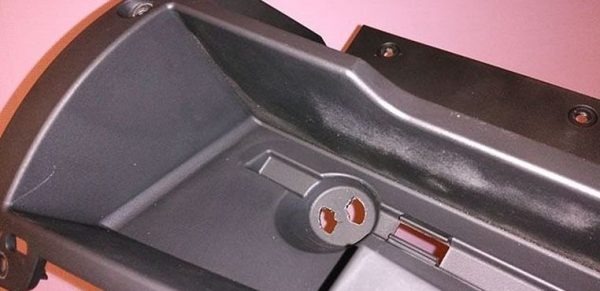
- In the recess located at the bottom left of the box, you need to make a pair of the same butterfly-shaped holes as on the valve. Along the edges of the same recess, you need to screw in 2 self-tapping screws, which are designed to limit the stroke of the handle.Butterfly holes are made in the lower left part of the glove box
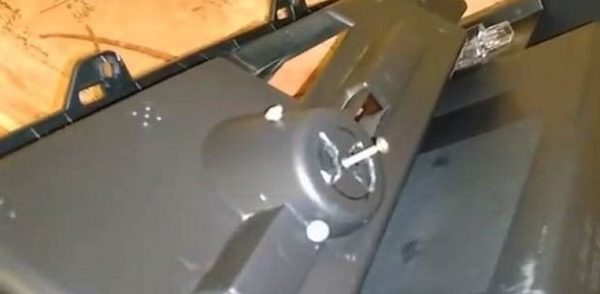
- Then you need to install the valve in the recess and fix it on the back side with a screw. Before doing this, you need to drill the stem of the valve handle with a drill slightly smaller than the diameter of the screw. The valve handle must not wobble.A screw is screwed into the back of the valve
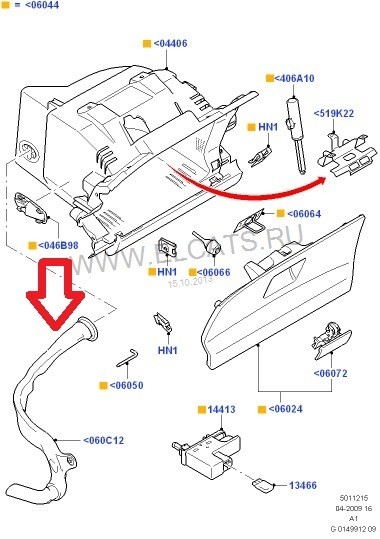
- The fittings are processed with a knife in different ways. In the picture, the left fitting is for the air duct, and the right one is for the glove box.Air duct and glove compartment fittings are processed differently
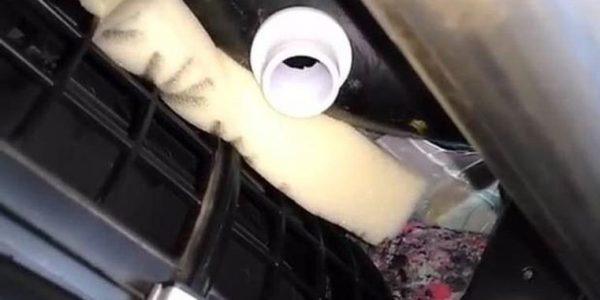
- A hole is made in the upper air duct of the air conditioner, slightly smaller than the diameter of the fitting. The latter is attached to it with glue.In the upper air duct of the air conditioner, the fitting is attached with glue
- The rubber end of the hose intended for the glove compartment must be shortened to avoid contact with the heater fan.This rubber end needs to be shortened like this
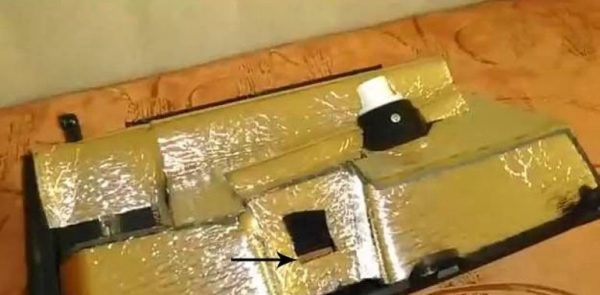
- After that, the glove box is glued on the outside with a thermally insulating material, and the extra holes, except for the keyhole, are sealed with madeleine.It is necessary not only to paste over the body of the glove box from the outside with a heater, but also to close up extra holes on it
- The hose is also wrapped with madeleine.For thermal insulation, the hose is wrapped with Madeleine tape
- The glove box returns to its original place.
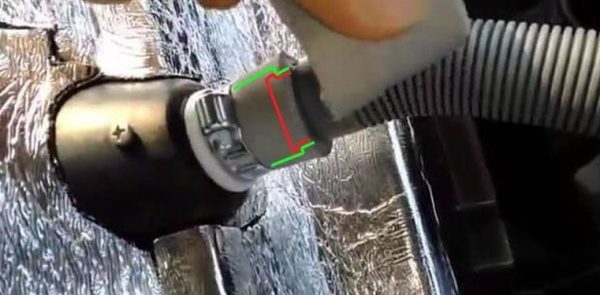
- The shortened rubber end of the hose is put on the glove box fitting, and the other end is put on the upper air conditioning duct fitting. Both connections are tightened with clamps.
The only difference is the way the glove box is removed on each model. If in Lada-Kalina, as mentioned above, in order to remove the glove compartment, it is necessary, among other things, to unscrew 8 fixing screws, then, for example, in Lada-Priora, it is enough just to loosen 2 latches on the left and right. There are already 4 latches on the Lada Grant and they are located at the back, but there are no fixing screws here either.
Features of installation on different car models
When installing a cooling system in the glove compartments of foreign cars, it is also first of all necessary to take into account the design features of their fastening in the dashboard:
- In a KIA Rio car, to remove the glove box, you just need to remove the limiters on the right and left sides.
- But on the Nissan Qashqai, you will have to unscrew 7 mounting screws located apart and then also remove 2 latches.
- It is even more difficult to remove the glove box in the Ford Focus lineup. To do this, you first have to remove the side plug, then unscrew the black screw under the plug (in no case touching the white one!), After which you need to unscrew the two screws already inside the glove box. But that's not all. Then you need to unfasten the latches under the drawer and remove the fabric lining located there. After that, you will need to unscrew 2 more screws, and then release the glove box body from the clips holding it, performing this operation with the utmost care due to the fragility of the glove box body.
- On Mitsubishi Lancer, the process of removing the glove box is fundamentally different from the one described above. There it is enough just to remove the latch located in the left corner of the glove compartment. And that's it!
- Simply remove the glove box on the Skoda Octavia. There, a flat screwdriver wrapped in some soft cloth should be slightly pushed into the gap between the glove compartment and the dashboard, first on the right and then on the left with a slight pressure, after which the glove box is released from the clips holding it.
- The glove box on the VW Passat is even easier to remove. There it is enough with a screwdriver just to squeeze out the latch located below.
With all the above manipulations, one should not forget about disconnecting the lighting in the glove compartment, which is present in the vast majority of car models.
Video: installing a cooling system in the glove compartment

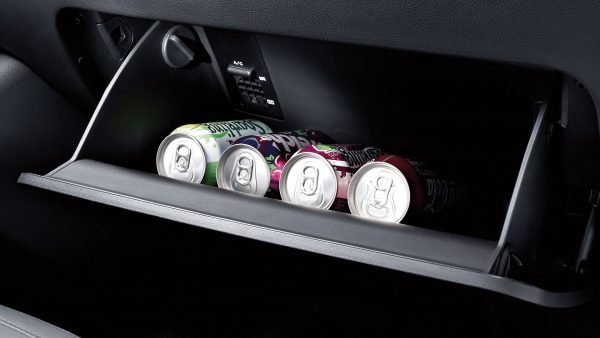
If the purchased car does not have the option of a refrigerated glove box, this does not mean a big problem for those who like to have chilled drinks at hand in their car in the heat. It is quite easy to give the glove compartment cooling properties if you have an air conditioning system in the car and minimal skills in owning a screwdriver, drill and knife.

