How to remove stickers from a car
Content
Stickers exist for a lot of ideas, political opinions, brands, bands and everything else in the world. There are even ones that represent your child's report card! Some stickers are attached to the car directly at the dealer, others we stick ourselves. But when our ideas and favorite bands change, or our kids graduate from school, there comes a time when we want to take your bumper stickers off.
While removing stickers from a car is not as easy as putting them on, it doesn't have to be a tedious process. Here we have some cool tricks and with the help of a few household items you will be able to remove stickers from the bumper or windows of your car in no time.
Method 1 of 2: Use a bucket of soapy water and tar remover.
Necessary materials
- A bucket of soapy water (preferably warm)
- Plastic spatula (or any plastic card like a credit card)
- Rag
- Razor (only for removing window stickers)
- Sponge
- Resin Remover
- Window cleaner (for removing stickers from windows)
Step 1: Peel off the sticker. Cleaning the sticker will make it easier to remove it from the vehicle.
Clean the sticker and the area around the car with soapy water and a sponge to remove excess dirt and soften the sticker (especially if it's old and weathered).
If the sticker is on the window, replace the water with window cleaner if desired.
Step 2: Wipe off excess water. Wipe off excess water with a rag and then spray the sticker with plenty of tar remover.
Let the tar remover soak into the sticker for about five minutes. Waiting will help break down the adhesive on the back.
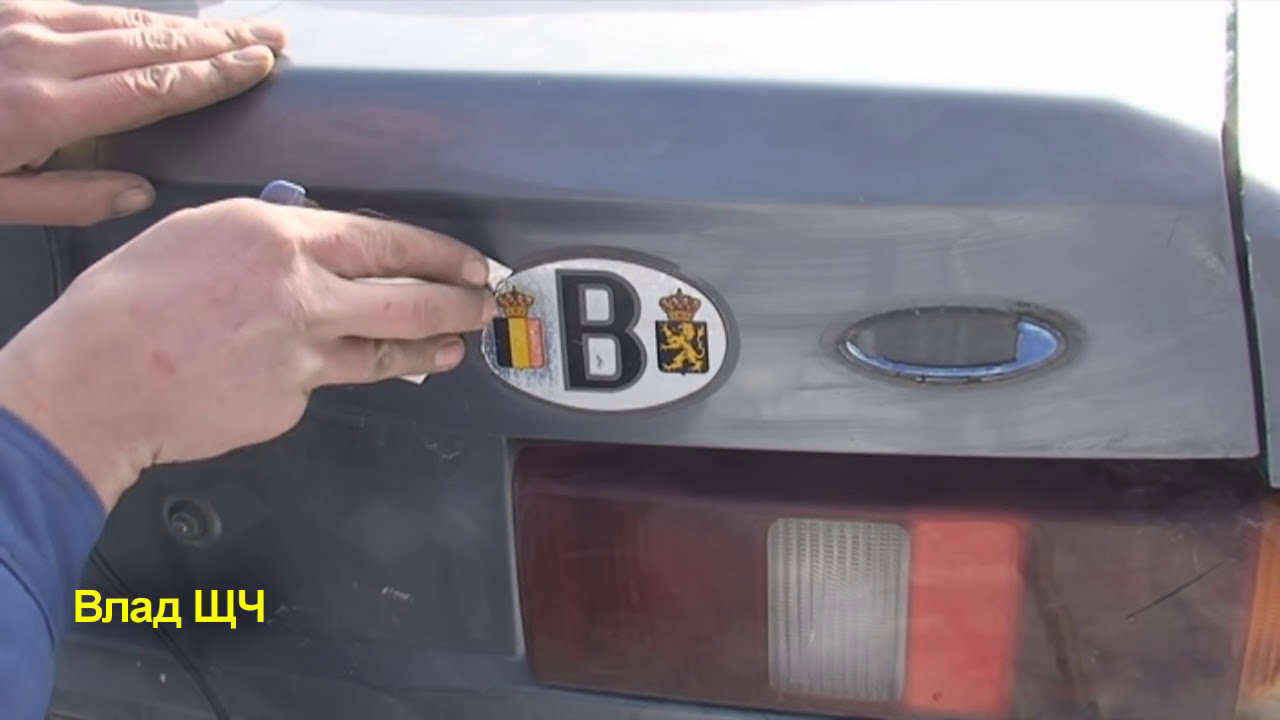
Step 3: Gently pull one of the corners of the sticker.. If the sticker is on the body of your car, pry up one of the corners with a plastic spatula, plastic credit card, library card, or even your fingernail.
If the sticker is on a window, carefully pry one corner off with a razor.
- A warning: Take precautions and be very careful not to cut yourself with a razor. Do not use a razor to remove a sticker from a car body. This will scratch the paint.
Step 4: Peel off the sticker. After you pry up the corner with a plastic tool or a razor, grab the corner with your hand and start removing it.
Remove as much of the sticker as possible. If necessary, spray more tar remover and repeat the process until the decal is completely removed.
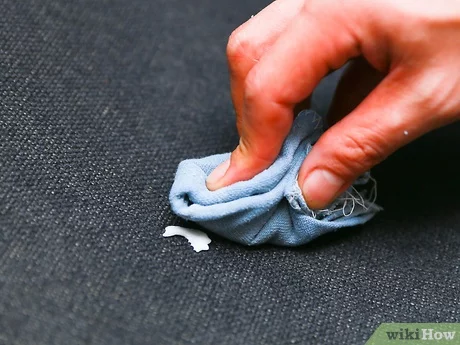
Step 5: Clear the area. Clean the place where the sticker used to be.
Use a sponge and soapy water or window cleaner to remove any residue the sticker may leave.
After applying soap or cleanser, wash off the affected area and then dry it.
Method 2 of 2: Use a hair dryer and a credit card
Necessary materials
- Clean rag
- Hair dryer (with hot setting)
- Plastic card (credit card, ID card, library card, etc.)
- Razor (only for removing window stickers)
- Surface cleaner
- Window cleaner (for removing stickers from windows)
Step 1: Peel off the sticker. Clean the decal and the surrounding area of your vehicle with a surface cleaner and a rag to remove excess dirt and soften the decal (especially if it is old and weathered).
If the sticker is on a window, replace the surface cleaner with a window cleaner.
Step 2: Use a hair dryer. Turn on the hair dryer and set the heat setting to hot. Turn it on and hold it a few inches away from the sticker.
Heat one side for about 30 seconds. The adhesive on the back of the sticker should start to melt.
Step 3: Remove the sticker from the corner. Once the sticker is hot and pliable, turn off the hair dryer and set it aside. Use a plastic card or a razor (only for removing window stickers) to go over one corner of the sticker until it begins to peel off. Remove as much of the sticker as possible.
- A warning: Take precautions and be very careful not to cut yourself with a razor. Do not use a razor to remove a sticker from a car body. This will scratch the paint.
Step 4: Repeat steps as needed. Repeat steps 2 and 3 as needed, using a hair dryer and a plastic card or razor alternately until the sticker is completely removed.
Step 5: Clear the area. Clean the area with a surface cleaner or window cleaner to remove any excess residue that the sticker may have left.
After cleaning the area, rinse it again and then dry it.
- Functions: After all stickers and other debris have been removed from the car body, it is recommended to wax the paint. The wax protects and seals the paint, improves its appearance and makes it more durable. The materials that are used to remove the adhesive can also thin the clearcoat and remove any wax previously present from the paint.
Generally, removing stickers from inside and outside of a vehicle increases its value. This job requires patience and a calm approach. This can be very tiring and frustrating, so if you find yourself on the verge of losing your cool, take a step back and rest for a moment before continuing. By removing the decal, you can restore your car to its original appearance and add new decals of your choice.