
How to Remove a Milwaukee Drill Chuck
Content
If you have a Milwaukee drill, you might be wondering how to remove its chuck; I'll make it simple in my guide below!
Frequent drill breakage may indicate the need to replace the drill chuck. In any case, the cartridge wears out with prolonged use. If it doesn't open or close smoothly, it might be time to replace it. It's not as difficult as you think.
In general, to remove a Milwaukee cordless drill chuck:
- Remove the battery
- Switch the function to the lowest value.
- Remove the screw holding the cartridge (clockwise).
- Remove the chuck with a hex wrench (counterclockwise) and with a rubber mallet.
I'll go into more detail below.
Requirements
New drill chuck
Before we can replace a Milwaukee drill chuck, you will need to purchase a new part. Here is the part of the Milwaukee exercise that we are going to change:
Required Tools
In addition, you will need the following tools to replace a Milwaukee drill chuck, in addition to a new insert chuck:
Changing the drill chuck
Step Diagram
If you're in a hurry, here are the steps to quickly change your Milwaukee drill chuck:
- Step 1: Remove the battery if it is a cordless drill.
- Step 2: Shift the gear to the lowest setting.
- Step 3: Set the clutch to drilling mode.
- Step 4: Remove the screw holding the cartridge (clockwise).
- Step 5: Remove the chuck with a hex wrench (counterclockwise) and with a rubber mallet.
- Step 6: Replace cartridge.
- Step 7: Reinsert and tighten the chuck fixing screw (counterclockwise).
Direction of rotation
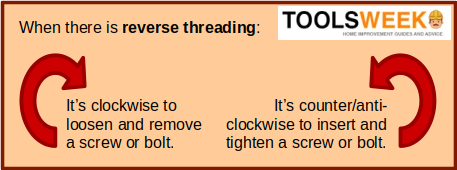
You may have noticed that rotation directions are opposite to what you normally do to loosen or tighten something.
This is due to reverse threading in some tools, including the Milwaukee drill. To emphasize this point, here is an illustration of the use of reverse threading. It is important rotate in the correct direction to prevent damage to the cartridge assembly.
Detailed steps
Here are the same steps as above, in more detail and with illustrations:
Step 1: Remove the battery
If the Milwaukee drill requiring a replacement chuck is cordless, remove the battery first. If it is wired, then pull out the plug.
Step 2: Change gear
Shift the Milwaukee planter transmission to the lowest gear by shifting the gear selector. In this case, it is set to position "1". (1)
Step 3: Install the clutch
Rotate the clutch to drill mode. In the picture above, it is in the first mode on the left of the three available modes.
Step 4: Remove the screw
Open the Milwaukee drill chuck to its widest position and use a screwdriver to remove the screw holding the chuck. The screw will probably be reverse threaded so you will need to turn the driver clockwise to loosen and remove it.

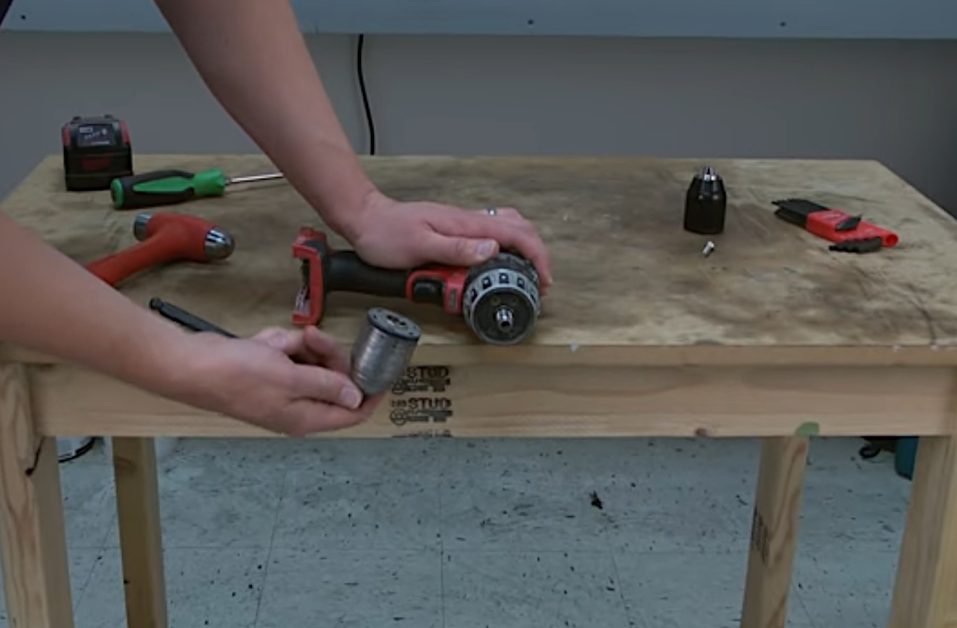
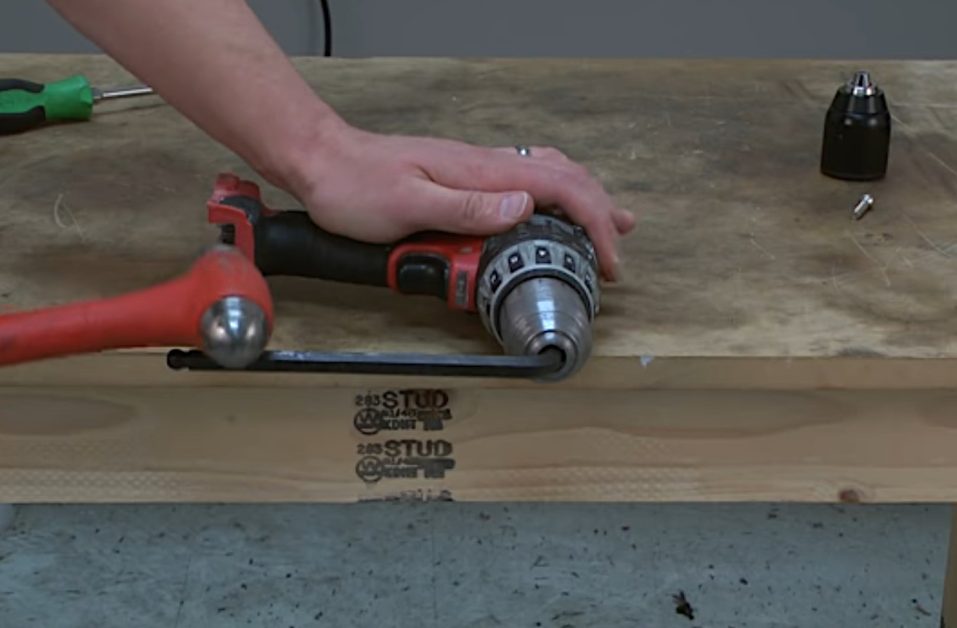
Step 5: Remove the chuck
After the screw holding the Milwaukee drill chuck is removed, use a hex wrench to remove the chuck (see picture below). Insert the short end of the key into the chuck and turn the long end. You may need to place the cartridge along the edge of the surface and use a rubber mallet to loosen it. Remember rotate wrench counterclockwise direction. Continue turning until the chuck assembly disengages from the spindle.
A warning: Turning the wrench in the wrong direction (clockwise) will tighten the chuck further and may damage the chuck assembly. If the chuck does not loosen, hit the long end of the hex wrench several times with a rubber mallet. If the chuck is still tight or stuck, spray some cleaning agent on it before turning it again. (2)

Step 6: Replace cartridge
Once the old Milwaukee drill chuck is removed, thread the new one onto the spindle. Tighten the chuck assembly by hand as far as possible.

Step 7: Reinsert the screw
Finally, reinsert the Milwaukee drill chuck lock screw and tighten it with a screwdriver. Remember turn the screw counterclockwise to keep him safe.
Your Milwaukee drill is ready to go again with a new chuck!
Take a look at some of our articles below.
- What is a step drill used for?
- What is a VSR drill
- How to screw into concrete without a puncher
Recommendations
(1) transmission – https://help.edmunds.com/hc/en-us/articles/206102597-What-are-the-different-types-of-transmissions-
(2) rubber - https://www.frontiersin.org/articles/450330
Video link

