How to install a DVD player in a car
Content
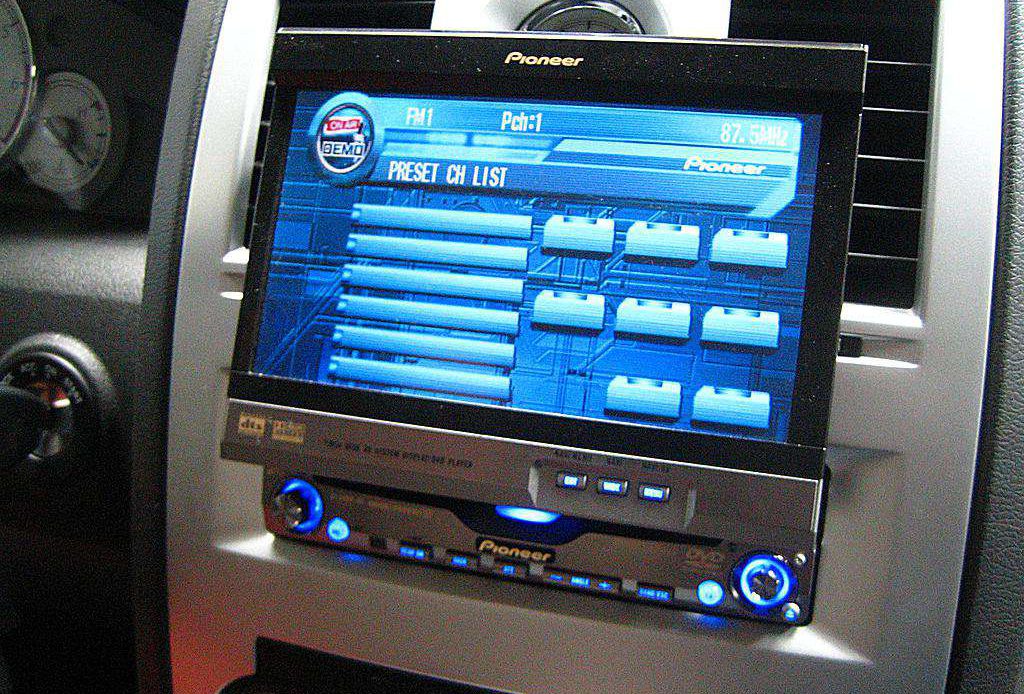
Install a car DVD player in your car to keep your passengers entertained on the road. This article will show you how to install car DVD players in your dashboard.
A DVD player installed in your car can be a source of endless entertainment for passengers on long journeys, as well as a way to entertain children. Installing a DVD player can be a simple addition to add to your car's appeal. These DVD players come in many forms: some fold out of the radio, some come down from the ceiling, and still others can be mounted at the back of the headrests. You will need to decide which style of DVD player best suits your needs.
This article will talk about installing built-in retractable DVD players. With a few simple tools and a few hours of time, you can keep your passengers entertained for hours.
- A warningA: The driver should avoid looking at the dashboard of the DVD player while driving. Common sense and caution should be used, and attention should always be paid to the road.
Part 1 of 3: Removing the Radio
Necessary materials
- Blue masking tape
- DVD player
- Instructions on how to remove the radio from the car
- Set of plastic mounts
- Radio removal tool
- Screwdriver
- Towel
Step 1: Prepare the radio for removal. Before doing any work on the dashboard, disconnect the negative cable from the car battery.
Cover the area around the radio with masking tape. This is done to prevent scratches on the dashboard, the repair of which can lead to costly repairs.
Then cover the center console with a towel. The towel is used to provide a safe place to install the radio and DVD player, and to protect the console.
Step 2: Locate all the screws that hold the radio unit in place and remove them.. The screws can be hidden under various panels on the dashboard, and their location varies by make and model.
See manufacturer's instructions for removal.
Once the block is unscrewed, use the plastic pliers to pull on the edges of the radio block and remove it. Most blocks are screwed on and also have clips to hold them in place. A plastic pry bar is used to avoid damaging the device and breaking these clips.
Once the device is removed, disconnect any wires that connect to the radio and hold it in place.
Part 2 of 3: Installing the DVD Player
Step 1: Find the wires that power the radio. Find a conversion harness: it will have a rectangular plastic port with wires in different colors.
This harness connects to your existing radio wiring and then connects to your new DVD player, making wiring easy.
Step 2: Install DVD Player. The DVD player should snap into place.
After the block is latched, install the screws that were removed with the radio block.
Check the fit of the DVD box: Depending on the radio, different adapters and faceplates may be required to properly install the DVD box.
Part 3 of 3: Device Testing
Step 1: Connect the negative battery cable.. Make sure the DVD device is turned on.
Step 2: Check if the functions of the DVD player are working properly.. Check the radio and CD functions and make sure the sound is working properly.
Insert the DVD into the player and make sure the video and audio playback works.
At this point, you should have a properly installed clamshell DVD player in your car. Sit back and watch your passengers enjoy all the hard work you put in the next time you travel!
Remember that the driver should never look at the DVD player screen while driving.
If you have any questions during installation, feel free to contact AvtoTachki. Our certified mobile mechanics are ready to answer any questions you may have or come out to provide you with a service.