How to replace a car track
Replacing the tie rod involves raising the car in the air and using a wrench to tighten the tie rod to the correct torque.
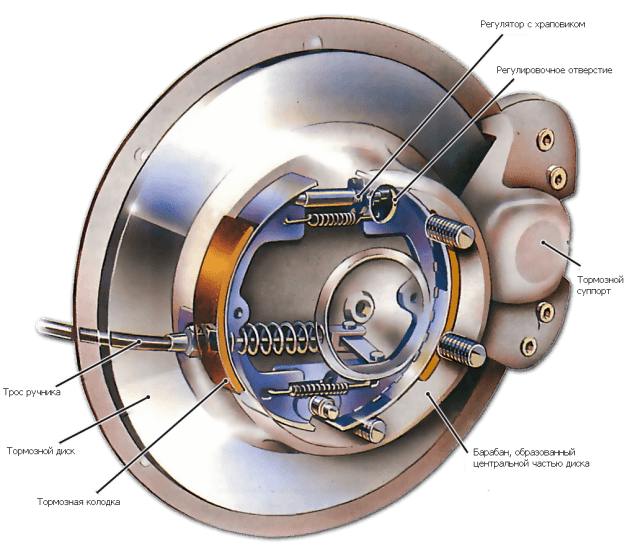
The track is a suspension component that is commonly used on vehicles with solid axles, both rear-wheel drive and all-wheel drive. One end of the track is attached to the chassis, and the other to the axle. This keeps the axle in the correct position and prevents excessive lateral and longitudinal movements. A worn or loose track can lead to uncontrolled ride and poor handling. You may experience noise on bumps, a wandering/loose ride, or a combination of both.
Part 1 of 2: Jacking up and supporting the car.
Necessary materials
- Floor jack - make sure it is of your vehicle's Gross Vehicle Weight Rating (GVWR) or higher.
- Hammer
- Jack stands - also match the gross weight of your vehicle.
- Brine fork - Also known as a ball joint splitter.
- Ratchet/Sockets
- Wrench
- Wheel chocks/blocks
- Keys - open / cap
Step 1: Jack up the car. Install wheel chocks behind and in front of at least one rear wheel. Place a jack under the differential as shown in the picture above. Raise the vehicle until it is high enough to be supported with the jacks set as low as possible.
Step 2: Jack up the car. Install the jack legs equally spaced either under the axle or under the strong points of the frame/chassis. Slowly lower the car onto the jacks.
Part 2 of 2: Steering rack replacement
Step 1: Remove the bolt at the end of the frame mount.. Using a socket and an appropriately sized wrench, remove the bolt securing the solid end of the cross member to the frame/chassis mount.
Step 2: Remove the bolt at the end of the swivel mount.. Depending on the swivel tie rod mount on your vehicle, a socket and ratchet or box/open end wrench will work best here. Use the appropriate one to remove the nut securing the pivot end to the axle.
Step 3Remove the trackbar. The end of the frame/chassis should come out straight with the bolt and nut removed. The swivel end may come out immediately or some persuasion may be required. Insert the pickle fork between the rail and the mounting surface. A few good hits with the hammer should make it fall out.
Step 4. Install the cross member on the chassis side.. Install the cross member on the chassis/frame side first. Leave the bolt and nut hand-tight for now.
Step 5: Install the swing side of the cross member onto the axle.. Tighten the nut by hand to hold the track in place. Tighten both ends of the link, preferably with a torque wrench. If a torque wrench is not available, tighten both sides with hand tools, not air tools if you choose to use them. After tightening, lower the car from the jacks.
- Functions: If torque data is not available for your vehicle, tighten the cross member approximately 45-50 lb-ft at the chassis/frame attachment end and approximately 25-30 lb-ft at the swing end, typically. The hinged end can break much more easily if it is overtightened. If you need help with a tie rod replacement or any other service, invite an AvtoTachki field specialist to your home or office today.