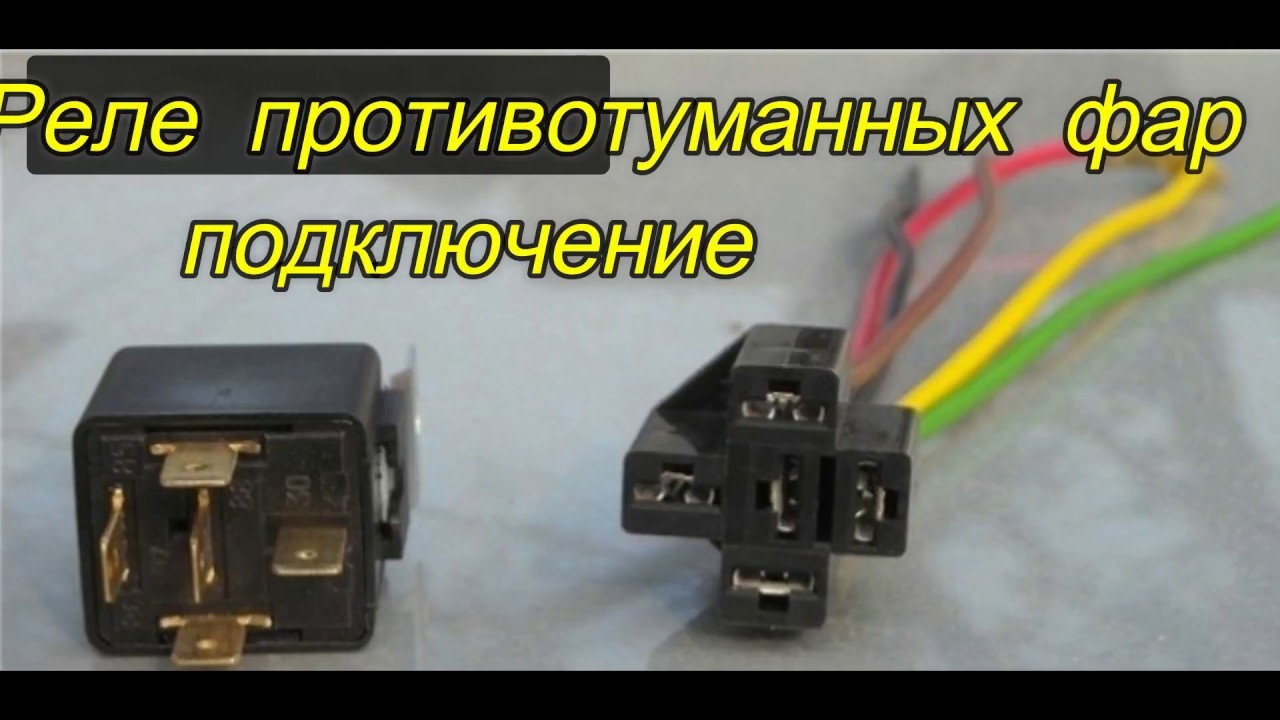
How to replace the fog lamp relay
Fog lights improve driver visibility when driving in dense fog. Clicking sounds and faulty headlights are signs of a faulty fog lamp relay.
Most, but not all, cars today are equipped with fog lights. Initially, fog lights were designed to facilitate visibility in foggy conditions. For this reason, most manufacturers usually install fog lamps in the front bumper or on the lower fairing.
Symptoms of a malfunctioning fog lamp relay include a clicking sound when turned on or fog lamps not working properly. Most often, the fog lamp relay is located in the fuse and relay box under the hood. The underhood fuse/relay box can be installed in any of several locations under the hood. It can be installed on both the driver and passenger side, as well as in front or behind the engine compartment.
Part 1 of 1: Fog Lamp Relay Replacement
Necessary materials
- Relay removal pliers (optional)
- Screwdriver Set
Step 1: Locate the relay/fuse box under the hood.. Open the hood and locate the fuse/relay box. Manufacturers usually label the box with the word "Fuse" or "Relay" on the lid.
Step 2: Remove the under hood fuse/relay box cover.. The fuse/relay box cover can usually be removed by hand, but sometimes a small screwdriver may be needed to gently pry the locking tabs and release them.
Step 3. Identify the fog lamp relay to be replaced.. Identify the fog lamp relay that needs to be replaced. Most manufacturers provide a diagram on the cover of the fuse/relay box under the hood that shows the location and function of each fuse and relay located inside the box.
Step 4: Remove the fog lamp relay to be replaced.. Remove the fog lamp relay to be replaced. This can usually be done by holding it between your fingers and pulling it up and out, or with pliers.
Often you have to rock it back and forth when you pull on it.
- AttentionNote: You can also use a small screwdriver to gently pry the fuse or relay out of its position, as long as you are very careful not to touch the metal terminals on them. This can cause a short circuit and lead to additional problems.
Step 5: Match the replacement fog lamp relay with the original one. Visually compare the replaced fog lamp relay with the removed one. Make sure it has the same basic dimensions, the same amperage rating, and that the terminals are the same number and orientation.
Step 6: Insert the replacement fog lamp relay. Align the replacement fog lamp relay with the recess where the old one came out. Carefully place it in place and push it in until it stops. The base should be flush with the fuse box and about the same height as the relay around it.
Step 7: Replace the underhood fuse/relay box cover.. Place the cover of the fuse/relay box under the hood back on the fuse/relay box and push it until it engages the latches. When turned on, there should be either an audible click or a tangible click.
Step 8: Confirm Relay Fuse Replacement. After everything is reinstalled, turn the ignition to the "work" position. Turn on the fog lights and check the operation of the fog lights.
Although fog lights are considered more of a convenience item than a safety feature, in areas where fog is more common, fog lights can provide a better and safer driving experience. If at any point in the process you feel that you can use a manual fog light relay replacement, contact professional craftsmen such as those at AvtoTachki. AvtoTachki employs trained and certified specialists who can come to your home or work and perform repairs for you.