How to Replace Variable Valve Timing (VVT) Solenoid
The valve timing system solenoids fail when the Check Engine light comes on, fuel consumption decreases, rough idle occurs, or power is lost.
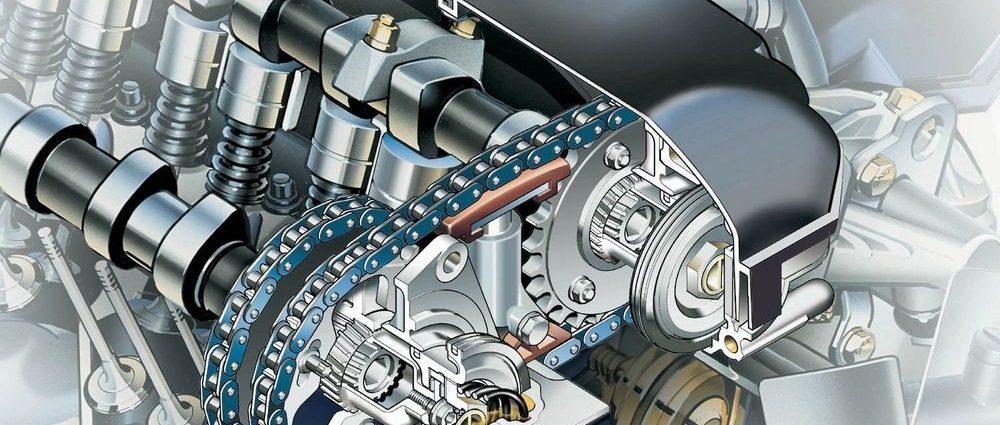
The variable valve timing (VVT) solenoid valve was designed to automatically adjust the valve timing in an engine based on how the engine is running and what load the engine is under. For example, if you are driving on a flat road, the variable valve solenoid will "slow down" the timing, which will reduce power and improve efficiency (fuel economy), and if you have company and you are driving uphill, the variable valve timing will "lead" the timing , which will increase the power to overcome the load it takes.
When it's time to replace the variable valve timing solenoid or solenoids, your vehicle may experience symptoms such as the Check Engine light coming on, loss of power, poor fuel economy, and rough idle.
Part 1 of 1: Replacing the variable valve timing solenoid valve
Necessary materials
- ¼” ratchet
- Extensions ¼” - 3” and 6”
- ¼” sockets - metric and standard
- ratchet ⅜”
- Extensions ⅜” - 3” and 6”
- ⅜” sockets - metric and standard
- A box of rags
- Bungee cords - 12 inches
- Channel blocking pliers - 10" or 12"
- Dielectric grease - optional
- Flash
- Lithium Grease - Mounting Grease
- needle nose pliers
- Pry bar – 18” long
- Dial Selection - Long Dial
- Service Manual - Torque Specifications
- telescopic magnet
- Variable valve timing solenoid/solenoids
Step 1: Raise and secure the hood. If there is an engine cover, then it must be removed.
Engine covers are a cosmetic feature that manufacturers install. Some are secured with nuts or bolts while others are snapped into place.
Step 2: Disconnect the battery. The most common nut sizes for battery terminals are 8mm, 10mm and 13mm.
Loosen the positive and negative battery terminals, twist and pull the terminals to remove them. Set the cables aside or tie with an elastic cord so that they do not touch.
Step 3: Variable Valve Timing Solenoid Location. The variable valve timing solenoid valve is located at the front of the engine, usually near the front of the valve cover.
Try looking at the new solenoid to match the shape and help you find it. The connector is the open end of the variable valve timing solenoid valve. In the image above, you can see the connector, the silver solenoid housing, and the mounting bolt.
Step 4: Clear the area. If there is anything in the way, such as vacuum lines or wiring harnesses, secure them with a bungee.
Do not disconnect or pull to prevent damage or confusion.
Step 5: Locate the Mounting Bolts. In most cases, there is one mounting bolt, but some may have two.
Be sure to look at the solenoid mounting flange for inspection.
Step 6: Remove mounting bolts. Start by removing the mounting bolts and be careful not to drop them into slots or holes in the engine bay.
Step 7: Disconnect the solenoid. Remove the connector on the solenoid.
Most connectors are removed by pressing the tab to release the lock on the connector itself. Be very careful not to pull on the wire; pull only on the connector itself.
Step 8: Remove the solenoid. The variable valve timing solenoid can jam, so start by taking a couple of channel locks and gripping the strongest point of the solenoid.
It can be any metal part of the solenoid that you can get to. Rotate the solenoid from side to side and lift by turning from side to side. It may take a little effort to remove it, but it should pop out right away.
Step 9: Inspect the Adjustable Valve. After removing the variable valve timing solenoid valve, carefully inspect it to make sure it is intact.
There are times when part of the O-ring or screen may be damaged or missing. Look down at the solenoid valve mounting surface and peek into the hole to make sure there are no pieces of o-ring or shield in there.
Step 10. Remove all found garbage. If you see anything abnormal inside the mounting surface hole, carefully remove it with a long, curved pick or long needle nose pliers.
Step 11: Lubricate the Solenoid. Apply lithium grease to the seals on the solenoid coil.
The coil is the part that you insert into the port.
Step 12: Insert the solenoid. Take the new solenoid and insert it into the hole in the mounting surface.
A slight resistance is felt during installation, but this indicates that the seals are tight. When installing a new solenoid, rotate it slightly back and forth while pressing down until it is flush with the mounting surface.
Step 13: Insert Mounting Screws. Tighten the mounting screws and tighten them tightly; it doesn't require too much torque.
Step 14: Install the electrical connector. Apply some dielectric grease to the connector surface and seal.
The application of dielectric grease is not required, but is recommended to prevent corrosion of the connection and facilitate connector installation.
Step 15: Redirect Anything Moved to the Side. Everything that is secured with a bungee must be installed in place.
Step 16: Install Engine Cover. Reinstall the removed engine cover.
Screw or fasten it back into place.
Step 17 Connect the battery. Install the negative terminal on the battery and tighten it.
Reconnect the positive battery terminal and tighten.
Performing these repairs as recommended will prolong the life of your vehicle and improve fuel economy. Reading and getting information about what to expect from your car and what to look for when inspecting will save you repair costs in the future. If you would prefer to entrust the replacement of the solenoid valve for variable valve timing to a professional, entrust the replacement to one of the certified AvtoTachki specialists.