How to replace a car glow plug timer
Glow plug timers tell the glow plugs when to turn off in diesel engines. Symptoms of faulty glow plug timers include hard starting or glow plug light.
Glow plugs in diesel engines need to know when to turn off, and there are glow plug timers (also called a relay or module depending on the manufacturer) for this. When certain criteria are met (temperature, run time, engine start), these timers or relays are deactivated and allow the glow plugs to cool down. There is no need for spark plugs when the engine is warm enough for normal combustion; their automatic shutdown by timer significantly extends the life of the forks. Symptoms of a faulty timer or relay most often include faulty glow plugs. If they overheat for an extended period of time due to a faulty timer, the candles can become brittle and even break.
Part 1 of 1: Replacing the Glow Plug Timer
Necessary materials
- Pliers
- Replacing the glow plug timer
- Socket set and ratchet
- Screwdriver Set
Step 1: Disconnect the battery. Always disconnect the vehicle battery negative cable to cut off power when working on any electrical system.
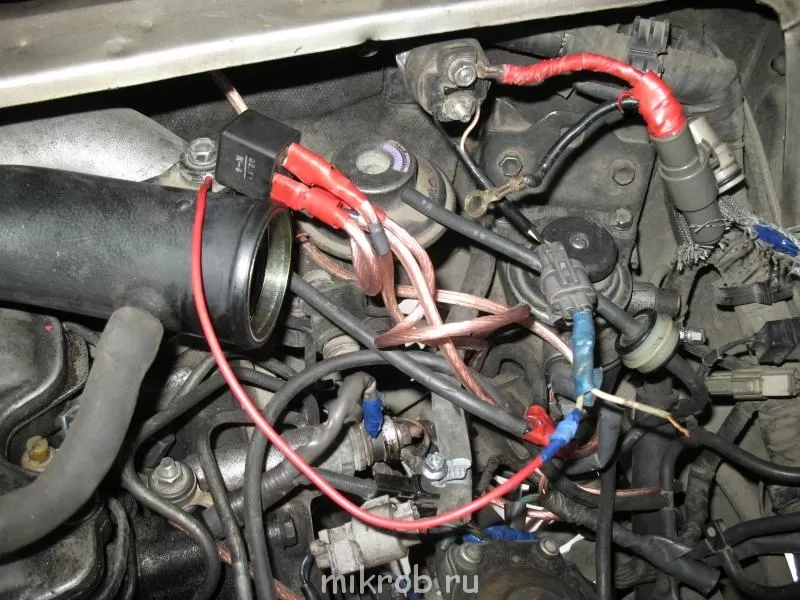
Step 2: Find the Glow Plug Timer. The glow plug timer is located in the engine compartment. It is usually mounted in a hard to reach place, most likely on a firewall or side wall.
If your vehicle is equipped with a relay, it will be located in the main fuse box or near the engine where it is less likely to overheat.
Step 3: Turn off the timer. Some types of timers or controllers require disconnection from the wiring harness. You will need to disconnect the terminal(s) on the device.
Some simply pull out, which can be done with pliers, while others require the removal of a small head locking bolt.
Newer models may use a relay that does not need to be disconnected.
Step 4: Remove the timer. Once the timer is disconnected, you can remove the bolts or screws that secure it to the vehicle. You may want to clear any open contacts at this time.
- Attention: Poor communication between the sensors and the timer may cause malfunction symptoms. Be sure to clean the contacts to ensure a proper connection.
Step 5: Set a New Timer. Compare your old timer with your new device. You will need to make sure the number of pins (if any) as well as the shape, size, and pins match. Install the new timer and secure it with the existing bolts or screws from the old timer.
Step 5: Fasten the terminals. Make sure the terminals are clean. Connect the wiring terminals to the timer and hand tighten.
If a timer or relay is connected, make sure they are fully connected and make a solid connection.
Step 6: Check the timer. Start the car and check that the glow plug is working properly. They should turn off after a few moments depending on the ambient temperature outside.
Check with the spare timer manufacturer for specific times.
Glow plugs work hard and must withstand extreme temperature changes with every use. Usually you have to replace them or other parts associated with them, such as glow plug timers. If you don't want to replace the glow plug timer yourself, make a convenient appointment with a certified AvtoTachki mechanic for home or office service.