How to replace a brake hose
Content
Modern vehicles use a combination of metal piping and rubber hoses to hold and transfer brake fluid. The pipes coming out of the brake master cylinder are made of metal to be strong and durable. Metal…
Modern vehicles use a combination of metal piping and rubber hoses to hold and transfer brake fluid. The pipes coming out of the brake master cylinder are made of metal to be strong and durable. The metal won't handle the movement of the wheels, so we use a rubber hose that can move and flex with the suspension.
Each wheel usually has its own segment of rubber hose, which is responsible for the movement of the suspension and the wheel. Over time, dust and dirt corrode the hoses, and over time they can start to leak. Check hoses regularly to ensure safe driving.
Part 1 of 3: Removing the old hose
Necessary materials
- Pallet
- Gloves
- Hammer
- socket
- Jack stands
- Line key
- Pliers
- rags
- Safety glasses
screwdrivers
Attention: You will need several sizes of wrenches. One is for the connection that goes into the caliper, usually around 15/16mm. You will need an exhaust valve wrench, usually 9mm. The wrench is designed to connect the hose to the metal brake line. These connections can be tight if they have not been changed for several years. If you use a regular open end wrench to loosen them, there's a good chance you'll end up rounding off the joints, requiring a lot more work. The flares on the line wrench ensure that you have a good and firm grip on the connection when loosening so that the wrench does not slip off.
Step 1: Jack up the car.. On a flat and level surface, jack up the vehicle and place it on jack stands so that it does not fall over until the wheels are removed.
Block any wheels left on the ground unless you are replacing all hoses.
Step 2: remove the wheel. We need to remove the wheel to access the brake hose and fittings.
Step 3. Check the brake fluid level in the master cylinder.. Make sure there is enough fluid in the reservoir because fluid will start to leak out as soon as the lines are disconnected.
If the master cylinder runs out of fluid, it will take more time to completely remove air from the system.
- Attention: Be sure to close the tank cap. This will greatly reduce the amount of fluid flowing out of the lines when they are disconnected.
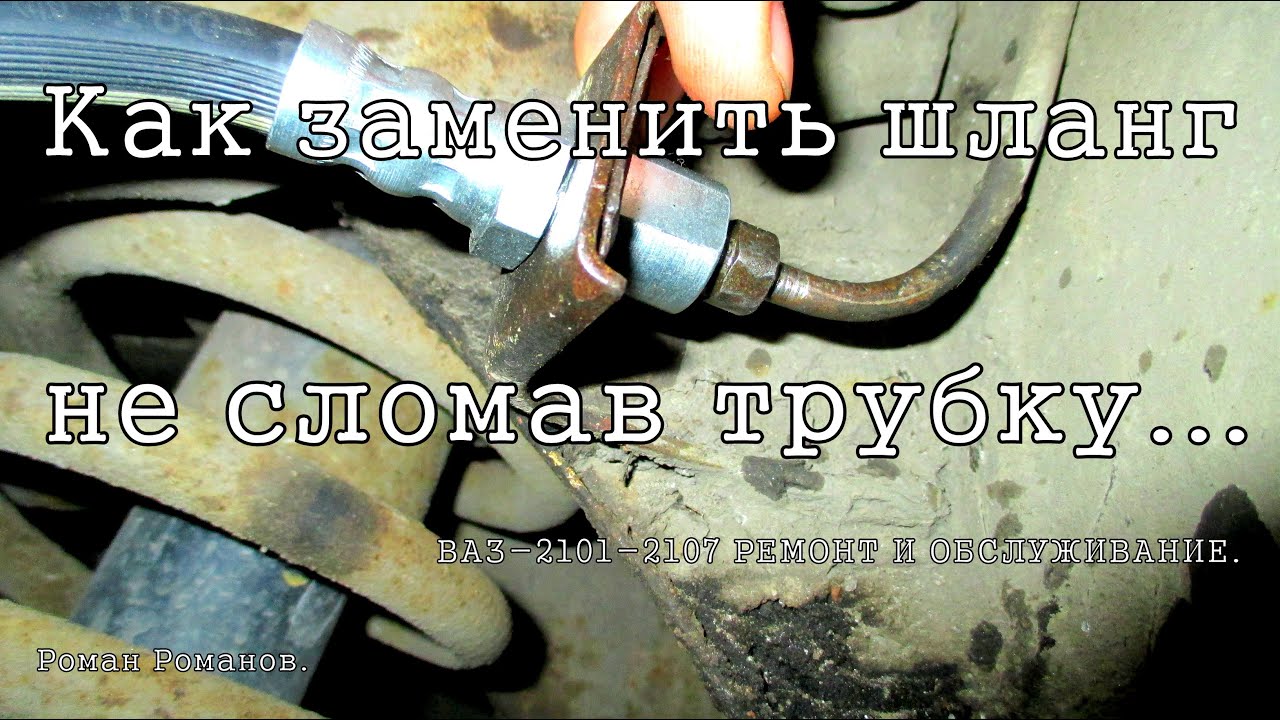
Step 4: Use the line key and open the top connection.. Don't unscrew it all the way, we just want to be able to quickly unscrew it later when we actually pull the hose out.
Tighten slightly again to prevent fluid from escaping.
Functions: Loosen the connection while it is still established. The fastener is designed to prevent twisting of the hose or connection and will hold the connection in place while you loosen it.
Functions: Use penetrating oil if joint looks dirty and rusty. This will greatly help loosen the connections.
Step 5: Open the connection going to the brake caliper.. Again, don't unscrew it all the way, we just want to make sure it comes out easily later.
Step 6: Remove the mounting bracket clip. This small metal part just needs to be pulled out of the bracket. Do not bend or damage the clamp, otherwise it will have to be replaced.
- AttentionA: At this point, make sure your drain pan is set at the bottom and have a rag or two nearby to help with any spills in the next few steps.
Step 7: Completely unscrew the top connection. The top connection should detach with no problem since we've already cracked it.
Also remove the connection from the mounting bracket.
- Attention: Brake fluid will start to leak out as soon as it opens a little, so have a drain pan and rags ready.
Step 8: Unscrew the hose from the caliper. The entire hose will spin and may splatter brake fluid, so make sure you wear safety goggles.
Make sure that fluid does not get on the brake disc, pads or paint.
Get your new hose ready as we want this transfer to be fast.
- Attention: Brake calipers tend to be very dirty, so use a rag and clean the area around the joint before completely disconnecting it. We don't want dirt or dust getting into the caliper body.
Part 2 of 3: Installing the New Hose
Step 1: Screw the new hose into the caliper. You will assemble it the same way you took it apart. Screw it all the way in - don't worry about tightening it just yet.
- A warning: Be careful with threaded connections. If you damage the threads on the caliper, the entire caliper will need to be replaced. Go slowly and make sure the threads are aligned correctly.
Step 2 Insert the top connection into the mounting bracket.. Align the slots so that the hose cannot rotate.
Don't put the clip back in just yet, we need a little clearance in the hose so we can align everything properly.
Step 3: Tighten the nut on the top connection.. Use your fingers to start it up, then use the line wrench to tighten it up a bit.
Step 4: Use a hammer to drive in the mounting clips. You don't need a sled, but the light weight can make putting it on easier.
A couple of light presses should bring it back into place.
- A warning: Be careful not to damage the lines when swinging the hammer.
Step 5: Fully tighten both connections. Use one hand to pull them down. They should be tight, not as tight as possible.
Step 6: Use a rag to remove excess liquid. Brake fluid can damage other components, namely rubber and paint, so we want to make sure we keep everything clean.
Step 7: Repeat for all hoses to be replaced..
Part 3 of 3: Putting it all back together
Step 1. Check the fluid level in the master cylinder.. Before we start bleeding the system with air, we want to make sure there is enough fluid in the reservoir.
The level should not be too low if your transfers were fast.
Step 2: Bleed the brakes with air. You need to pump only those lines that you have replaced. Check the fluid level after bleeding each caliper to avoid running the master cylinder dry.
- Functions: Have a friend bleed the brakes while you open and close the exhaust valve. Makes life much easier.
Step 3: Check for leaks. Without removing the wheel, apply the brakes hard several times and check the connections for leaks.
Step 4: Reinstall the wheel. Make sure you tighten the wheel to the correct torque. This can be found online or in the user manual.
Step 5: Test drive time. Before entering a traffic jam, check the brakes on an empty street or in a parking lot. The brakes must be firm as we just bled the system. If they are soft or spongy, there is probably still air in the lines and you will need to bleed them again.
Replacing a hose usually doesn't require any expensive special tools, so you can save some money by doing the job at home. If you have any difficulties with this work, our certified specialists are always ready to help you.