How to replace the ignition igniter
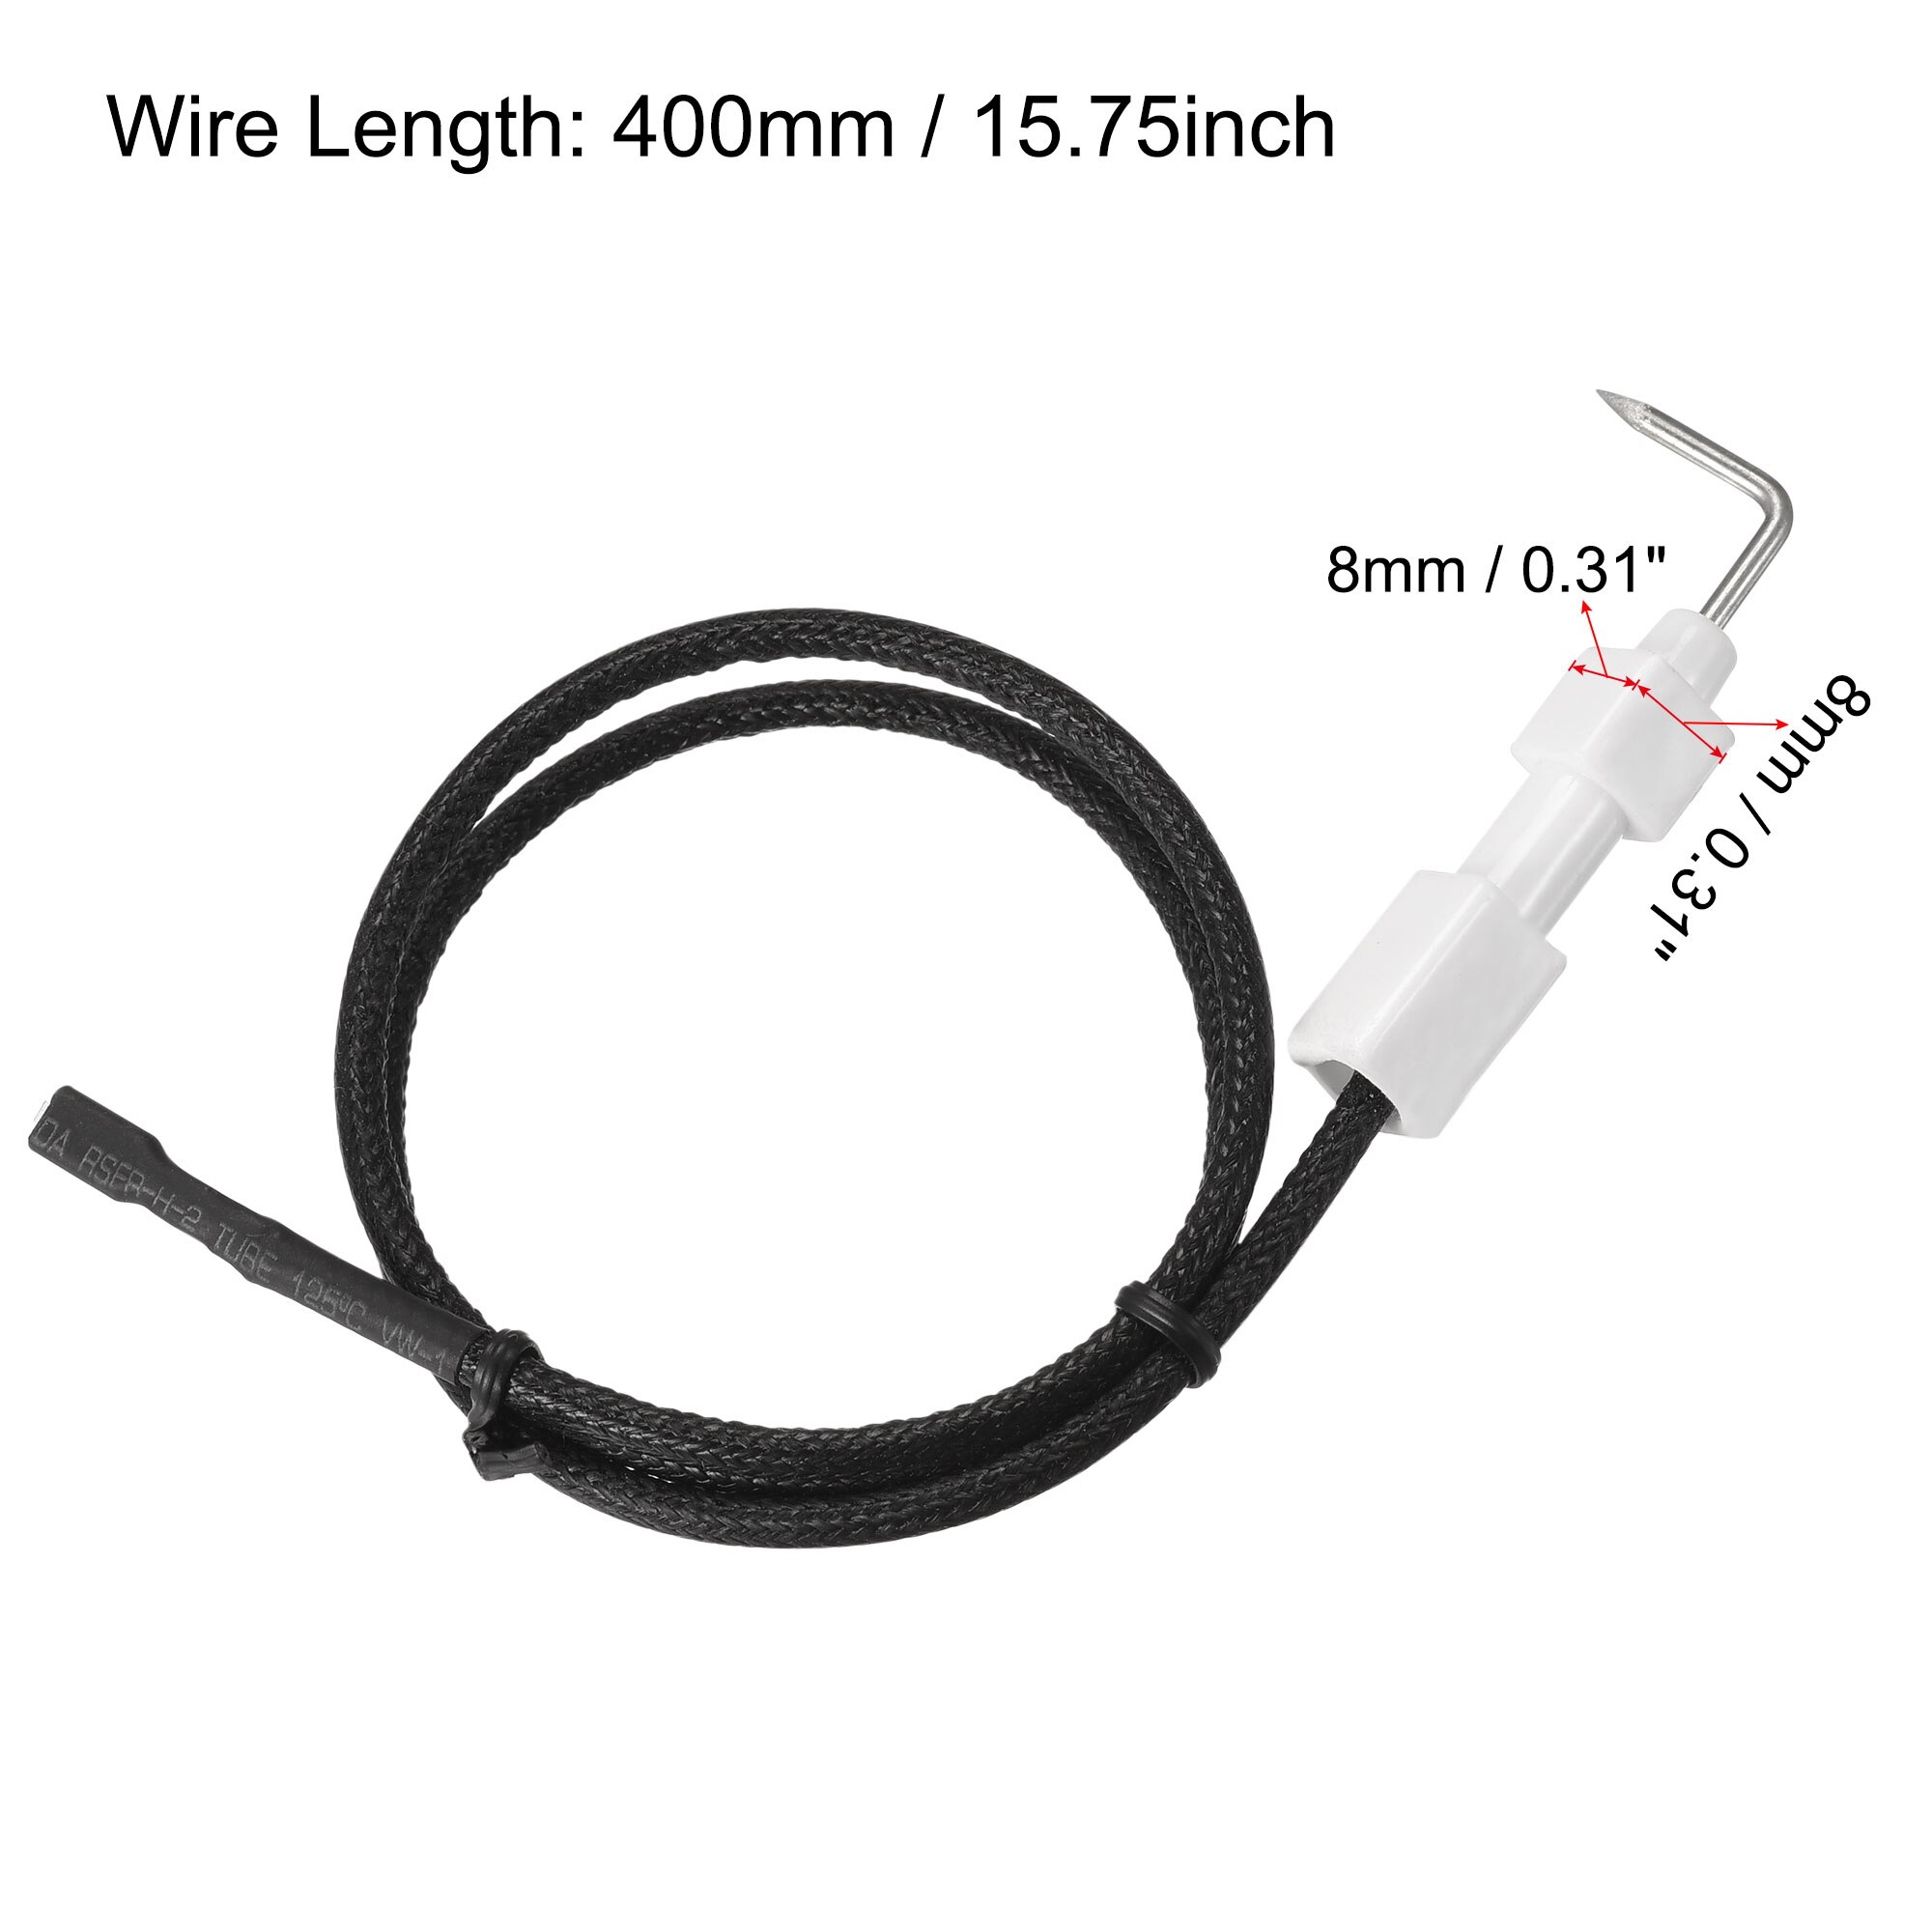
The igniter is the component that is responsible for sending a signal from the key's ignition switch to the electrical system to energize the spark plugs and start the engine. As soon as the driver turns the key, this component tells the ignition coils to turn on so that a spark can be generated to burn the cylinder. In some systems, the igniter is also responsible for timing advance and retardation of the engine.
This component is not normally checked during a normal service check as it is designed to last the life of the vehicle. However, it can wear out due to heavy work or overload of the electrical system, which leads to the burning of electrical components inside the igniter. Damage to the igniter usually results in a malfunction of the engine starting process. The driver turns the key, the starter engages, but the engine does not start.
Part 1 of 1: Replacing the Igniter
Necessary materials
- Boxed socket wrenches or ratchet sets
- Flashlight or drop of light
- Screwdrivers with flat blade and Phillips head
- Replacing the ignition igniter
- Protective equipment (safety goggles)
Step 1: Disconnect the car battery. Locate the vehicle's battery and disconnect the positive and negative battery cables before continuing.
The ignition igniter is located inside the distributor. If you do not disconnect the battery power, the risk of electric shock is extremely high.
Step 2: Remove the engine cover. The distributor is usually located on the passenger side on most smaller engines and on the driver's side or behind the engine on V-8 engines.
You may need to remove the engine cover, air filters and accessory hoses to access this part.
If necessary, write down which components you removed in the order in which you performed these steps so you can refer to that list when you're done. You must reinstall them in reverse order for proper placement and fit.
Step 3: Locate the distributor and remove the distributor cap.. After you have removed all components that interfere with access to the distributor, remove the distributor cap.
In most cases, the distributor cap is secured with two or three clips or two or three Phillips screws.
Step 4: Remove the Rotor from the Distributor. Depending on the type of distributor, you will also have to determine how to remove the rotor.
Please refer to your vehicle service manual before attempting to remove this component. In many cases, the rotor is held by one small screw on the side of the distributor, or simply slides off.
Step 5: Remove the igniter. Most ignition igniters are connected to the distributor through a series of male-female connections as well as a ground wire attached to a Phillips head screw.
Remove the screw holding the ground wire and carefully pull the ignition module until it slides off the distributor.
- Attention: Be sure to inspect and check the correct placement of the igniter to make sure you install the new igniter in the correct position and in the correct direction.
Step 6: Inspect the igniter/module connections in the distributor.. It is very difficult to check if this component is damaged; however, in some cases, a damaged igniter may burn on the bottom or become discolored.
Before installing a new part, check that the female fittings connecting the igniter are not bent or damaged. If so, you need to replace the distributor, not just replace the igniter.
Step 7: Install the igniter. First, attach the ground wire to the screw that held the igniter's original ground. Then plug the igniter's male connectors into the female connectors.
Before assembling the distributor, make sure that the igniter is securely fastened.
Step 8: Reattach the distributor cap. After the rotor has been successfully attached, reattach the distributor cap using the reverse method to the one you used to remove it initially.
Step 9 Reinstall the engine covers and the components you removed to gain access to the distributor cover.. After you tighten the distributor cap, you will need to reinstall any components and parts you removed in order to gain access to the distributor.
- Attention: Be sure to install them in the reverse order of their original removal.
Step 12: Connect the battery cables.
Step 13 Erase Error Codes with a Scanner. Be sure to clear all error codes before checking for repairs with a digital scanner.
In many cases, the error code caused the Check Engine light on the dashboard. If these error codes are not cleared before you check the engine start, it is possible that the ECM will prevent you from starting the vehicle.
Step 14: Test drive the car. It is recommended that you test drive your vehicle to make sure the repair has been done correctly. If the engine starts when the key is turned, the repair has been successfully completed.
Here are some tips to keep in mind when taking a test drive:
Test drive the vehicle for approximately 20 minutes. When you drive, pull up to a gas station or the side of the road and turn off your vehicle. Restart the vehicle to make sure the ignition igniter is still working.
Start and restart the engine approximately five times during the test drive.
As you can see from the instructions above, getting this job done is quite simple; however, since you are working with the ignition system, you may need to follow a few steps that are not listed above. It is always best to consult your service manual and review their recommendations in full before undertaking this type of work. If you have read these instructions and are still not 100% sure about doing this repair, please contact an ASE certified mechanic from AvtoTachki.com to do the job of replacing the igniter for you.

