Practical motorcycle: support the fork
Content
- Practical tips for maintaining your motorcycle
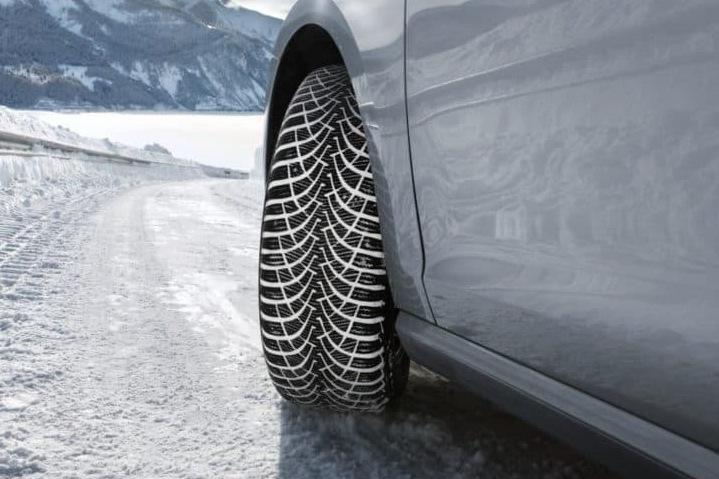
- Laminated by time and kilometers, fork oil gradually degrades, effectively degrading the comfort and performance of your motorcycle. To fix this, simply replace the oil with new oil. If you have a normal fork and don't have adjustment, the operation is relatively simple ...
- Part 1: regular plug
- Drain plugs ...
- Action!
Practical tips for maintaining your motorcycle
- Frequency: every 10-20 km depending on the model ...
- Difficulty (1 to 5, easy to hard): 2
- Duration: less than 1 hour
- Material: classic hand tools + ruler, glass dispensing + large syringe with a piece of Durit and a rubber or cardboard washer to act as a stop + suitable oil for a viscosity fork
Laminated by time and kilometers, fork oil gradually degrades, effectively degrading the comfort and performance of your motorcycle. To fix this, simply replace the oil with new oil. If you have a normal fork and don't have adjustment, the operation is relatively simple ...
Part 1: regular plug
The telescopic fork provides suspension and damping at the same time. The suspension is entrusted to the coils as well as the volume of air trapped in the pipes. As with a bicycle pump, it compresses over the retractor pump, acting like an air spring to keep the mechanical spring working. By increasing the amount of oil in the fork, the amount of residual air will be lower. In fact, the same flooding will result in a larger increase in internal pressure. Thus, the amount of oil affects the hardness of the slurry. The more you put on, the more difficult it gets.
But in addition to lubricating the sliding parts, the oil also softens the movement by rolling into the calibrated holes. Therefore, it is not the quantity that is more important, but the viscosity of the oil used. The smoother the oil, the lower the damping, the more viscous it is, the more damped the fork.
So, after clearing the fork, you can take the opportunity to simply change the manufacturer's basic settings to adapt them to your body size or type of use. Typically, the operation is performed every 10-20 km, depending on the manufacturer, or more often, especially if you practice off-roading.
Drain plugs ...
In the past, motorcycles were equipped with drain screws at the bottom of the shell, but unfortunately these tend to disappear. Emptying was no doubt less complete, but for ordinary people it was fine and avoided removing the fork, wheel, brakes and mudguards ... The manufacturer now saves a few cents on production ...
Some vintage items of the same motorcycle (like the Honda CB 500) have foundry bosses but no longer have a threaded drain port. Drilling and pressing is enough then to find the use of these very practical caps ... Finally, remember that the method shown here only applies to regular forks and not inverted forks or cartridge forks, which require more attention to detail, in particular for cleaning during recycle. assembly. Also, if your fork has hydraulic adjustments, you will have to unscrew the system to clear the spring.
Action!
Before dismantling, measure with adjustment the height of the fork tubes in relation to the upper triplet so as not to change the position (motorcycle clamp from horizontal) during reassembly.
The same applies to prestresses, if there is a setting: increase the height or position (number of lines, number of notches). Then, to facilitate disassembly / reassembly of the fork caps, loosen the spring preload settings as much as possible.
Loosen the top tee tightening the screw around the tube to release the threads from the cap, then loosen the top caps 1/4 turn when the tubes are still in place on the motorcycle because they sometimes block.
Keep the motorcycle in the air on the front wheel and make sure it is stable. Remove the wheel, brake calipers, mud flaps, meter drive, etc. Once complete, place the fork tubes one by one and fully loosen the covers, taking care not to "fly away" when they reach the end of the threads.
Empty the tubing into the container, securing the springs and other spacers with one finger to prevent them from falling.
Clean out all the oil by sliding the tube several times into its shell.
Assemble the removable parts (spring, pre-load spacer, support washer, etc.) according to the assembly order. Be careful, sometimes progressive springs make sense, be sure to respect that. Clean everything thoroughly.
Pour about the amount of oil recommended by the manufacturer into the dosing container. When filling pipes, we are based on level, not quantity, so we will have to make adjustments after filling.
After filling the tube, operate the fork upwards several times to effectively clean the damper. When you encounter constant resistance in movement, the purge is complete.
Adjust the oil level as prescribed by the manufacturer. You can simply make instruments with a large syringe. By adjusting the excess pipe relative to the movable stop at the prescribed rib, excess oil is pumped into the syringe.
Take a break from the spring and place the wedges, then screw on the cover. For reference, the indicated oil level values are based on an empty plug. If you want to solidify the slurry at the end of the stroke, increase the oil level.
Place the tubes in the tee and lock the covers to the recommended torque. Adjust the pre-tension of the springs according to the values noted before disassembly. Tighten all components correctly with a torque wrench and apply the front brake to push the pads off.
It's over, all you have to do is hand over your old oil with a professional or dealer equipped to recycle used oil in the industry you want!