Installing the gel pads in the saddle
Content
- Assembling the gel pillow - let's get started
- 01 - Remove the cover
- 02 - Draw a line at the level of the middle axis
- 03 - Determine position
- 04 - Mark the outline
- 05 - Cut a hole
- 06 - Removing the upholstery
- 07 - Regular cut
- 08 - Inserted gel pad
- 09 – Cover with non-woven lining
- 10 - Put the cover on the packing.
- 11 - Attach the cover
- 12 - Check for correct installation
The longer the trip, the more pain in your lower back? These pains are not inevitable! For this reason, gel pads exist and we wrote these assembly instructions.
The use of a gel cushion significantly improves the seating comfort in the car. Long days on the motorcycle will be a real pleasure: no more sagging pillows, numbness, cramping in the buttocks. Come and experience the experience at the many Louis subsidiaries. Or get started right away and don't wait any longer. Note: "Gel pad operation" does not require cap replacement.
The note : this task takes time, patience and a little upholstery skills. If you have no experience in this area, the following instructions will definitely help you. In addition, you will need to seek help from another person.
Assembling the gel pillow - let's get started
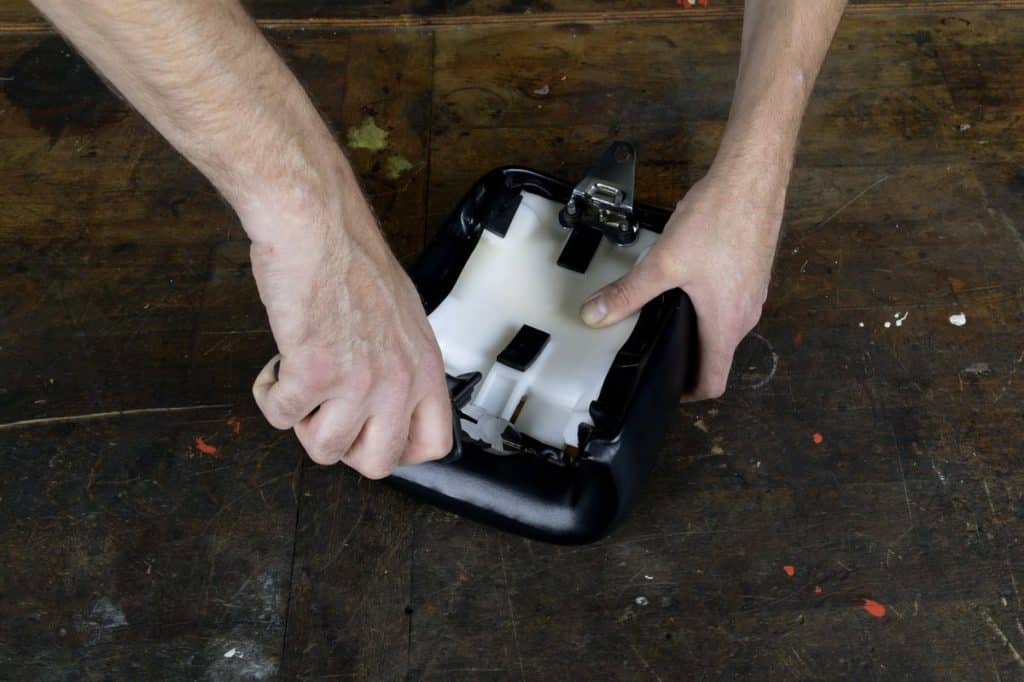
01 - Remove the cover
Disassemble and clean the saddle. Carefully remove the cover from the base plate. It is usually secured with staples that can be removed with a screwdriver, pliers, or a professional staple remover. Rivets should be removed by careful drilling. Remove the seat cover.
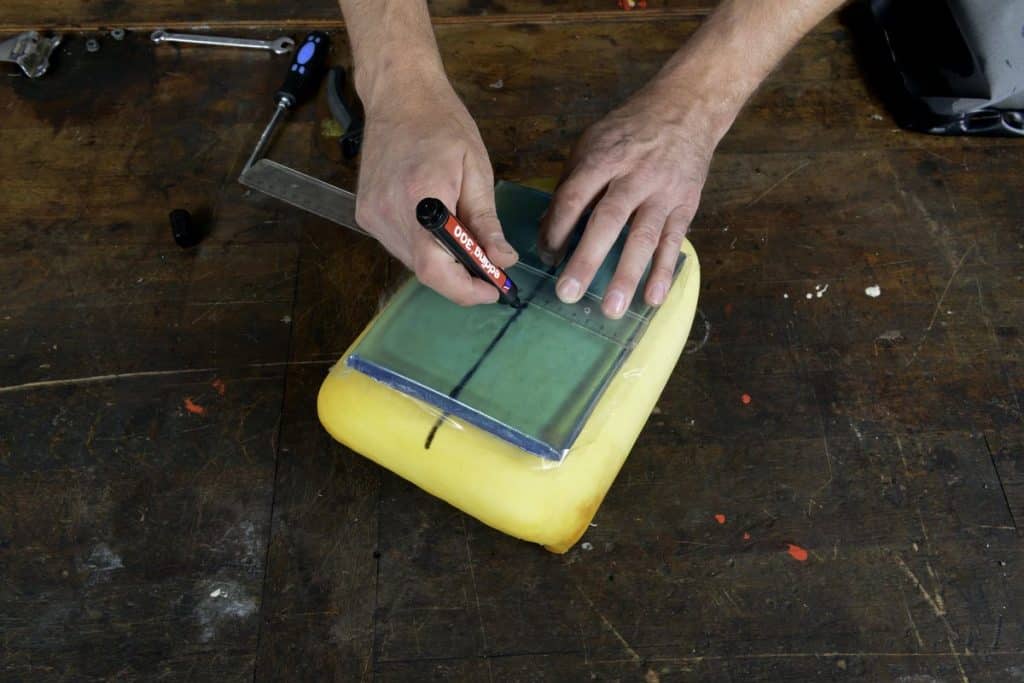
02 - Draw a line at the level of the middle axis

Then mark a center line on the surface of the saddle with a soft ruler. To do this, simply mark the center of the spacer at a few points between its front and back ends, then connect the points by drawing a straight line.
03 - Determine position
Repeat this process with the gel pad. Next, determine how far from the front or back the gel pad should be placed on the surface of the seat so that the bones of your seat rest evenly against the cushion when you are in a normal riding position.
04 - Mark the outline

Orient the pad along the midline. It should now rest on the flat surface of the seat and not on the curved sides of the saddle. If necessary, the gel can be cut with scissors. Cut it symmetrically along the midline. Pre-lubricate the scissors with silicone spray so that the gel does not stick to the scissors, and cut the gel pad vertically.
Once the gel pad has been optimally trimmed, return it to the desired position in the center of the saddle surface and accurately mark the contour, being careful not to dislodge the pad.
05 - Cut a hole
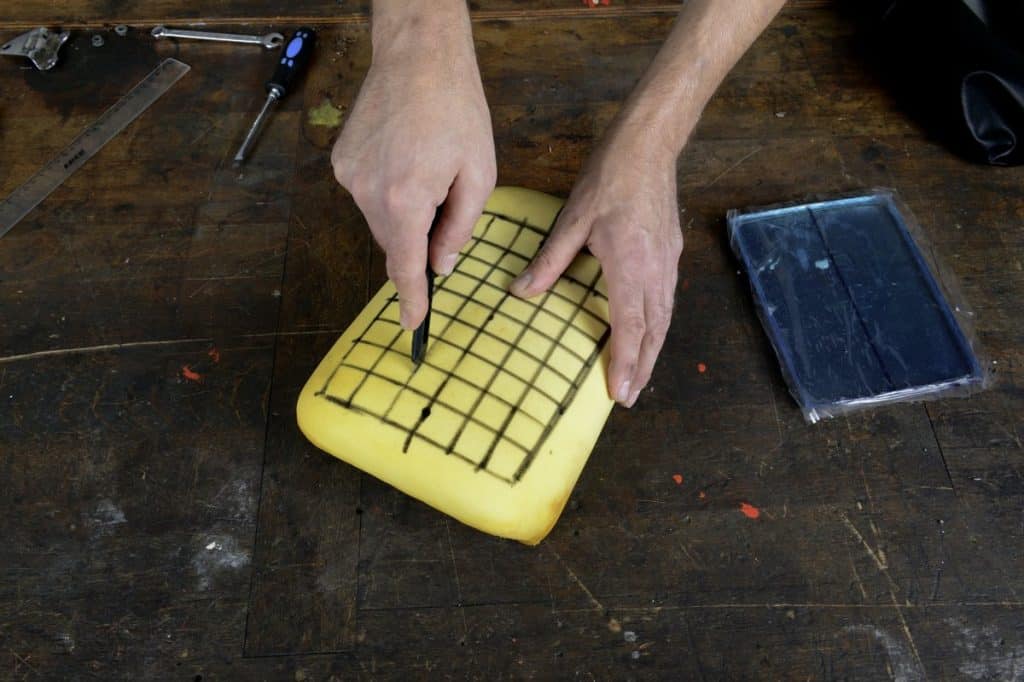
To cut a recess for the gel pad in the foam, then draw a checkerboard inside the outline (line spacing: approx. 3 cm). Take the cutter and remove the blade from the handle so that the length of the blade is the same as the thickness of the gel pad, that is, approximately 15 mm. Cut the foam vertically (observing exactly this depth) along the lines, without pressing hard on it.
06 - Removing the upholstery
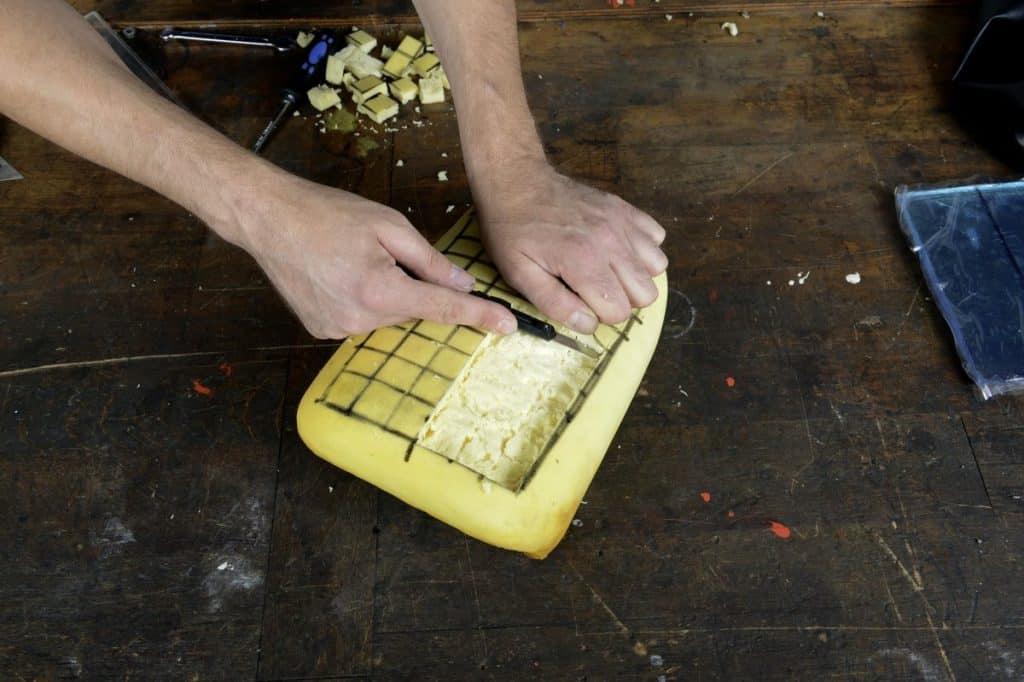
Foam is not easy to cut in one pass. It is better to drive the knife vertically at one point of the line, and then do the same at other points. After hammering the blade into several places, cut to connect these different points, and then start again in other places.
After all the lines of the checkerboard have been cut off, it is advisable to take a scraper with a sharp blade or, if necessary, use a cutter. Lift the edges of one segment of the checkerboard slightly with your thumb and forefinger and make a flat cut. Cutting too little on the first try is better than cutting too deep. Cutting segments is easier after removing the first margins.
07 - Regular cut
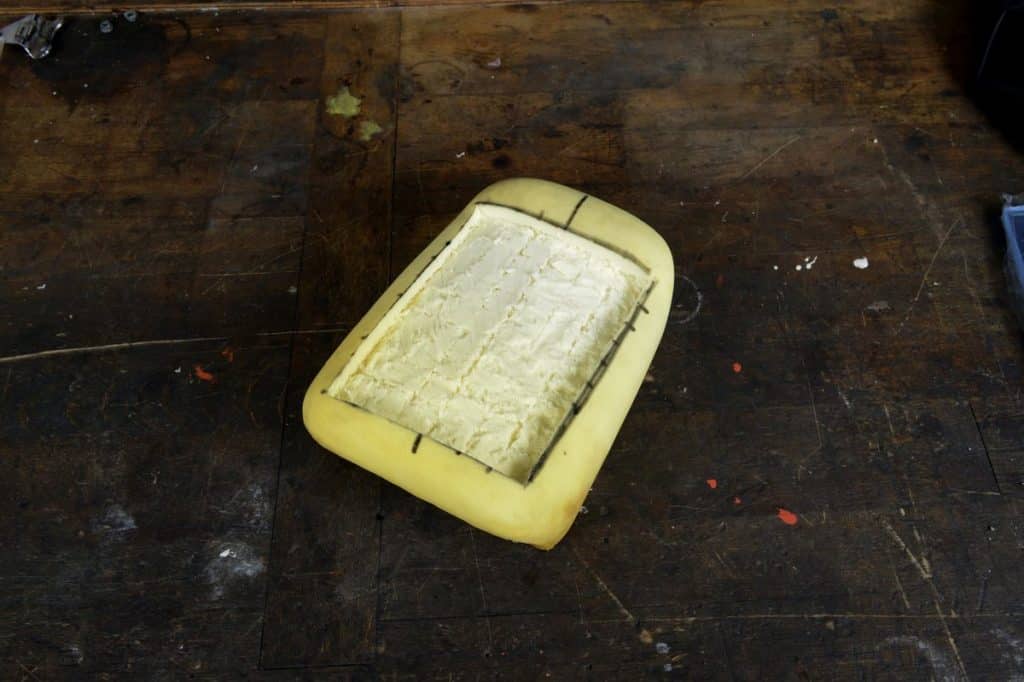
The goal is to keep the surface as flat and even as possible so that the gel pad fits perfectly into the foam and sits flat on it without bulging or sinking into it. This step takes a little patience.
08 - Inserted gel pad
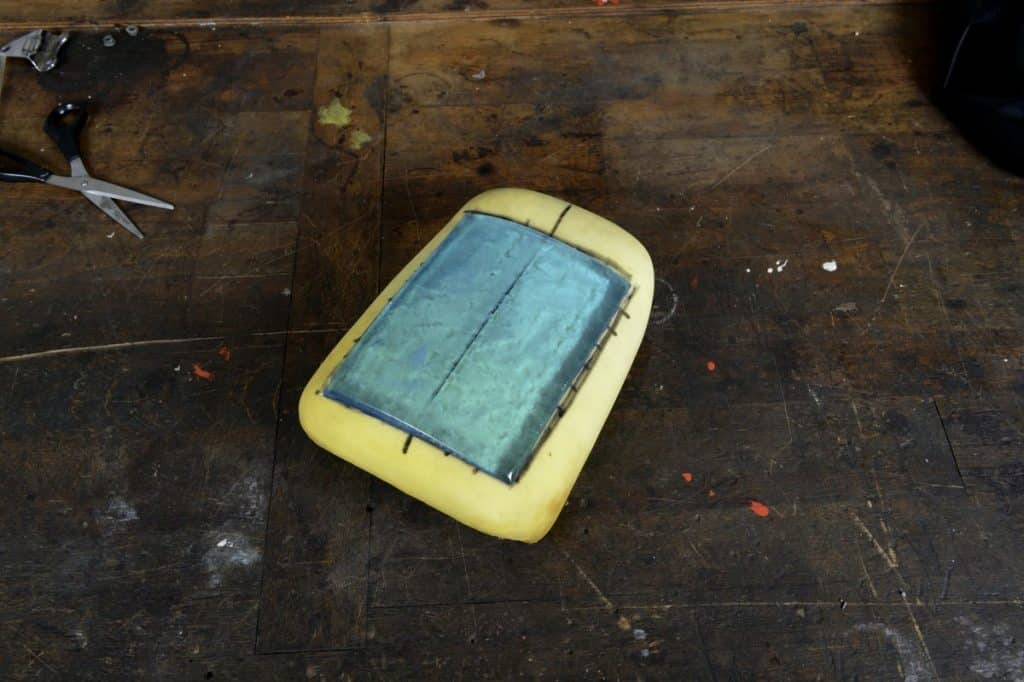
Then place the gel pad in the indentation and check where you might need to cut the foam.
09 – Cover with non-woven lining
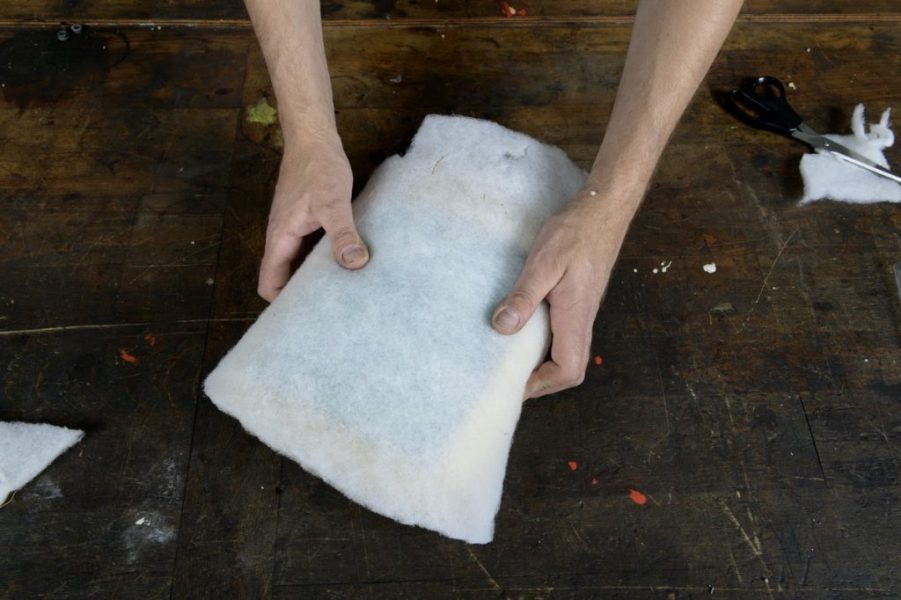
Cover the saddle with a thin foam or non-woven pad before final assembly. Slide the boot over the saddle to check. Do not guess about the gel pillow. Touch up the hollow if necessary. Once the result is satisfactory, secure the gel pad firmly in the cavity by removing the protective film from the underside.
Leave the top film on the gel. Slide a thin foam or non-woven liner over the saddle and, if necessary, glue it to the support using a spray adhesive. Cut off any fleece or foam that protrudes from the sides with scissors. If the covering is not waterproof (for example, due to seams or if the material itself is not waterproof), insert additional film to prevent water penetration between the upholstery and the cover (if necessary, a piece of sturdy tarp can help).
10 - Put the cover on the packing.
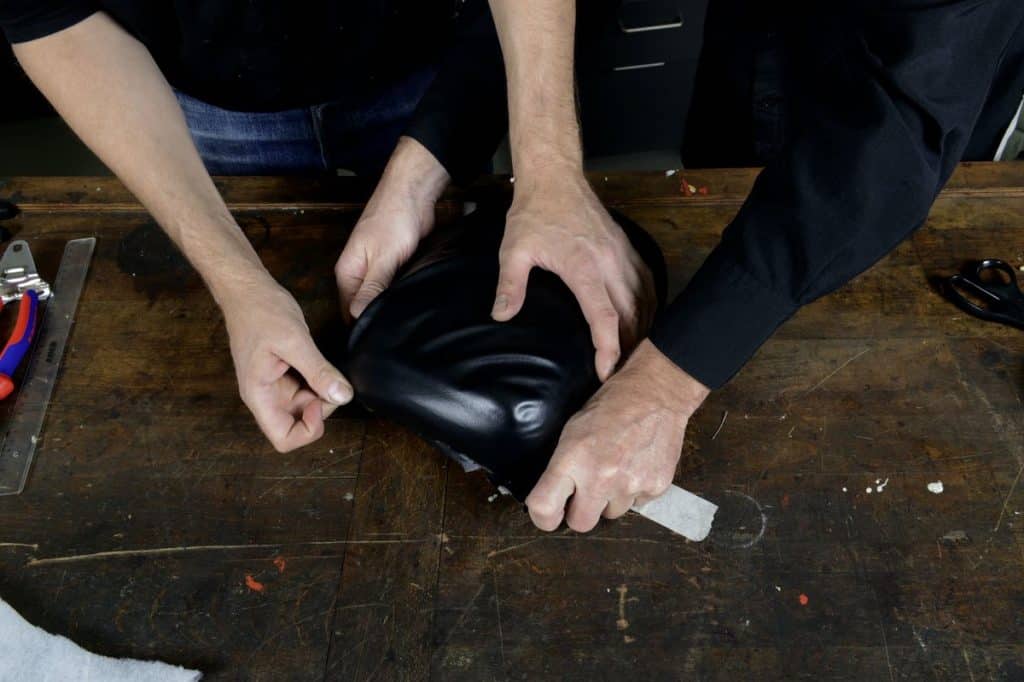
The next step still requires great precision: the cover on the packing needs to be replaced. When orienting it, make sure it is symmetrical. This step is easier for two.
11 - Attach the cover
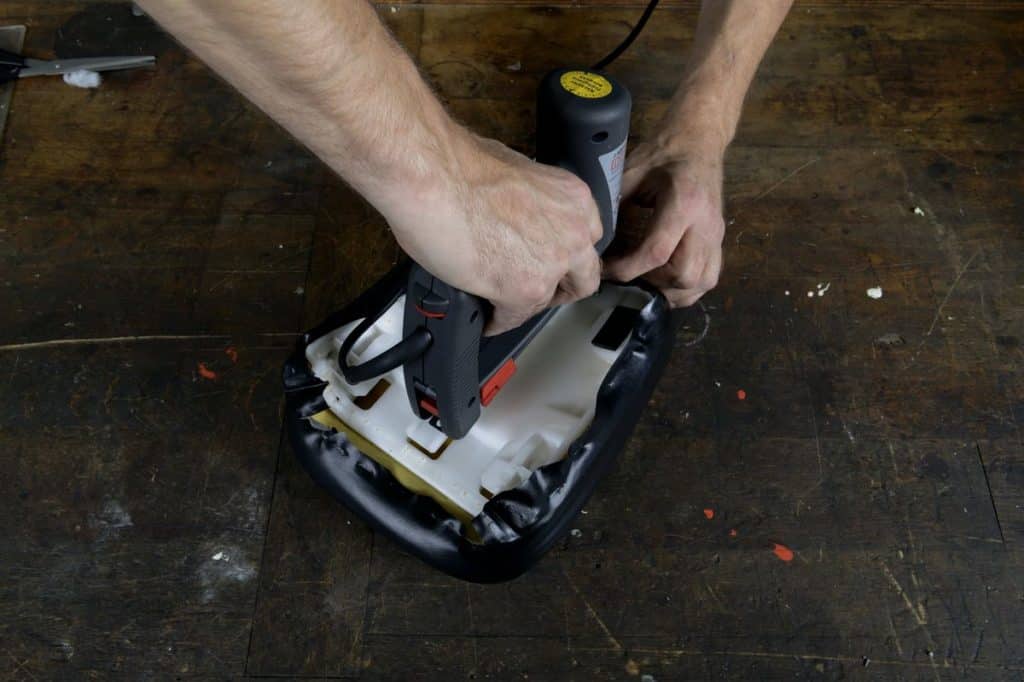
Rotate the saddle, then reattach the cover to the base plate starting from the center of the rear (for example, for plastic base plates, using an electric stapler, the staples should not be longer than the ones removed). Start in the middle and sew alternately to the left and then to the right until the lid is fully attached to the back.
Then secure the front in the same way. Hold the material by pulling lightly and evenly on it. Take care not to deform the cover. The rear edge of the cover should also not slide forward; he must stay straight. If the seat is curved or supported, the bonnet will first rise slightly; this will be corrected when you pull the cover out to the sides. To do this, start from the back again. Move forward, always pulling the material evenly and fastening it alternately left and right. You can find additional tips as well as more information on saddle cover in our saddle mechanics tips.
12 - Check for correct installation
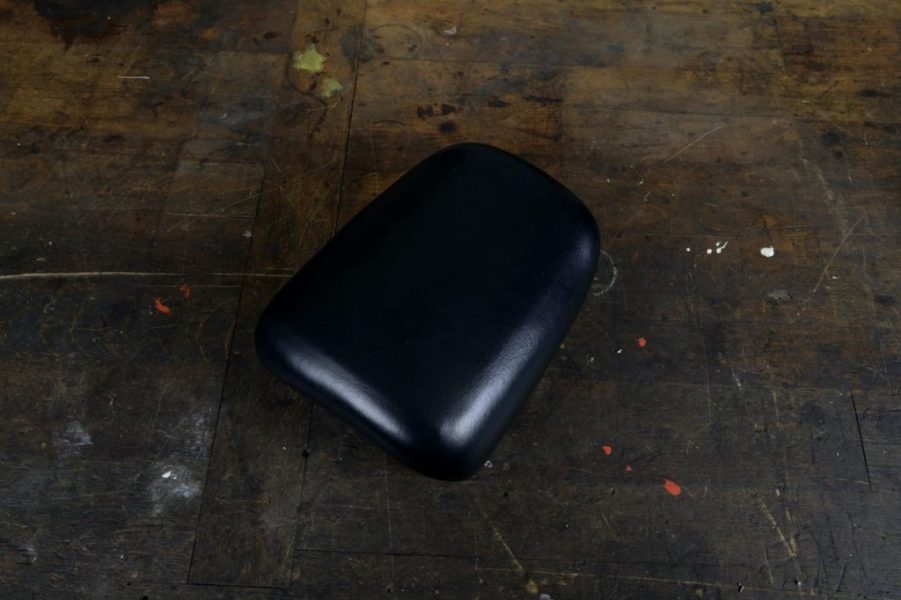
Rotate the seat several times from time to time to check that the bonnet is in the correct position. Once you're done, you've created your own saddle with the perfect sitting comfort. You can be proud of it and enjoy your next long trip to the fullest.