Installing heated grabs
Content
- Fitting heated grips to a motorcycle
- Installing heated handles - let's get started
- 01 - Read the assembly instructions and get to know the details
- 02 - Connect heated grips, switch and test cable
- 03 - Remove seat
- 04 - Disconnect the negative battery terminal
- 05 - Loosen the tank screws
- 06 - Remove the tank and side cover
- 07 - Unscrew the extension from the fuel cock
- 08 - Removing the pipes
- 09 - Lift the handle with a thin screwdriver and ...
- 10 - Remove it from the handlebars with soapy water or brake cleaner.
- 11 - Unhook the accelerator and remove the steering wheel hub.
- 12 - Adjustment of the rotary gas sleeve
- 13 - Degrease and clean the left side of the steering wheel
- 14 - Gluing heated handles
- 15 - When the steering wheel is turned, the cables must not be pinched.
- 16 - Attach the derailleur to the handlebar or frame
- 17 - Connect the wire to the battery
- 18 - Find a suitable place to mount the relay
- 19 - Use insulated cable lugs for connection.
- 20 - Turn off the plus, for example. after starter relay contact
- 21 - Then the tank can be attached
This mechanic guide is brought to you at Louis-Moto.fr.
The heated grips extend the motorcycle season by several weeks. It is not only a matter of comfort, but also of road safety.
Fitting heated grips to a motorcycle
As the temperature drops outside, the feeling that your fingers get cold every time you ride quickly becomes a problem. You can protect your upper body with a warm sweater, your legs with long underwear, your legs with thick socks, but the hands get cold the fastest on a motorcycle. Refrigerator drivers are no longer responsive and nimble enough to safely merge into traffic. Wearing thick gloves is unfortunately also not an ideal solution as it doesn't allow proper control of the discs... a real brake for road safety. Thus, heated grips are a practical and inexpensive solution if you want to start the season as early as possible and extend it into the autumn… Motorcycle enthusiasts especially appreciate them in winter. If you want to make the most of that warmth, complete your outfit with sleeves or hand guards to protect your hands from the wind.
To use them, you need a car with 12 V on-board power supply and a battery. It should not be too small, as heated knobs consume current (depending on switch position and version up to 50 W). Thus, the battery capacity must be at least 6 Ah. The generator must also charge the battery sufficiently. If you are mostly in a city in a traffic jam that requires frequent stops and restarts, only takes short trips, and uses the starter frequently, you may overload the generator due to hot handles and you may have to do a little work. Therefore, charge the battery from time to time. Charger. This is why the use of heated grapples on small two-wheeled vehicles is only possible under certain conditions. Unfortunately, onboard 6V systems or batteryless magnetic ignition systems are not powerful enough to use them.
The note : To assemble the heated grips yourself, you need to have a basic knowledge of the car's wiring diagrams and some experience in home work (especially in relation to relay mounting). Only the heated handles of lower power make the use of relays unnecessary. However, for most models, a relay is required to deactivate the switch and lock the steering and prevent unintended power consumption (which is a risk if directly connected to the battery).
Use a two-part heat-resistant adhesive to make sure the heated grips are securely attached to the handlebars and specifically to the throttle bushing. Before getting started, get glue, relays, suitable and insulated cable lugs for connecting cables, a brake cleaner, and a good crimping tool. Alternatively, a plastic hammer, a set of socket wrenches, a thin screwdriver and, if necessary, a drill and cable may be required to connect the relay.
Installing heated handles - let's get started
01 - Read the assembly instructions and get to know the details
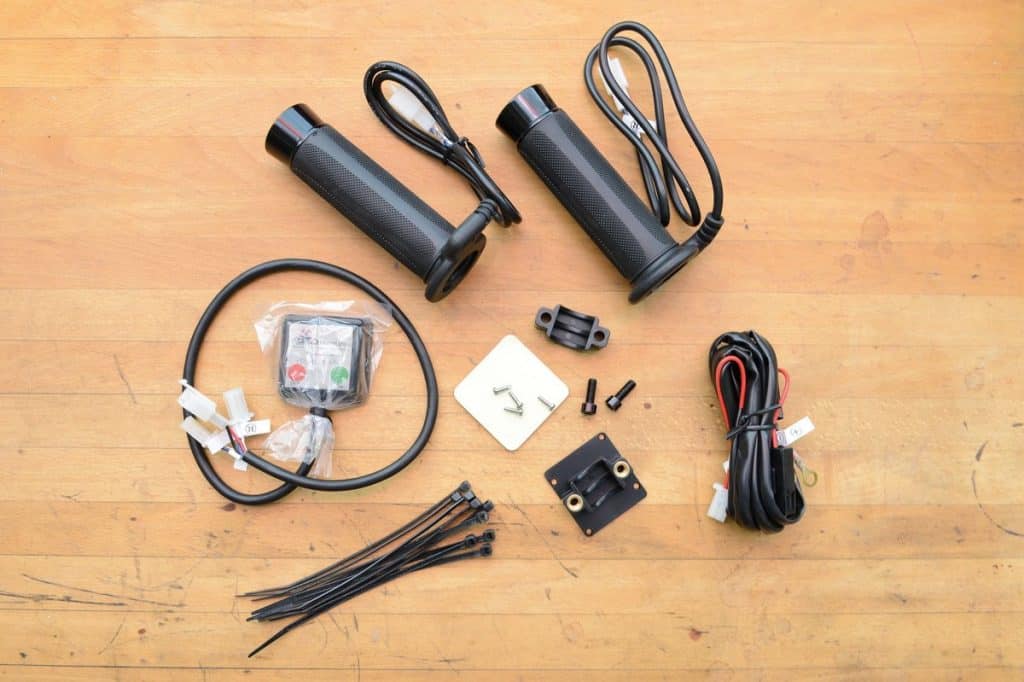
Read the assembly instructions for the heated handle and familiarize yourself with the components before operating.
02 - Connect heated grips, switch and test cable
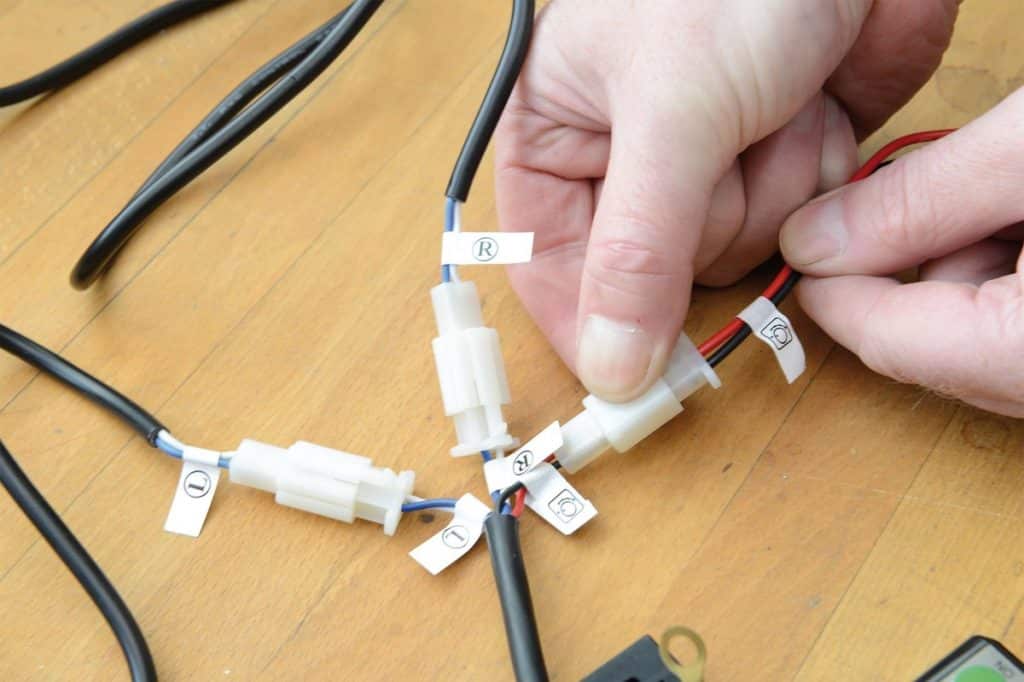
To avoid unnecessary work, connect the heated grips, switch and battery cable together as a test, and then test the system on a 12V car battery. If the system works fine, you can start it up.
03 - Remove seat
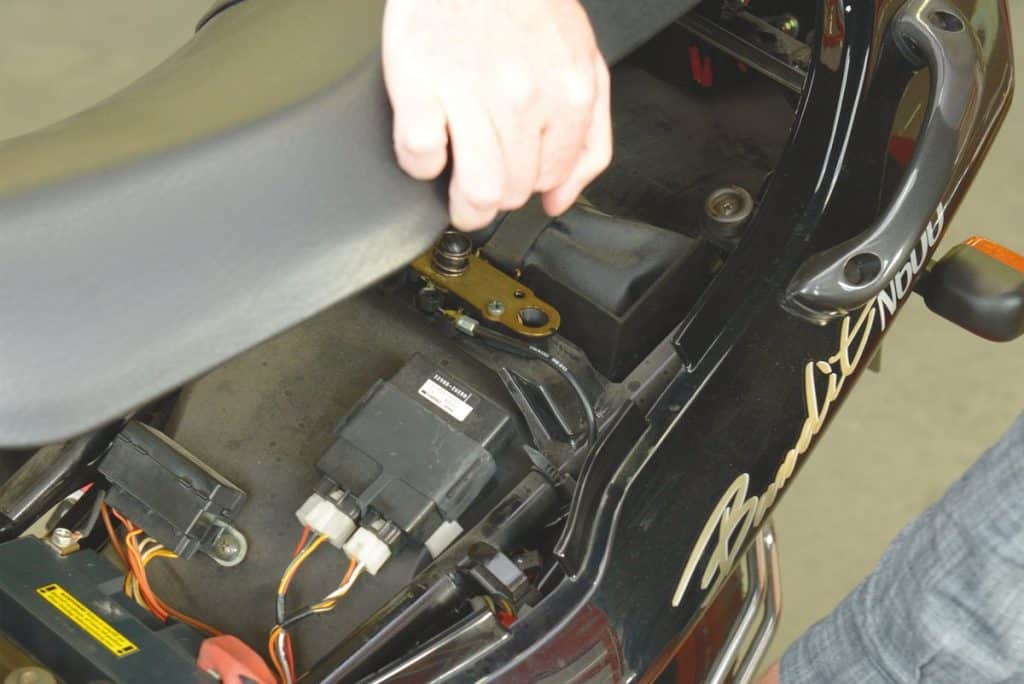
Raise the vehicle safely. If you have a sidestand that folds down automatically, it is best to secure it with a strap to prevent the motorcycle from accidentally toppling over. Raise the seat or remove it (in most cases it is locked with the seat lock, see your car manual), then locate the battery. If so, you still need to remove the side cover or battery compartment. On rare occasions, the battery can also be located under the dummy, in the duck tail, or in a separate container in the frame.
04 - Disconnect the negative battery terminal
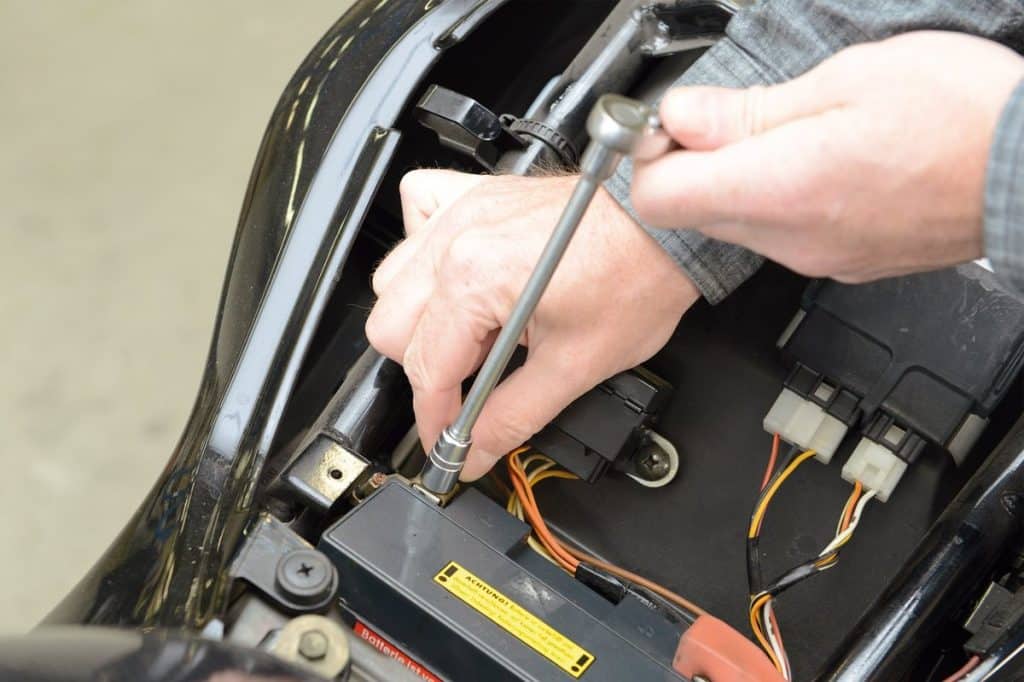
Disconnect the negative terminal of the battery to avoid the risk of unintentional short-circuiting when reconnecting cables. Be careful not to lose the terminal nut when removing the negative cable.
05 - Loosen the tank screws
Then remove the reservoir. To do this, first check where the tank connects to the frame or other components.
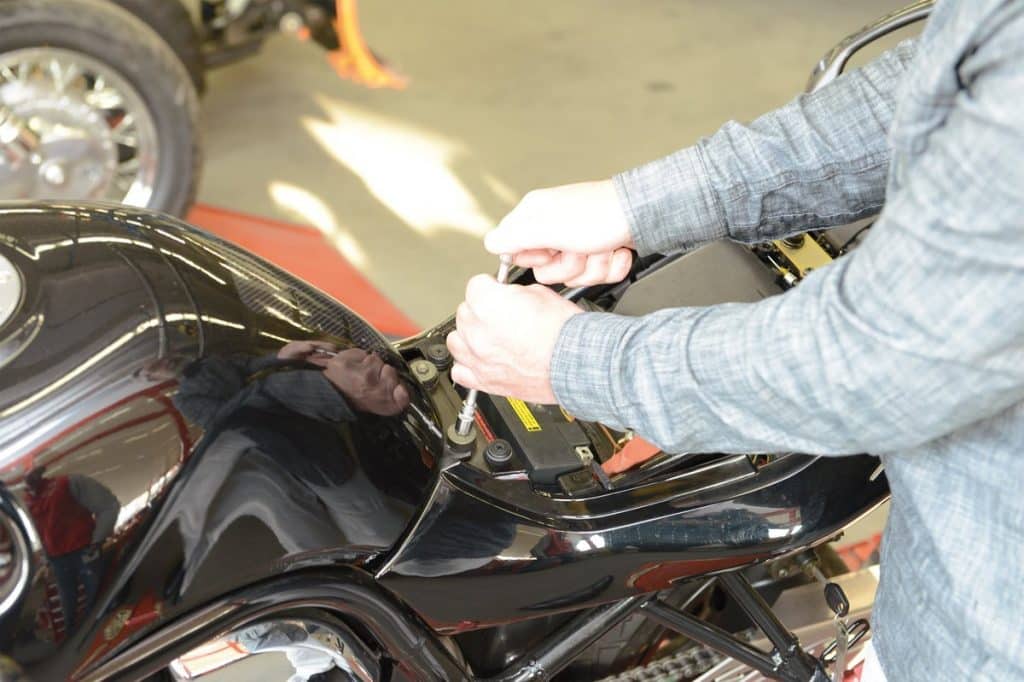
06 - Remove the tank and side cover
On the motorcycle model we are showing you as an example (Suzuki GSF 600), the side covers, for example, are connected to the tank using plug connectors; they must first be loosened and then unhooked.
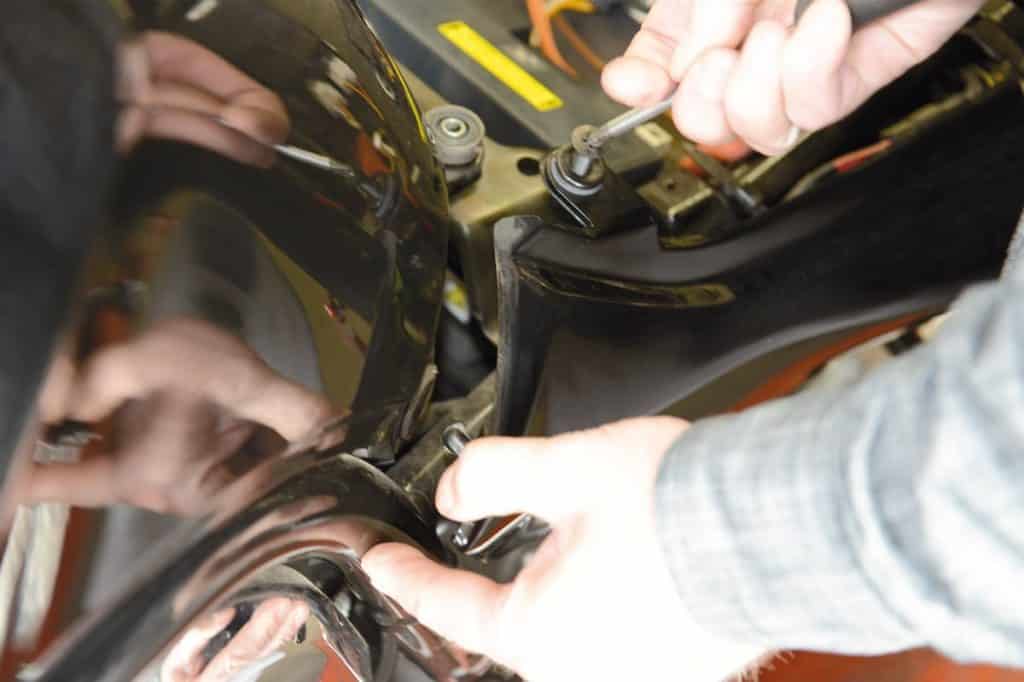
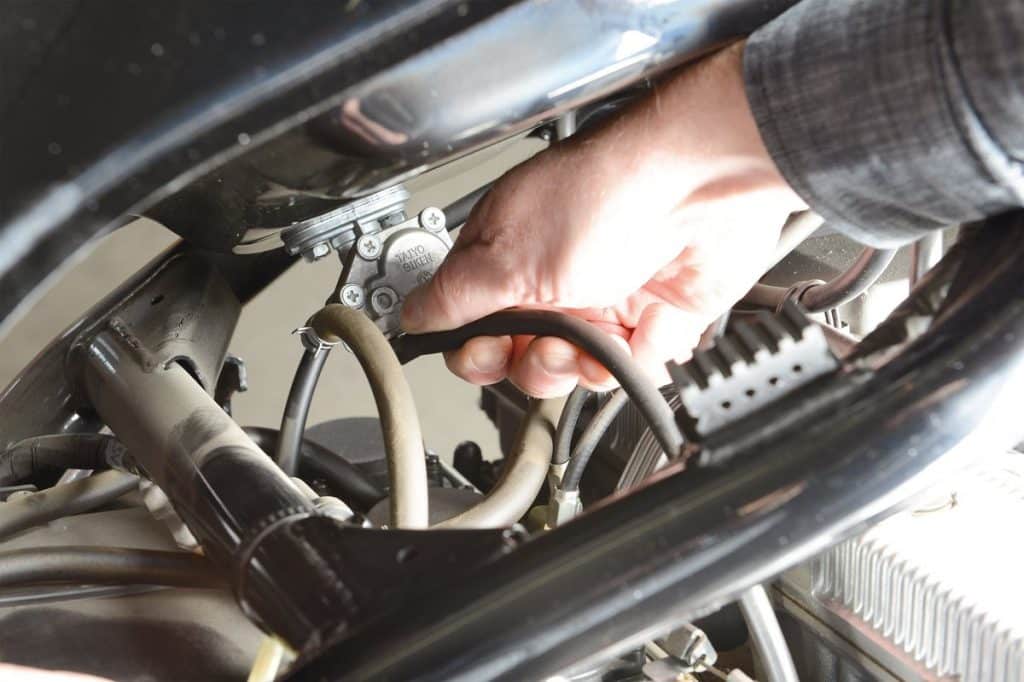
07 - Unscrew the extension from the fuel cock
Also unscrew the fuel valve adjuster extension so it does not hang from the frame.
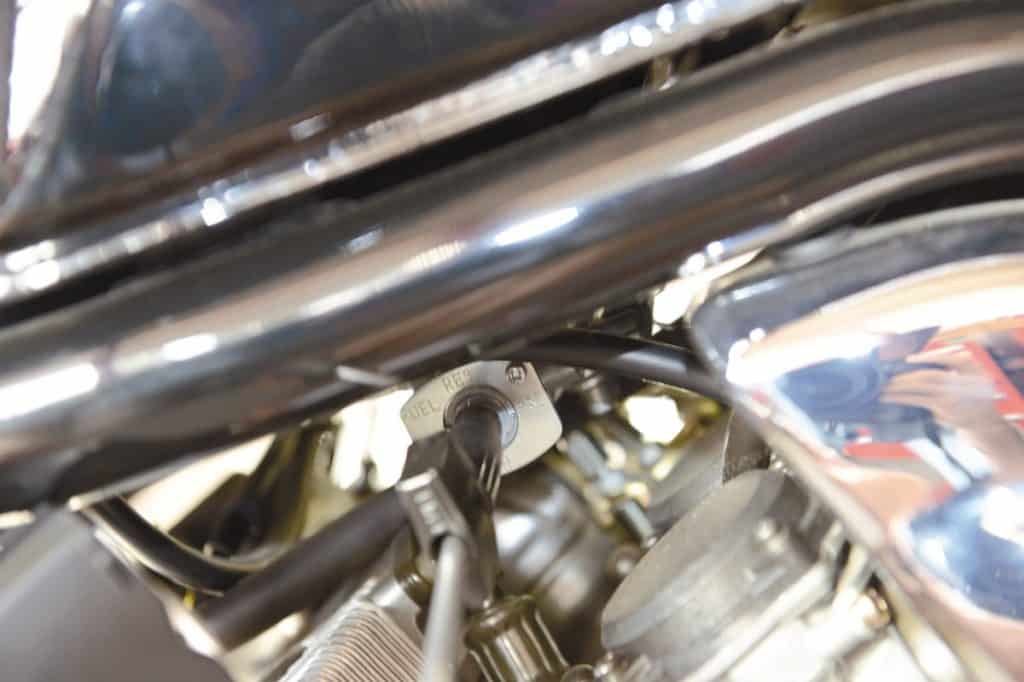
08 - Removing the pipes
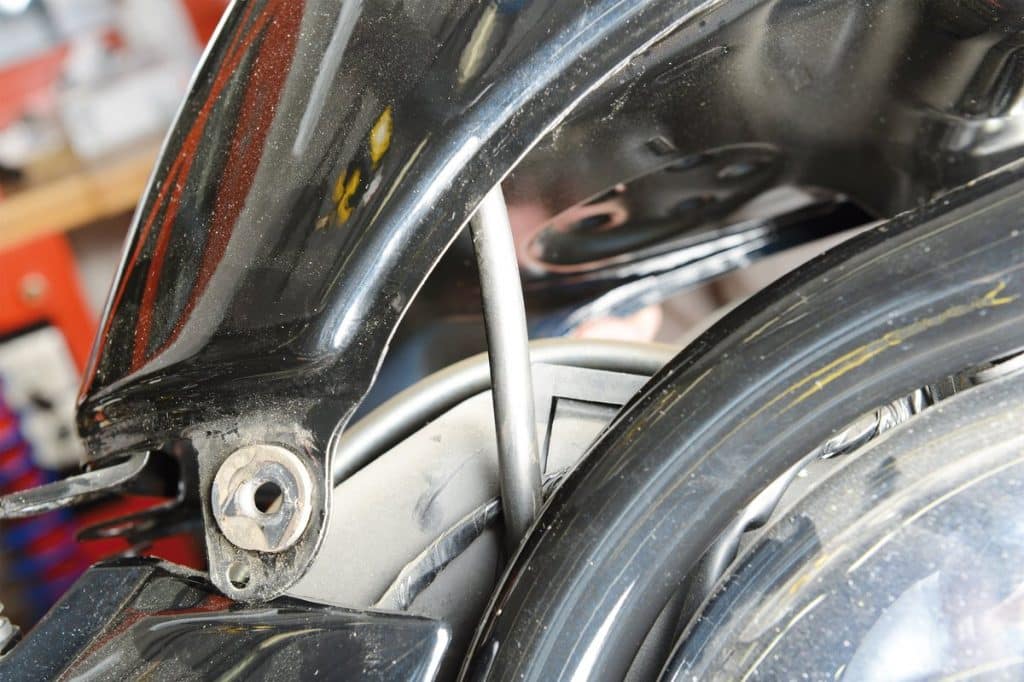
If you have a vacuum operated fuel valve, turn it to the "ON" position rather than the "PRI" position to prevent fuel from leaking out after removing the hoses. If you have a fuel cock that is not vacuum controlled, turn it to the OFF position.
You can now remove the pipes; for Bandit models, this is a degassing and a vacuum line, as well as a fuel hose to the carburetor.
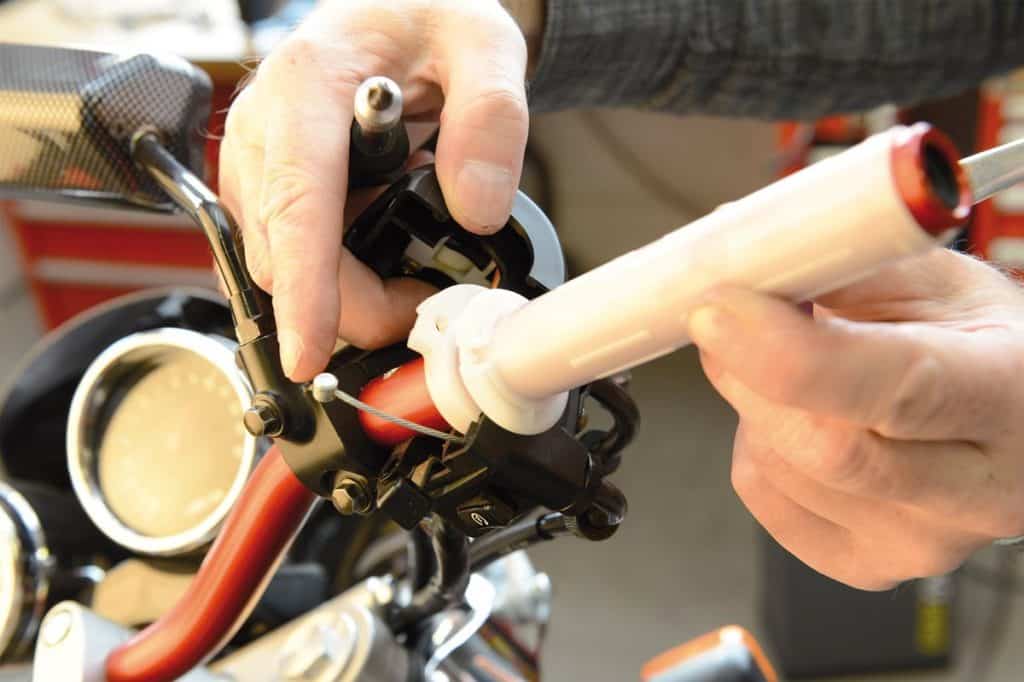
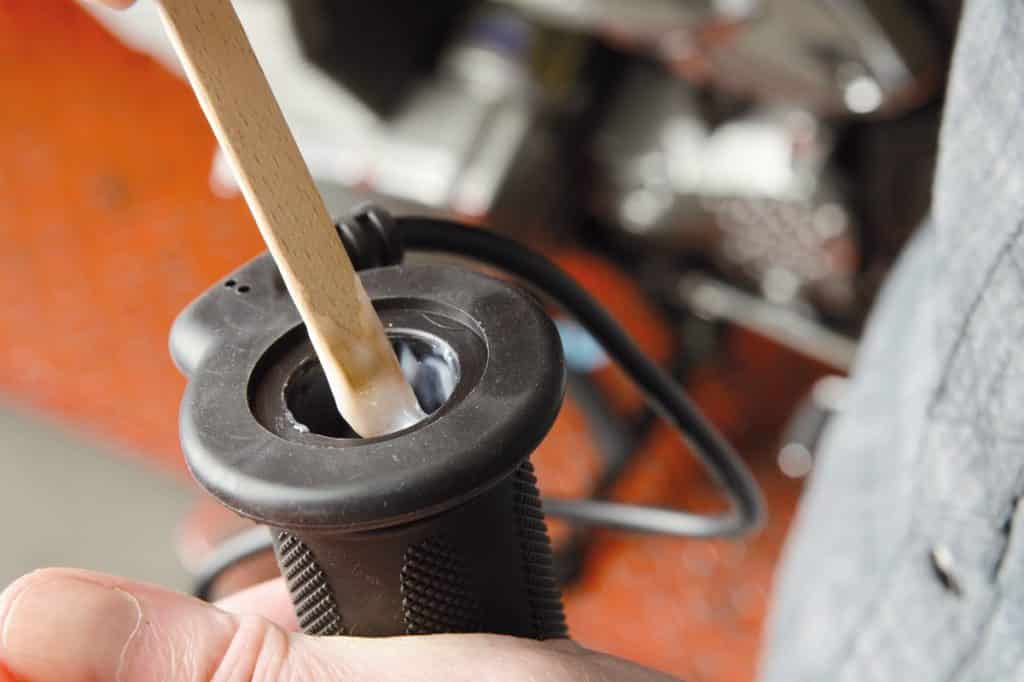
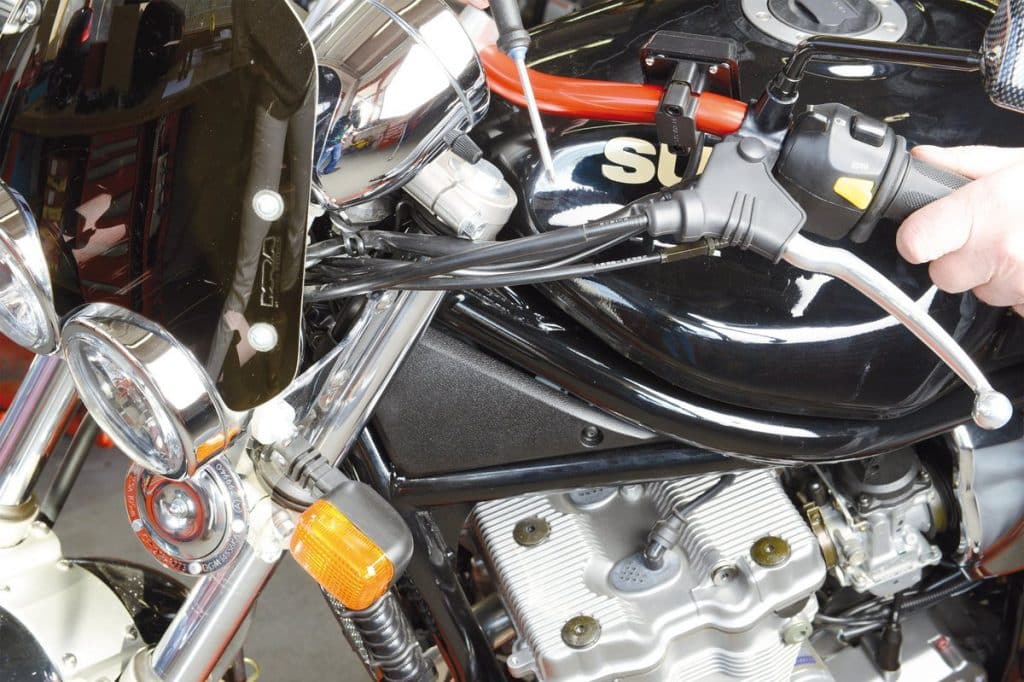
09 - Lift the handle with a thin screwdriver and ...
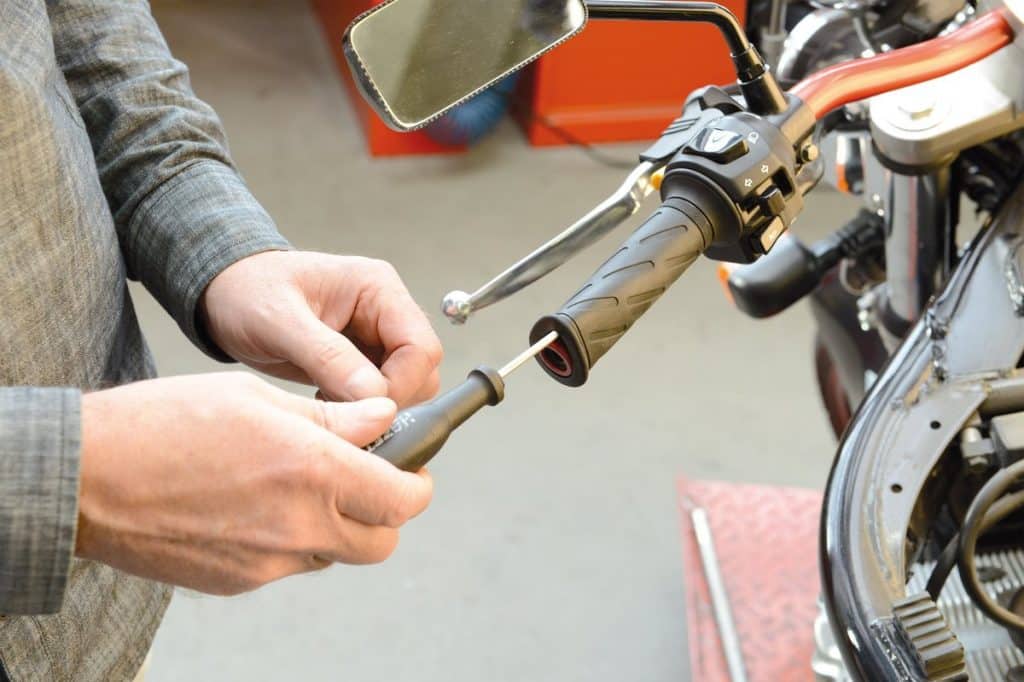
To remove the original grips from the steering wheel, use a little soapy water that you spray under the grips. Then lift them slightly off the handlebars or throttle bushing with a thin screwdriver, then turn the screwdriver once around the handlebars to spread the solution. Then the handles are removed very easily.
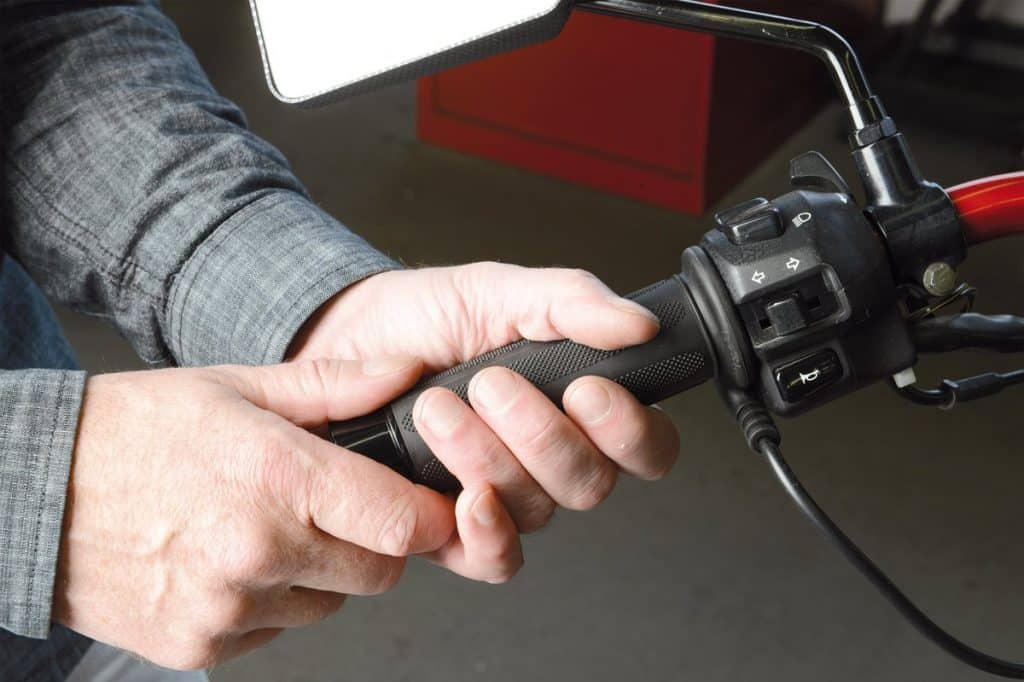
10 - Remove it from the handlebars with soapy water or brake cleaner.
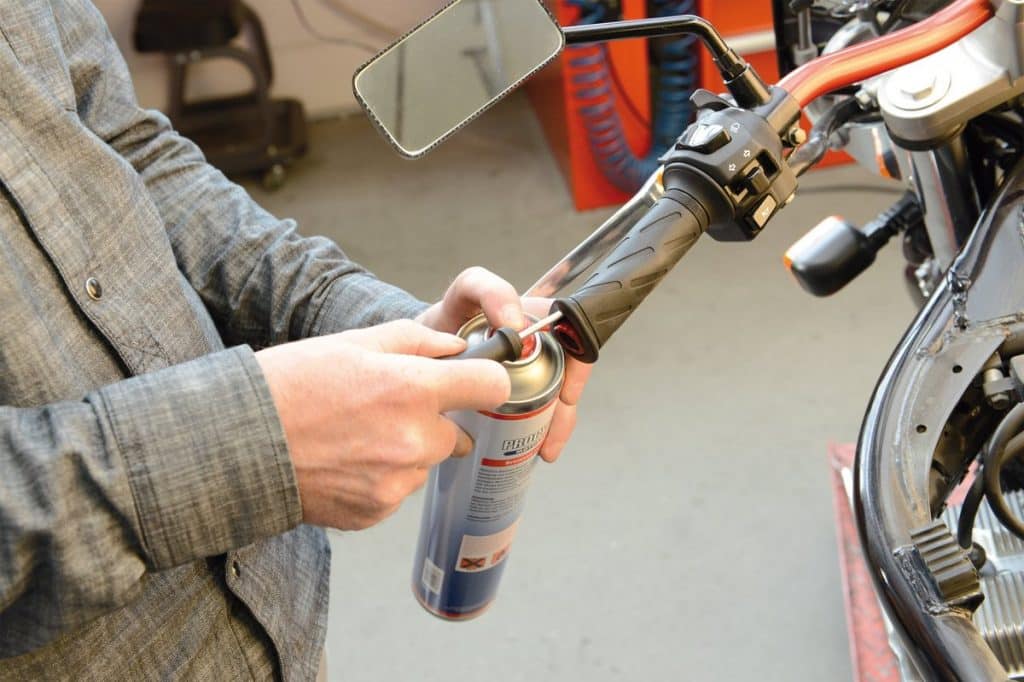
You can also use a brake cleaner with insensitive rubber pads. However, do not use this product if your grips are made of foam or cellular foam, as the brake cleaner can dissolve the foam. If the handles are glued to the frame, start by cutting out the glued section with a craft knife. Then observe the throttle bushing. Heated grips fit more easily onto smooth throttle bushings. If the handle slides smoothly, there is no need to remove the handlebar bushing.
11 - Unhook the accelerator and remove the steering wheel hub.
Use a saw, file, and sandpaper to hold the new handle securely without pushing it through contoured or oversized sleeves. To do this, it is advisable to remove the throttle bushing from the steering wheel. Unscrew the scales so that the throttle cables hang down. To make this step easier, twist the cable adjuster slightly to create more play. The metal throttle bushings are more stable than the plastic bushings. The former can withstand several hammer blows, while the latter need to be careful. In this case, it is advisable not to insert a new handle with a hammer. Do not under any circumstances hit the steering wheel: if the dial case is also made of plastic and is attached to the steering wheel with a small pin, it can break even under a slight load (in this case, the dials are no longer attached to the steering wheel.).
12 - Adjustment of the rotary gas sleeve
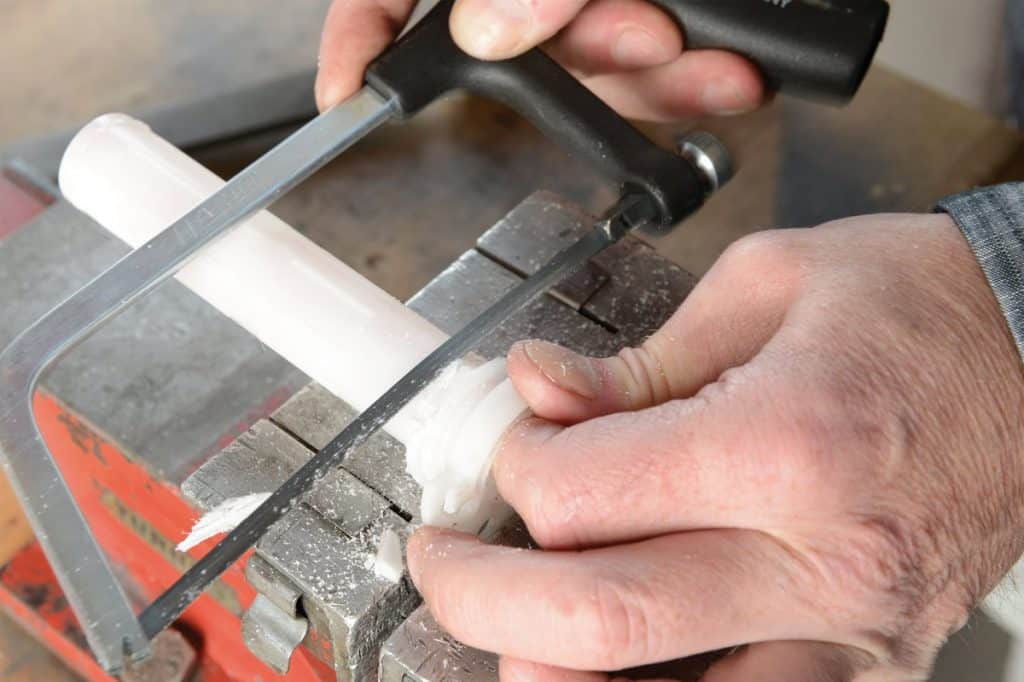
Edges are present on the Suzuki accelerator sleeve. To install new heated handles, these edges must be sawed off, and the remnants must be sawed off. The diameter of the sleeve should be reduced slightly with emery paper so that the new handle can be installed without using force. The throttle bushing must also be redesigned if necessary.
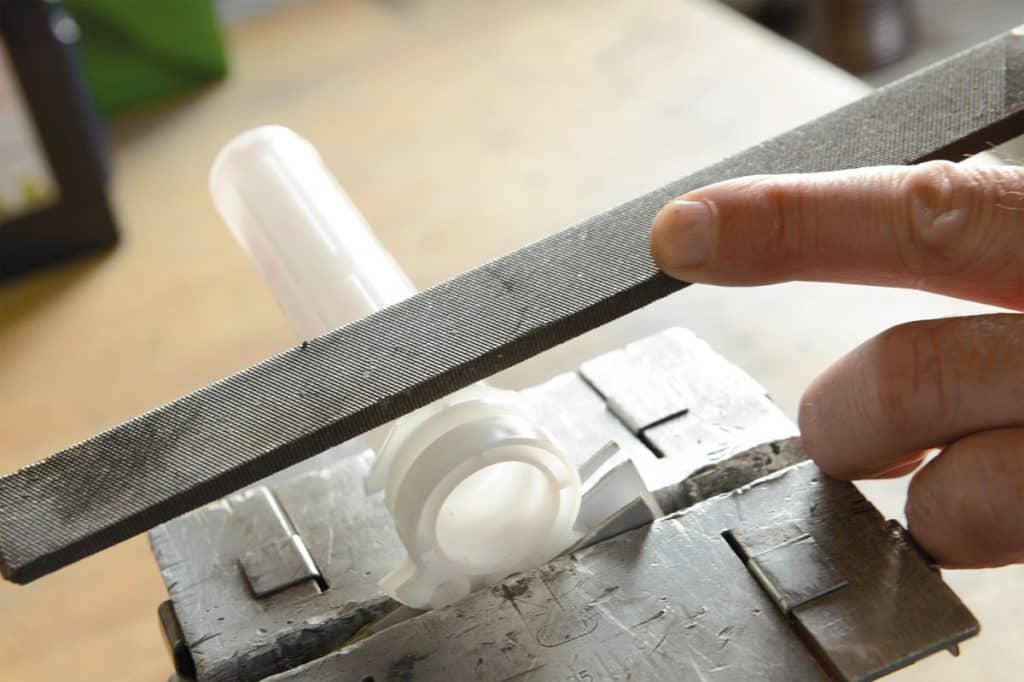
If you want to keep your old grips in stock, buy a new one and redesign it to fit the heated grip.
13 - Degrease and clean the left side of the steering wheel
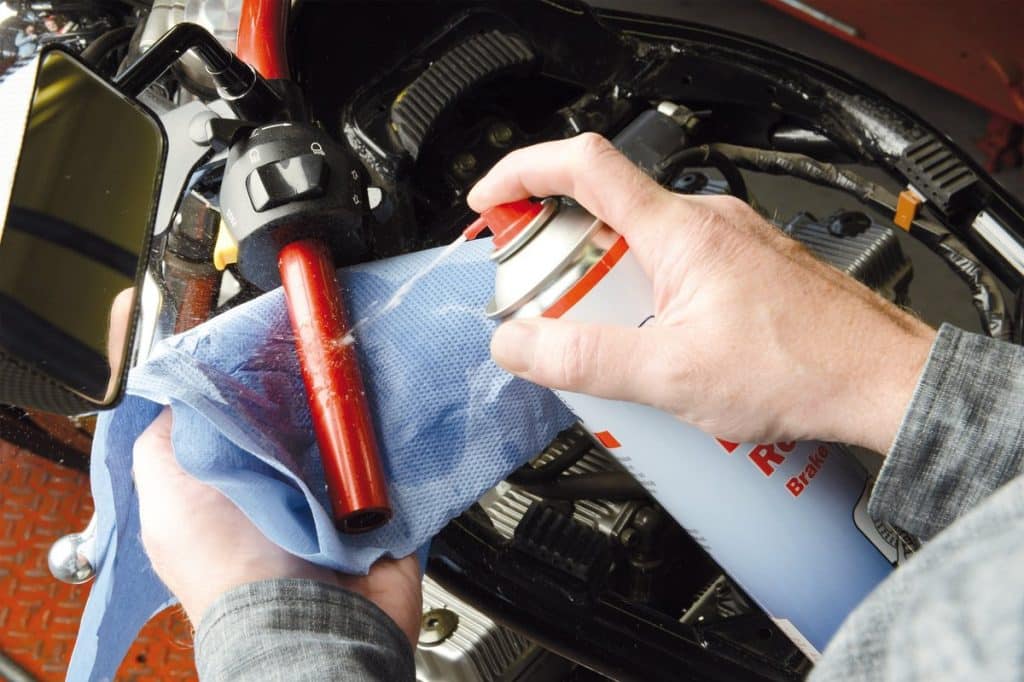
To glue the grips, degrease and clean the handlebars and throttle bushing with a brake cleaner.
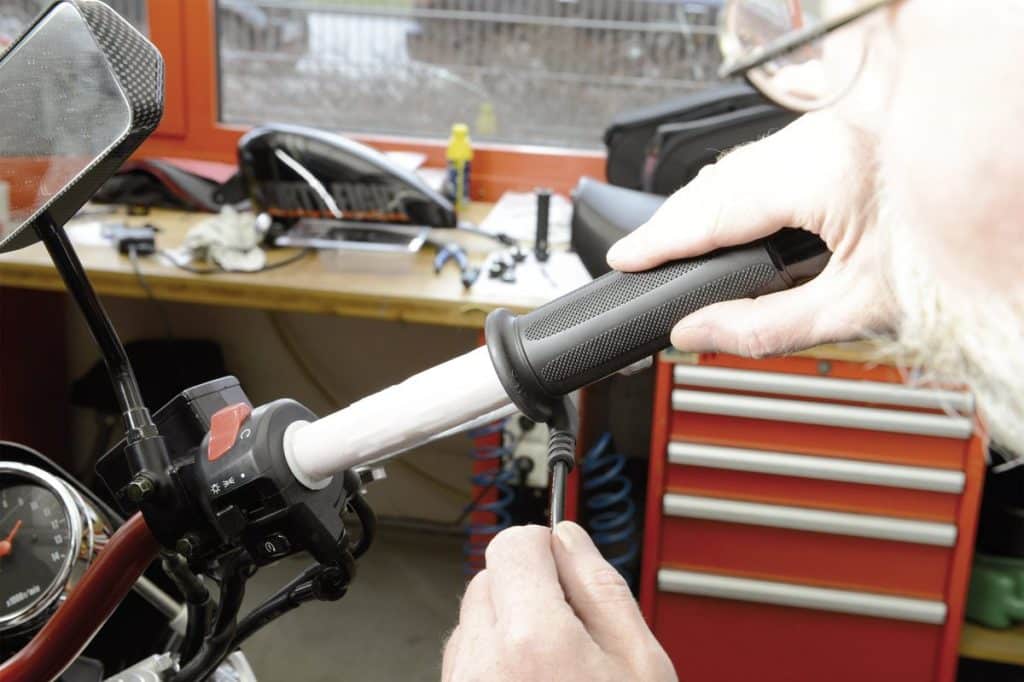
14 - Gluing heated handles
Then stir the glue according to the instructions on the package. The next step must be done quickly, as two-part adhesives dry quickly. Apply some glue to the grip, then slide the left grip so that the cable exit is facing down, then repeat this step with the throttle bushing. Obviously you've checked beforehand if the new handle fits.
The note : always leave a notch large enough for the dial case so that the throttle grip turns easily and does not get stuck afterwards. Once the glue has dried, it is usually impossible to adjust or disassemble the handles without damaging them.
15 - When the steering wheel is turned, the cables must not be pinched.
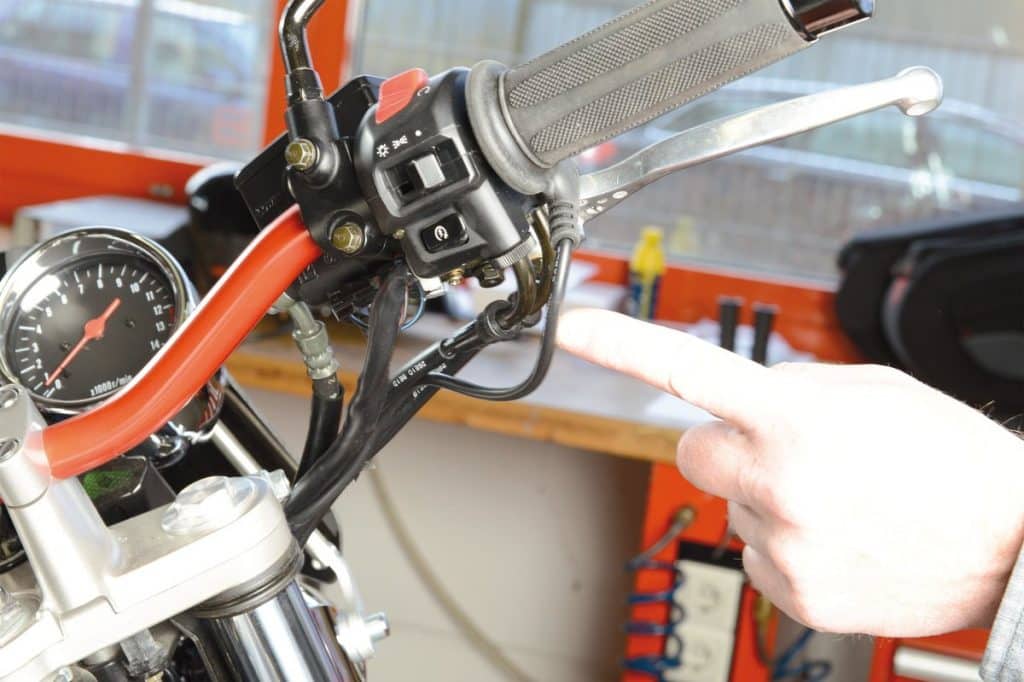
Route cable runs from the handles between the fork posts in the direction of the frame so that they never interfere with acceleration or jamming in the event of maximum steering deflection.
16 - Attach the derailleur to the handlebar or frame
Depending on the vehicle, mount the switch so that it can be easily operated with a clip on the steering wheel or with adhesive tape on the dashboard or front fairing. Also run the cable to the frame and make sure (at the level of the steering column) that it never locks when steering.
17 - Connect the wire to the battery
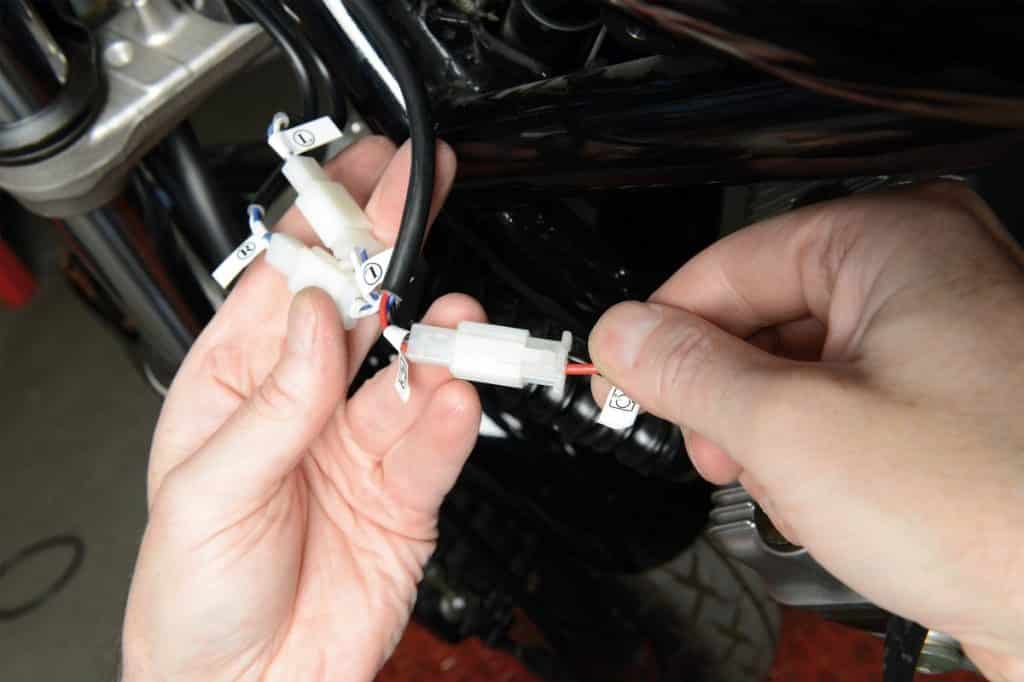
You can now connect the battery harness to the grip cables and to the switch block. To facilitate this step, saito has equipped its heated pens with small flags for clear marking.
Route the harness along the frame to the battery. Secure all cables to the handlebar and frame with sufficient cable ties.
You can then connect the low power heated grips directly to the positive and negative battery terminals (see Heated Grip Assembly Instructions). However, if you have not turned off the grip heating switch, you could lose electrical current after the end of the ride. The steering lock does not interrupt the electrical circuit of this type of connection.
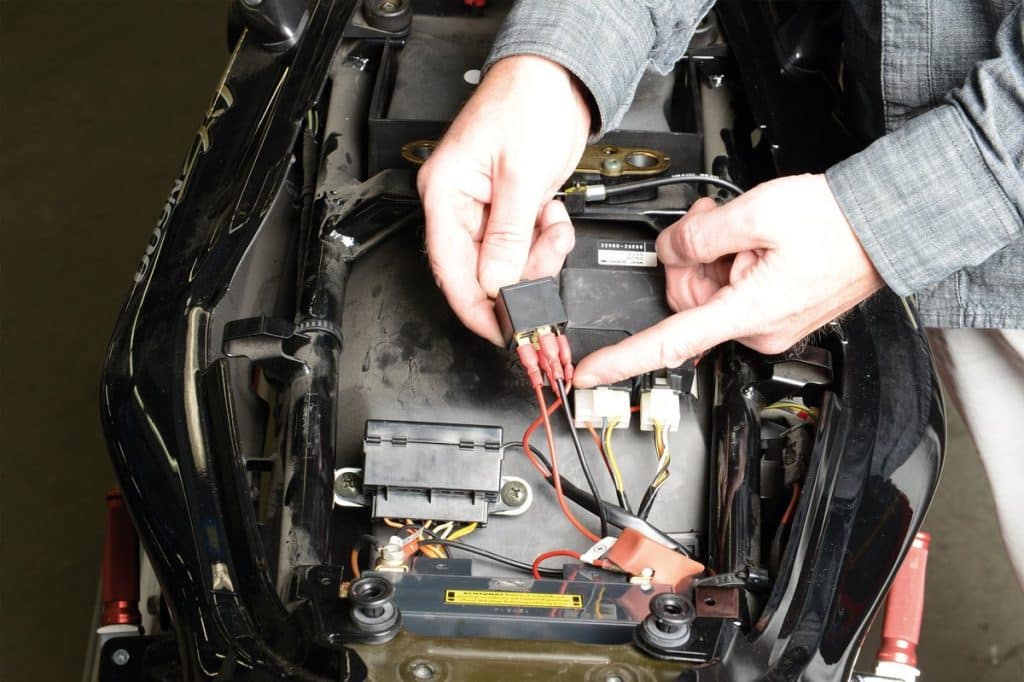
18 - Find a suitable place to mount the relay

If you forgot your pens, for example. at night, depending on their position, they may overheat and the battery may be completely discharged, preventing restarting. To avoid this kind of inconvenience, we recommend connecting them via a relay. Before installing the relay, first find a suitable location near the battery. On the Bandit, we drilled a small hole in the wing under the saddle to hold it in place.
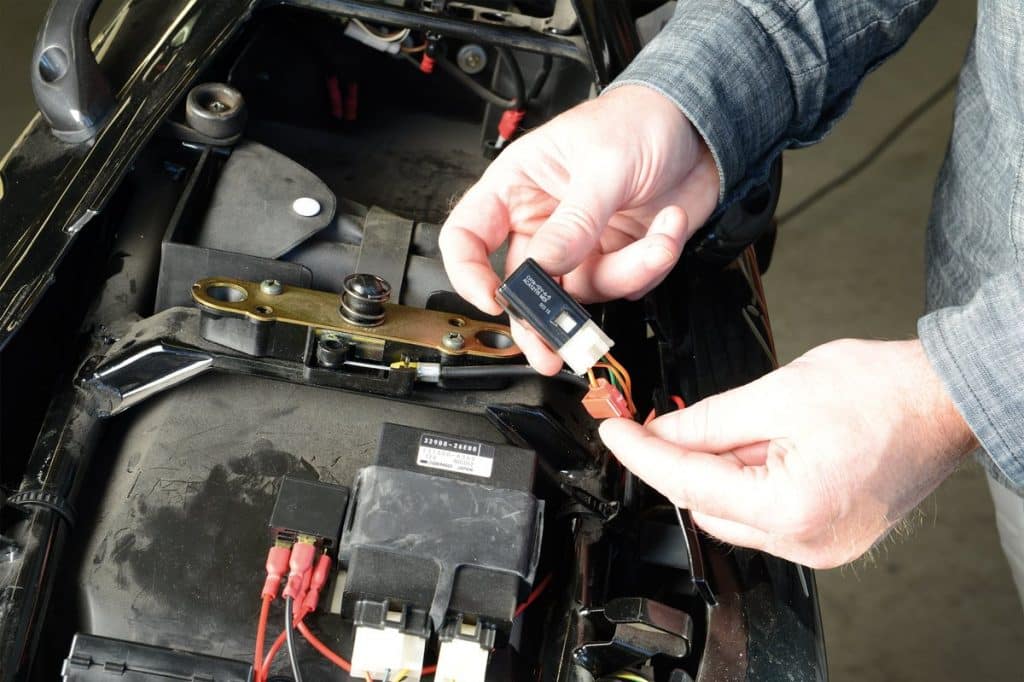
19 - Use insulated cable lugs for connection.
Then connect terminal 86 of the relay to the negative terminal of the battery, terminal 30 to the positive terminal of the battery, inserting the fuse, terminal 87 to the positive red cable of the heated grips (power cable to the control unit). Switching) and terminal 85 to positive after ignition of the steering lock. You can use it at your nearest consumer, for example. a sound signal (which is rarely used) or a starter relay (which Bandit allows us).
To find the maximum after contact, use a pilot lamp; Once installed on the appropriate cable, it lights up as soon as you move the steering lock to the “ON” position and goes out when you deactivate it.
20 - Turn off the plus, for example. after starter relay contact
After connecting the relay, check the electrical connections again. Are all connections correct? You can then plug in the battery, turn on the ignition, and try out your heated grips. Does the indicator light up, can you select heating modes and all other functions?
21 - Then the tank can be attached

Then you can install the reservoir. Pre-check that the throttle grip is working correctly (if removed), then check that the pipes are not kinked and that all terminals are correctly positioned. It may be advisable to seek the assistance of a third party responsible for holding the reservoir; this will not scratch the paint or drop the tank.
Once the saddle is in place and you have made sure that your bike is ready to ride in every detail, you can make your first try and understand how pleasant it is to feel the warmth from the heated grips radiating throughout your body. Delicious comfort!