Air filter on a BMW X5
Content

Instructions for changing the air filter on a BMW diesel engine

This manual is intended for owners of 5-3.0 BMW X2007 2016 vehicles equipped with an inline six-cylinder diesel engine. The instruction contains a detailed description of the procedure for self-replacing the air filter during scheduled or additional maintenance.
This manual has been prepared for the second generation of BMW X5 E70 crossovers and is recommended for owners of the F15 diesel model. Air filter replacement instructions may be useful for owners of BMW 1, 3, 4, 5, 6 and 7 series vehicles, as well as I3, X1, X3, X5, X6, Z4, M3, M5 and M6 models. Can also be used to service F20, F21, E81, E82, E87, E88, 114i, 114d, 116i, 116d, F20, F21, E81, E82, E87, E88, 114i, 114d, 116i and 116d models manufactured between 2001 to 2006
It is highly recommended that you read your vehicle's owner's manual before carrying out work to obtain reliable information about the intervals between regular maintenance. Please read the disclaimer carefully.
Required tools and spare parts
BMW X5 vehicles with a 3 liter diesel engine use the original MANN C33001 OEM air filter. The following spare parts are allowed:
- Frame CA11013;
- K&H 33-2959;
- Nappa gold FIL 9342;
- AFE 30-10222 Flow Magnum.
For routine maintenance, you will need a socket wrench and a Torx Bit T25 socket head screwdriver.
Burn warning
Allow the engine to cool down before starting work on replacing the air filter. Touching very hot surfaces of the power unit can cause severe skin burns. When performing service procedures, it is recommended to be extremely careful and strictly follow the rules and safety measures set out in the owner's manual for your car.
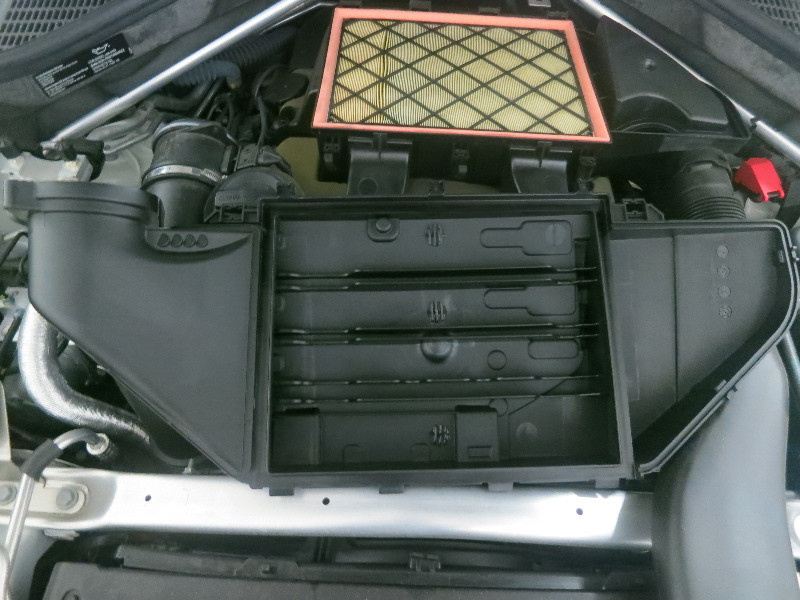
Air filter location and access
The air cleaner box is located in the engine compartment of the vehicle. To gain access to the unit for routine maintenance, it is necessary to raise the hood, to do this, follow these steps:
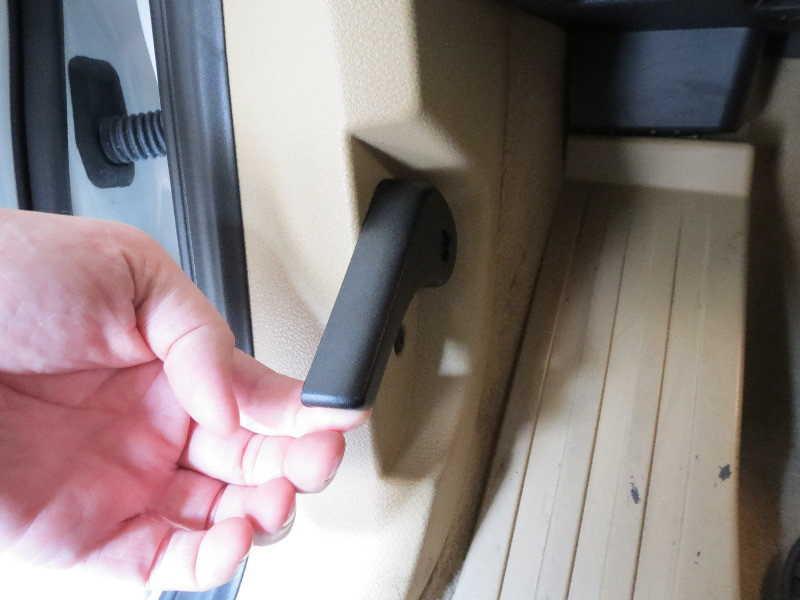
Locate the hood release lever located in the cab on the left wall under the steering column and pull it until it clicks.
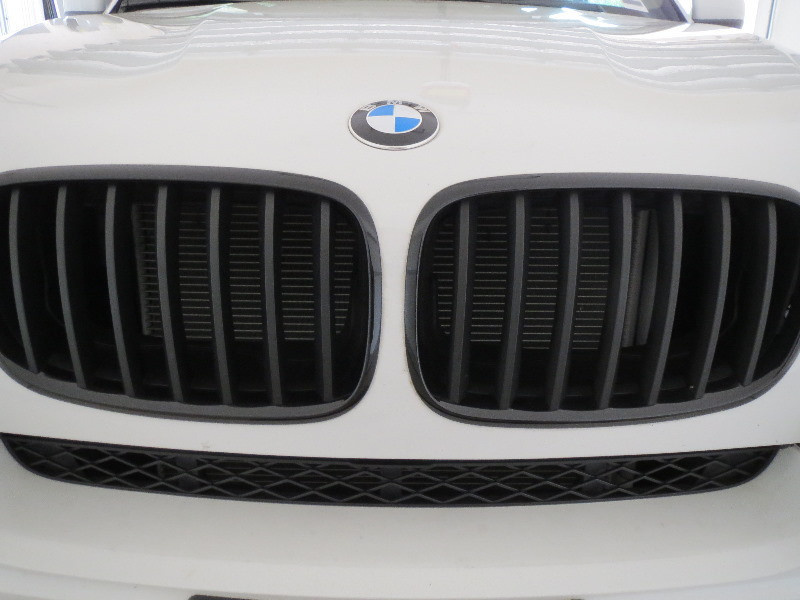
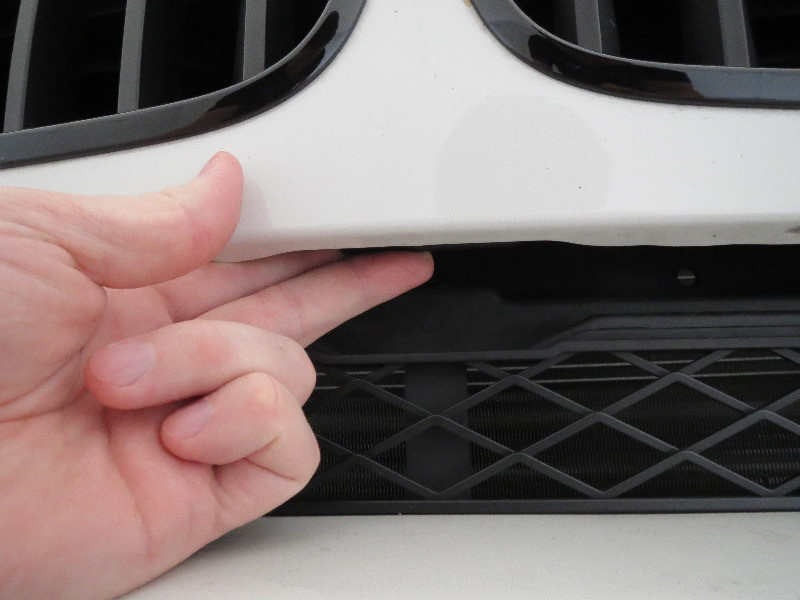
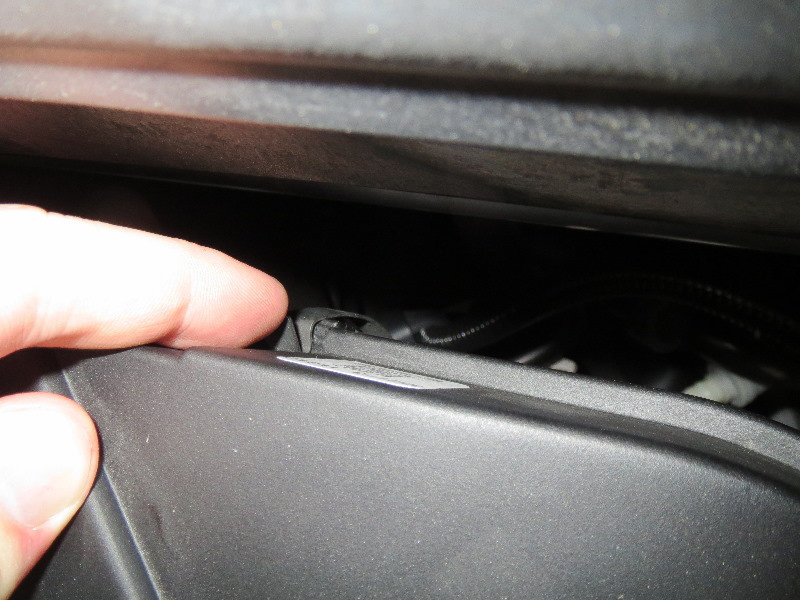
Go to the front of the car, lift the hood, find the latch with your fingers (it is located inside the body element) and pull it.
After opening the hood, lift it up.

BMW X5 Diesel
Unlock BMW hood
open hood
Click on the hood latch
bmw hood lock
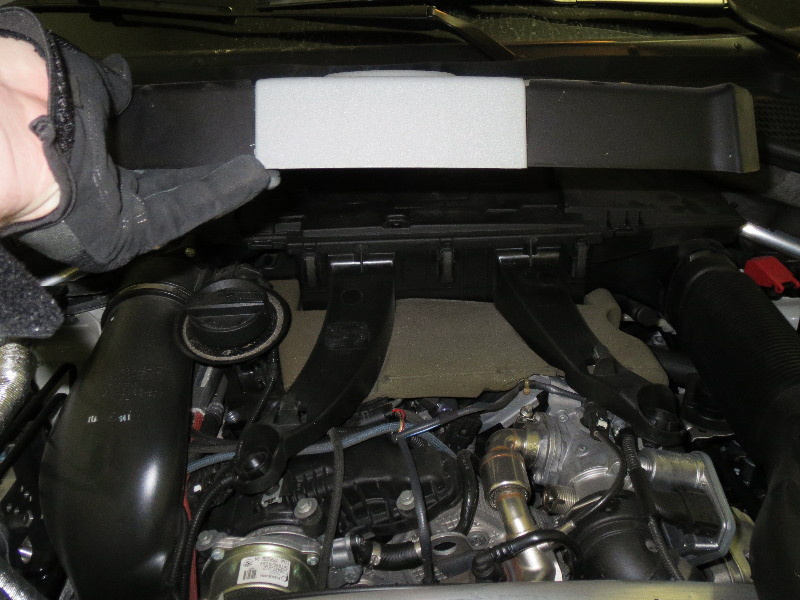
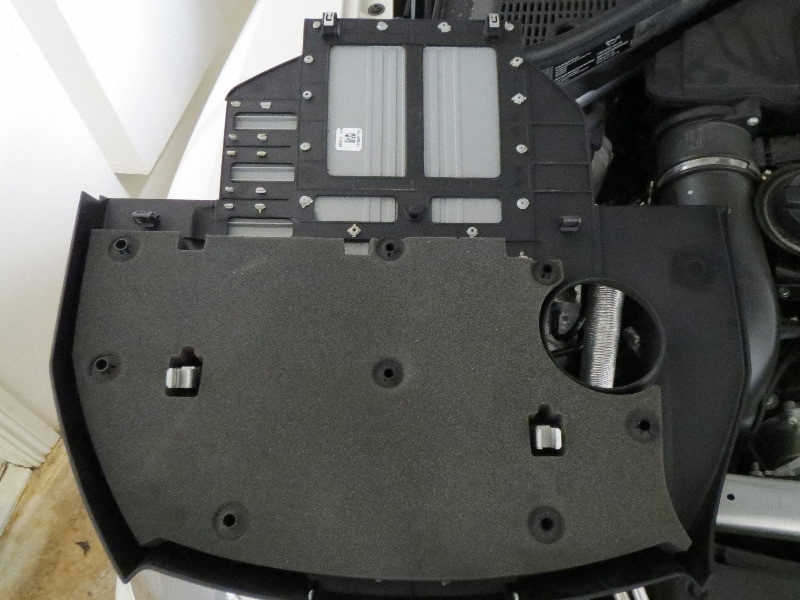
On vehicles not equipped with gas shock absorbers, the hood is locked in the open position by means of a link. It is located in front of the engine compartment, and its lower end is fixed on a swivel bracket. A polymer foam noise-absorbing element is attached to the inner surface of the hood, which also provides thermal insulation of the engine compartment.
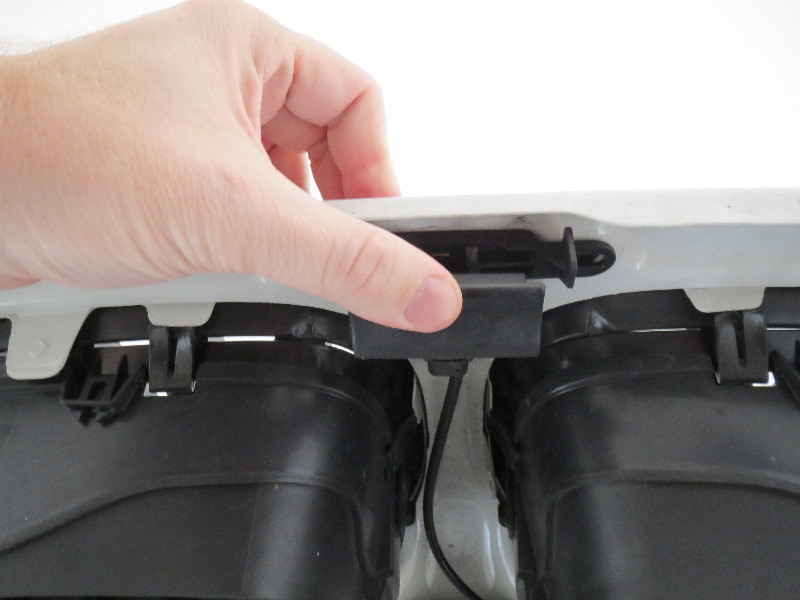
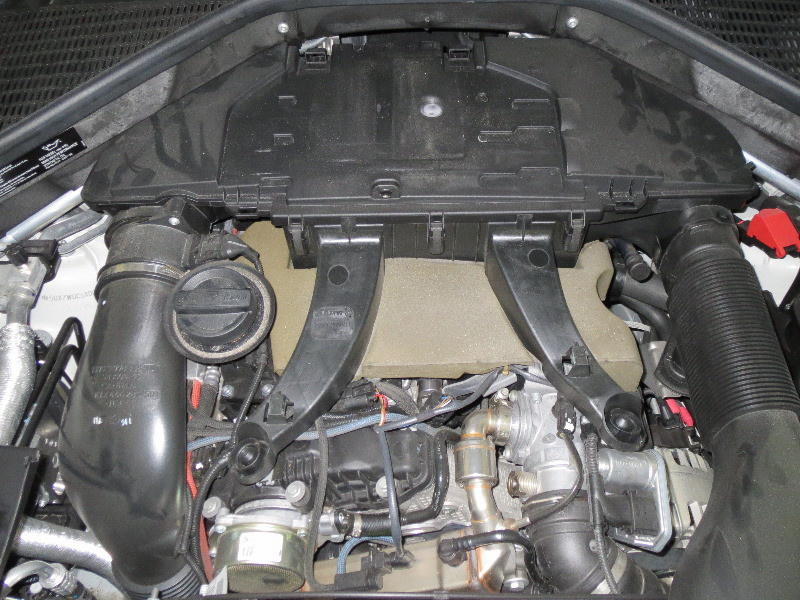
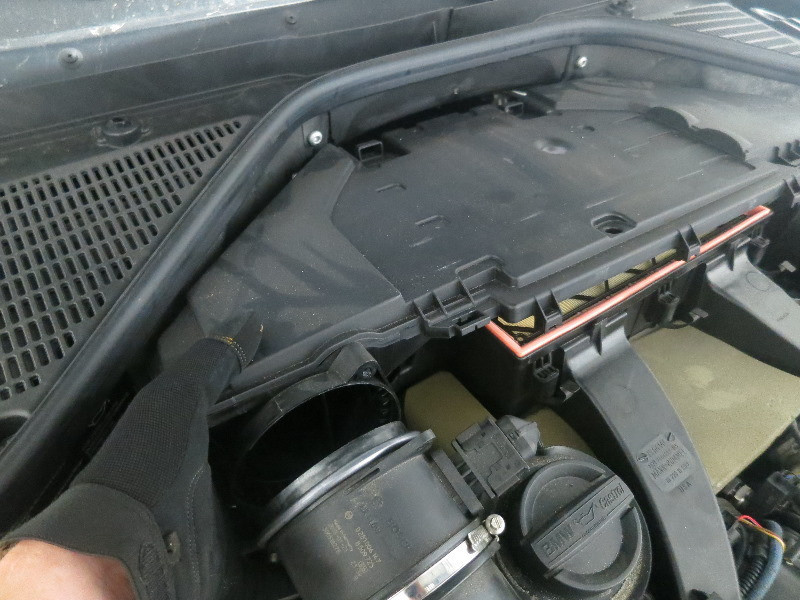
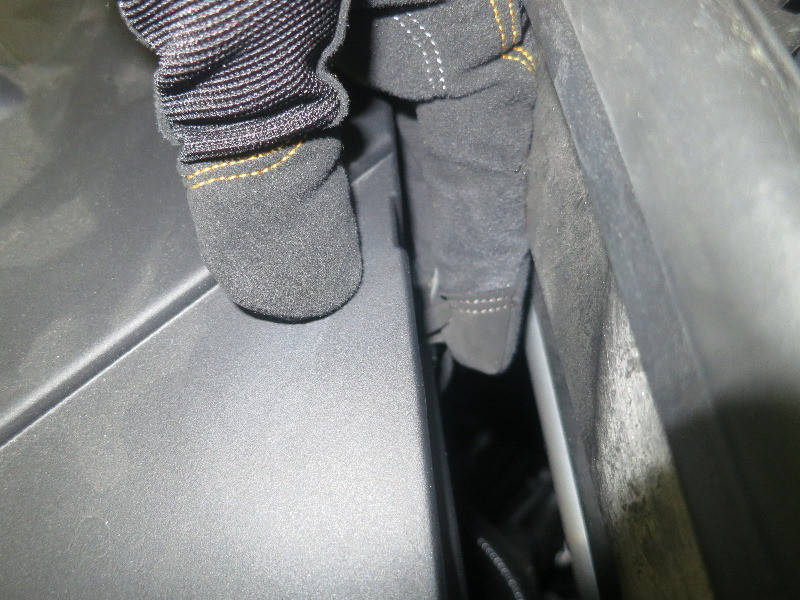
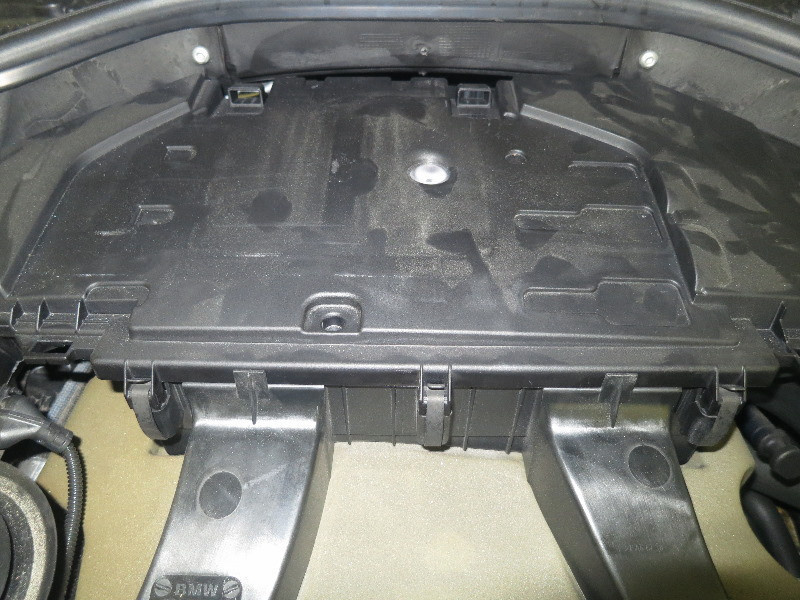
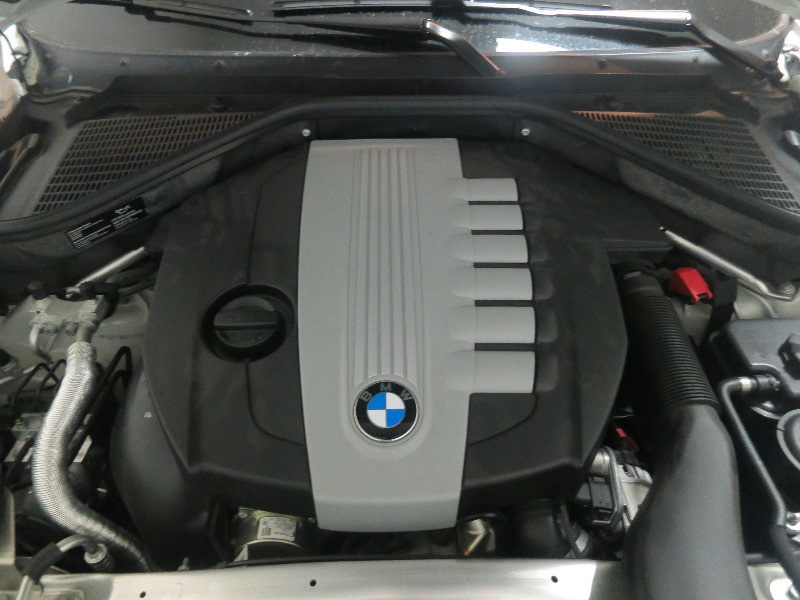
The air filter on BMW vehicles is located under the engine cover, which is held in place by metal clips. To remove it, you need to pull on it and overcome the resistance of the spring elements. The filter housing is located on top of the power unit at the rear of the engine compartment. To open it, you need to remove the metal latches located on the front and side. The retaining clips are easily removed by pulling the top of the filter housing away from you.
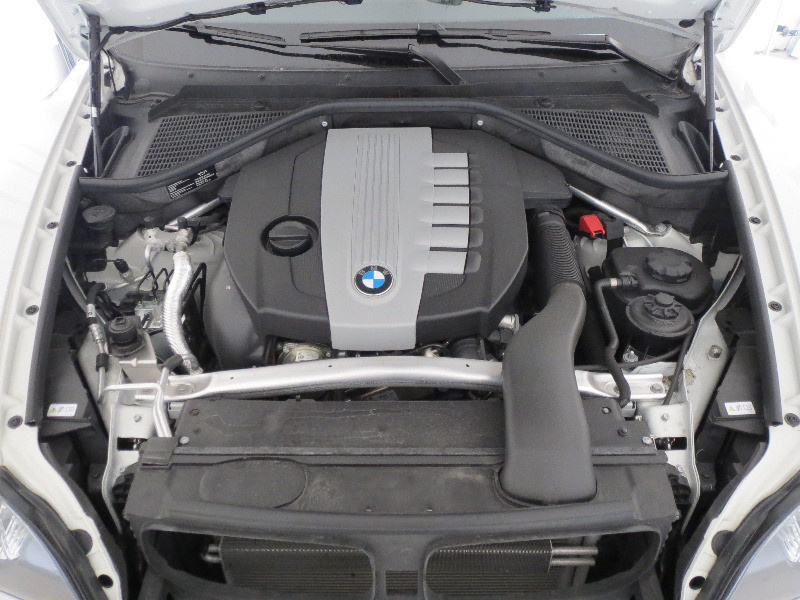
bmw diesel engine
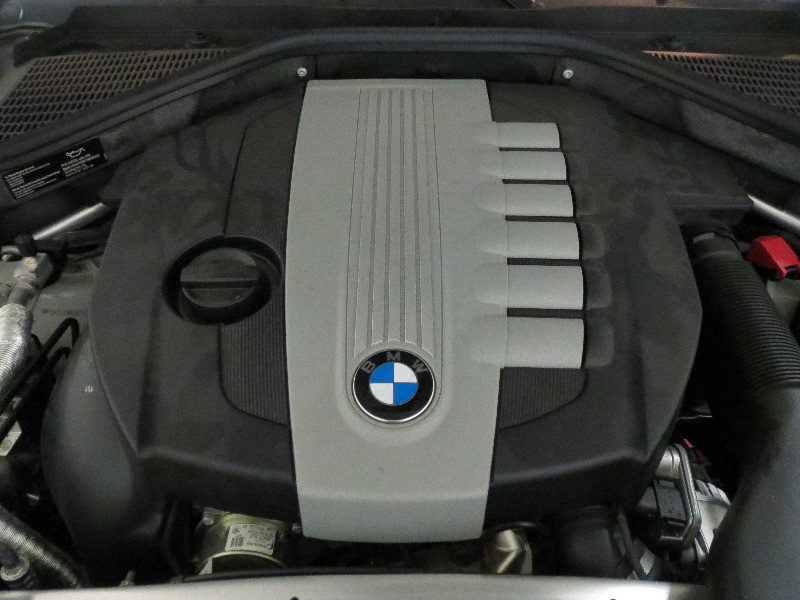
bmw engine cover
Remove BMW engine cover

Thermal protection foam BMW
Remove the engine cover
The body cover is fixed with steel spring latches, three of which are installed in front and two more on the driver's side. Some BMW models use T25 pan head screws instead of metal clips. They are unscrewed with a screwdriver with a special nozzle.
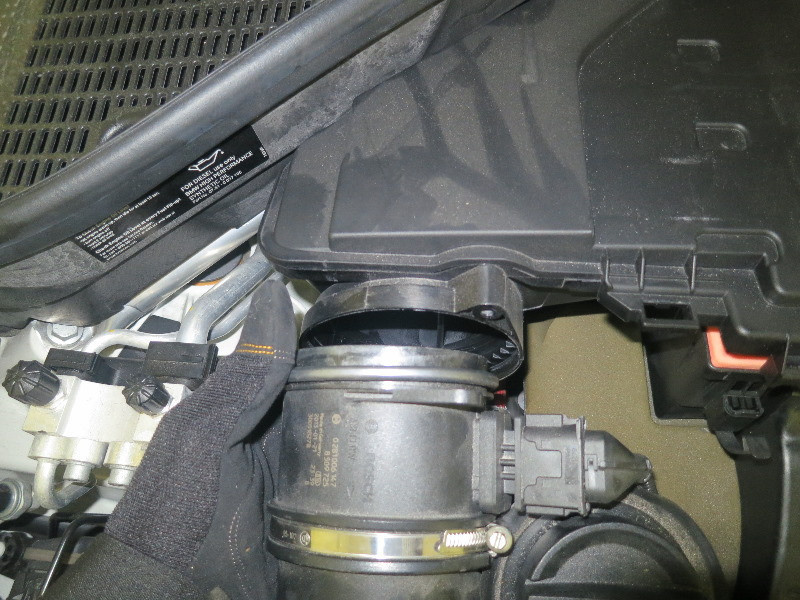
Removing the mass air flow sensor
The sensor can be removed in two ways:
Using a Torx T25 screwdriver, remove the screws that secure the mass air flow sensor to the BMW engine air cleaner housing and set the device aside.
Remove the large clip that holds the MAF sensor to the filter housing after disconnecting the wiring harness.
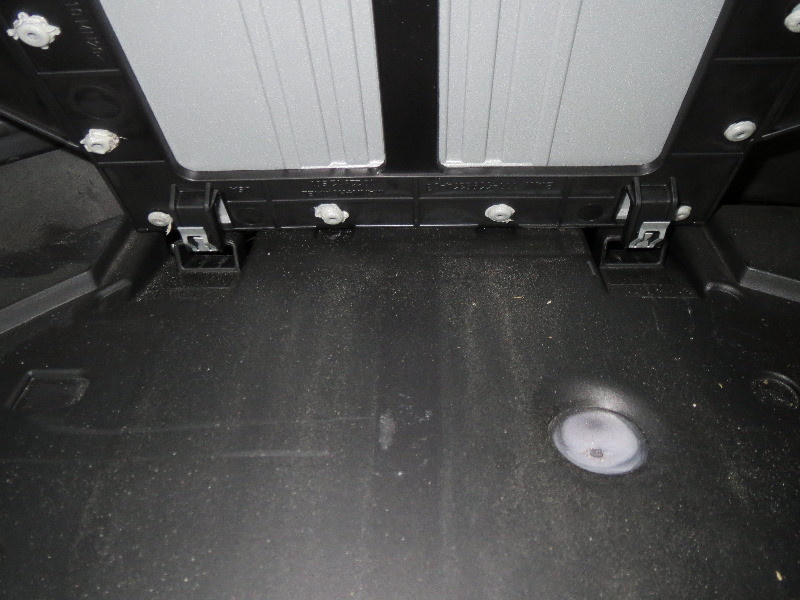
BMW X5 air filter box

Remove the air filter clamps

Air filter retainer
Side clip of the air filter
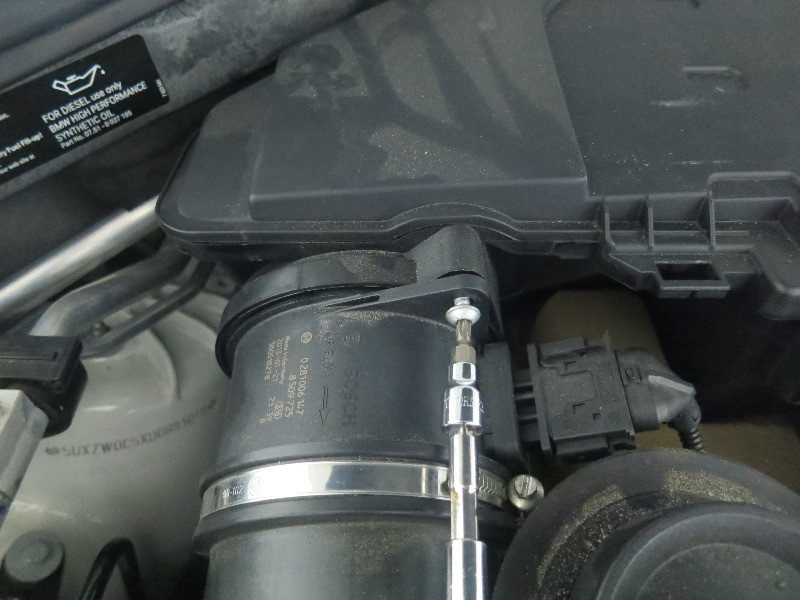
Upper MAF Sensor Bolt

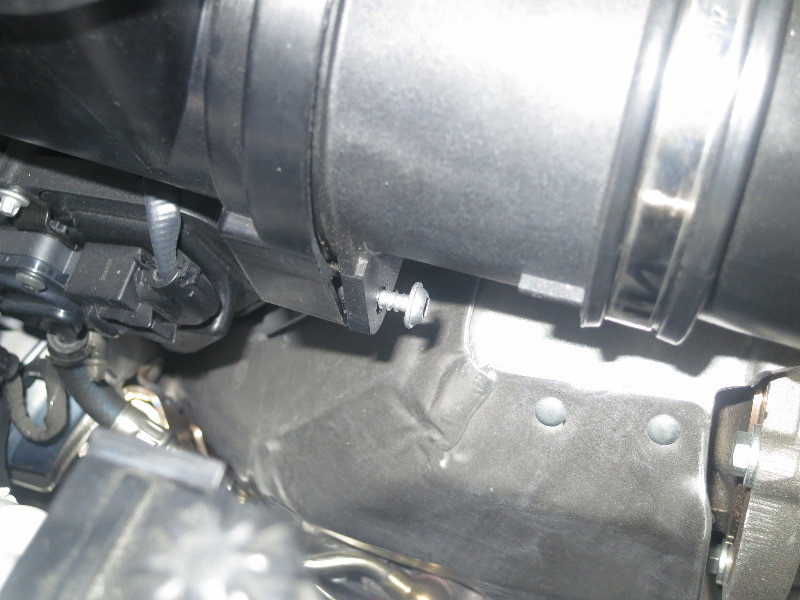
T25 Mass Air Flow Sensor Lower Bolt
Duct removal
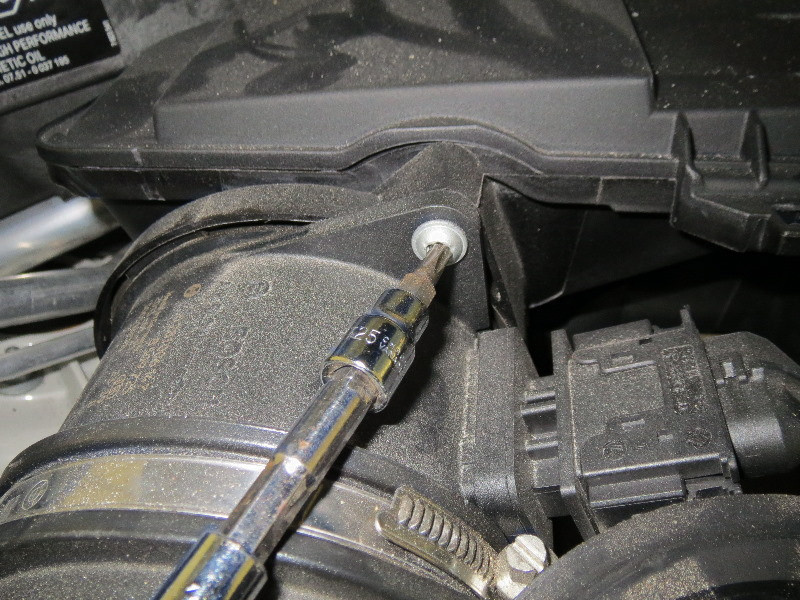
When unscrewing the two Torx T25 screws that secure the fuel flow sensor to the filter housing, be very careful not to drop them. After removing the device, you have the opportunity to lift the cover and gain access to the filter element.
Replacing the air filter cartridge
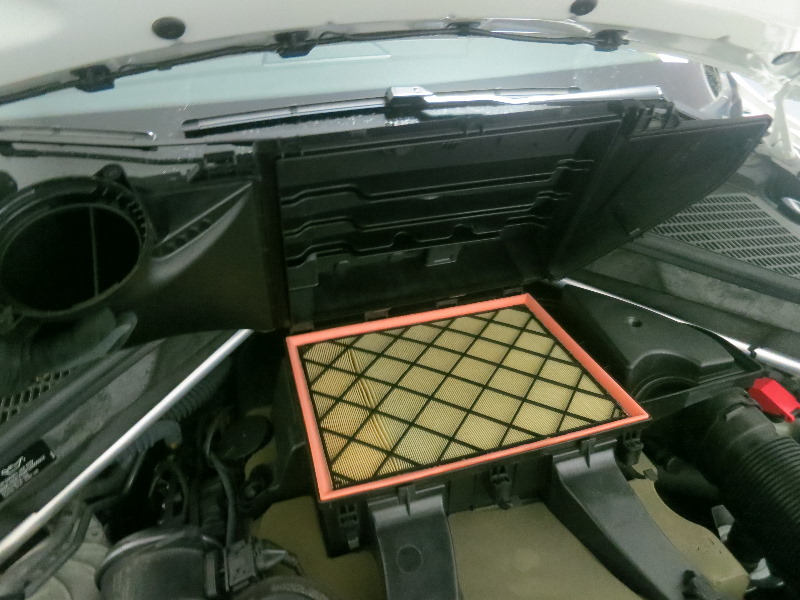
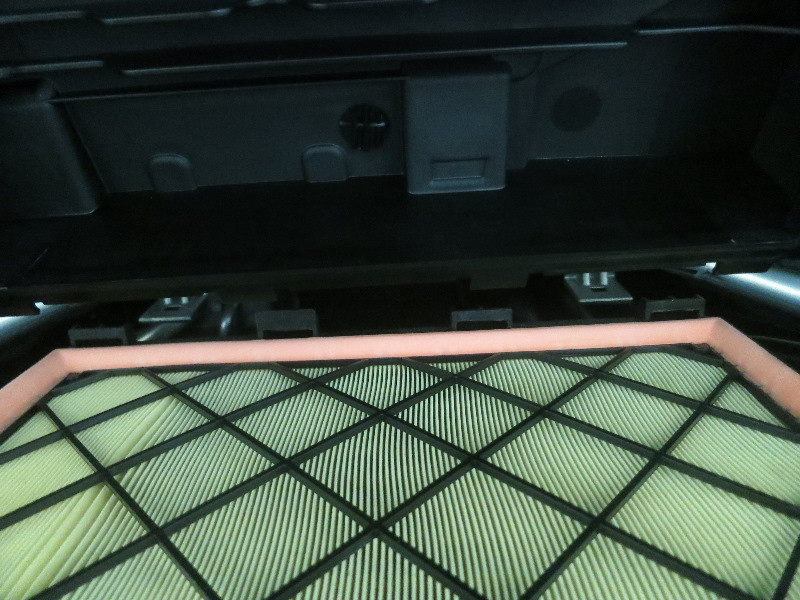
After removing the housing cover, remove the filter element and inspect it. Cartridge replacement in BMW engines is carried out every 16-24 thousand kilometers, but at least once a year under normal vehicle operating conditions.
Severe contamination of the air filter leads to a noticeable increase in fuel consumption and a decrease in the power of the power unit. Before installing a new cartridge, it is necessary to clean the filter housing with a vacuum cleaner from deposits of dust, dirt and fallen leaves.
The original filter element for BMW X5 diesel engines is Mann C33001. You can also use Advanced Auto, Autozone, Discount Auto Parts, NAPA, or Pep Boys products.
Installing the cartridge is carried out in the following sequence:

Raise the air filter cover

BMW Air Filter Cartridge OEM
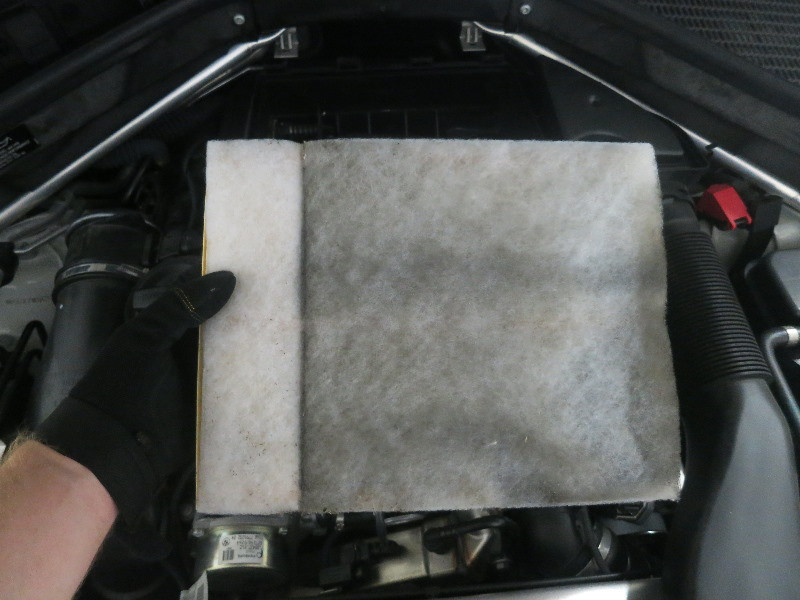
Dirty BMW air filter
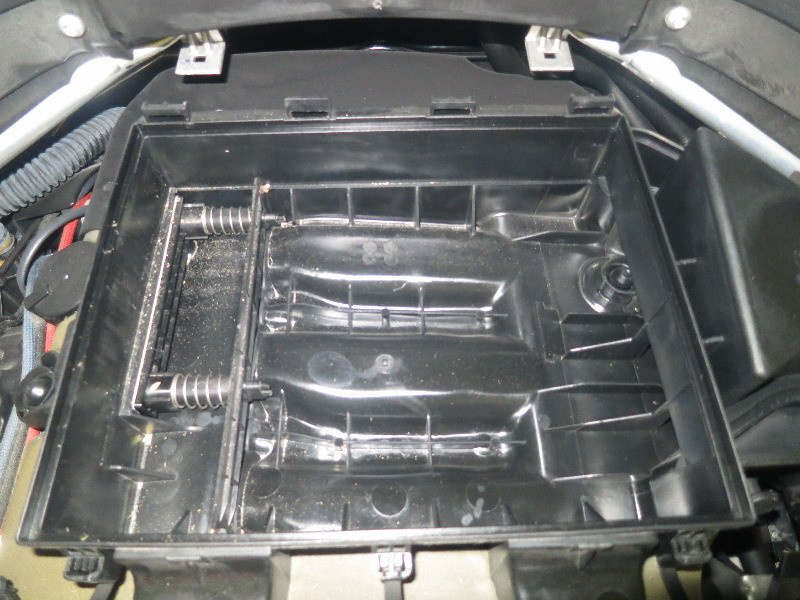
BMW Air Filter Housing
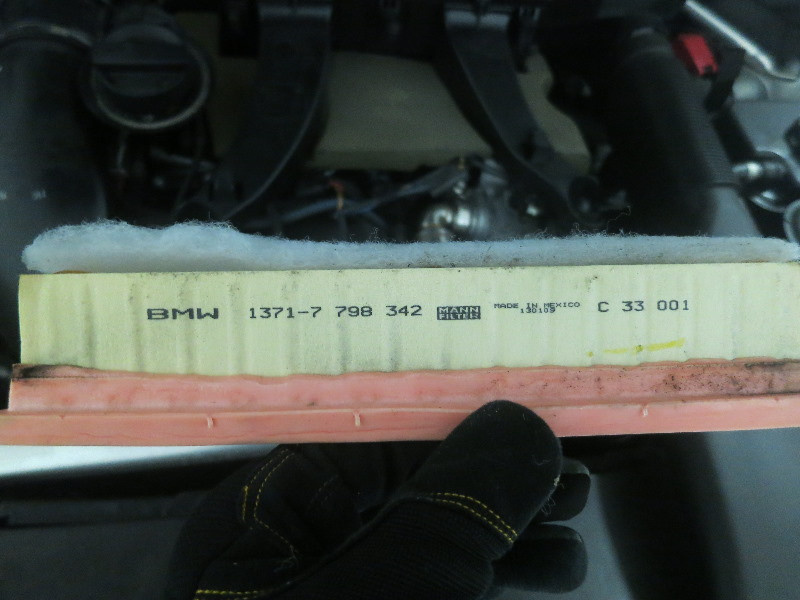
Air filter OEM Mann C33001
Install a new air filter
Rear air filter cover

Attach the air filter housing clamps.
Side clip of the air filter
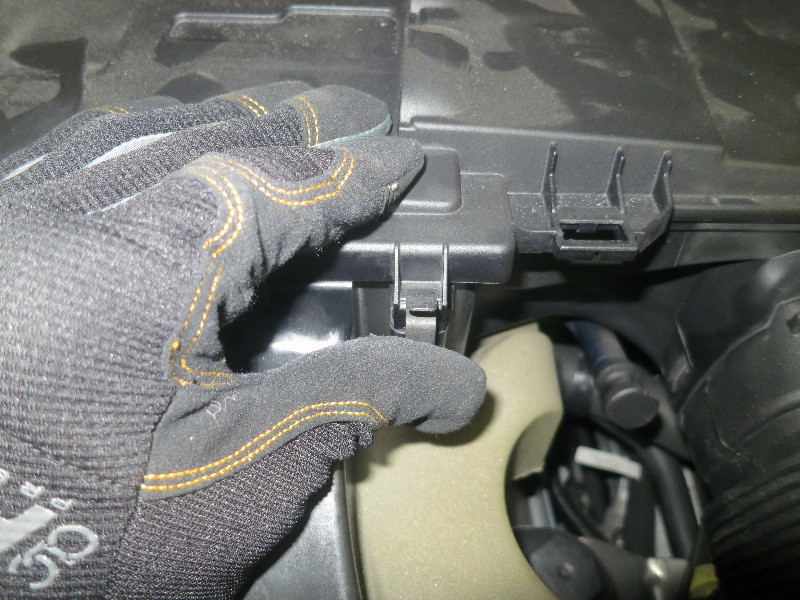
Air filter cover front clip
Air filter housing cover replaced
Place the filter element upside down in the filter housing.
Replace the cover by first inserting it into the grooves on the back of the air cleaner housing.
Fasten the five metal latches, thus securing the part securely. For those BMW models where the cover is secured with screws, use a Torx T25 screwdriver to tighten them.
Install the mass air flow sensor in the filter housing, having previously placed the rubber ring removed from the sealing tube in the hole. It is extremely difficult to insert the mass air flow sensor with the seal in place and ensure the connection is completely seated.
Insert the mass air flow sensor into the filter
Install the upper MAF housing bolt
MAF sensor bolt
Align the tabs on the engine cover
Reinstall the BMW engine cover
Attach the MAF sensor housing to the air cleaner housing with Torx T25 flat head screws.
Reinstall the plastic engine cover, making sure the air cleaner hose fits into the opening. After that, press the part on top and make sure that all the latches click into place.
Upon completion of work, it is necessary to lower the hood, overcoming the resistance of gas shock absorbers or bending the bar holding it. Press the hood cover until the locking mechanism clicks.
Conclusion
Before performing any kind of maintenance or repair on your vehicle, you must read your BMW Owner's Manual. The technical documentation contains information about the manufacturer's recommended intervals between scheduled maintenance and spare parts codes for your car. If you do not have instructions, you can buy one from specialized stores or download it online.
BMW vehicles are delivered to the consumer with a 4-year maintenance plan and a mileage limit of 80 km. The owner of the car can change the dealer for free if the established limits are not exceeded.
This instruction regulates the performance of work only when replacing the car engine air filter. The cabin ventilation system cartridge is a separate element, its removal and installation are regulated by another manual.