Ford Fusion Clutch Replacement
Content
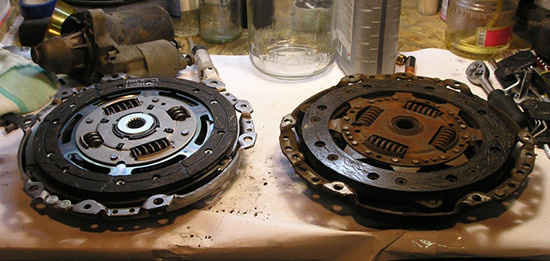
Clutch replacement is a complicated procedure and not always feasible at home. The main signs of the need to replace the clutch are the following factors: the clutch slips, the clutch leads, extraneous sounds are heard when shifting gears, jerks when shifting.
Before replacing the clutch, you must have the following:
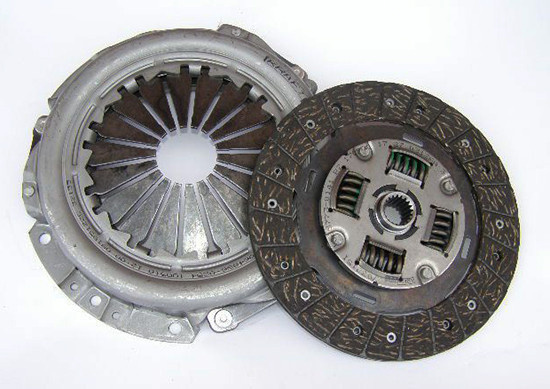
- Well, first off is the new FordFusion clutch.
- Hexagons for: "8", "10", "13", "15", "19" and preferably extensions for them.
- Jack.
- Empty oil drain container.
- Set of hexagons.
- A pair of screwdrivers (flat and Phillips).
- Hammer and chisel.
- WD-40 is a "magic" liquid.
- Graphite grease
- Antifreeze (while you remove the checkpoint, almost all will flow out).
- It is advisable to have an assistant.
Ford Fusion clutch replacement - step by step instructions
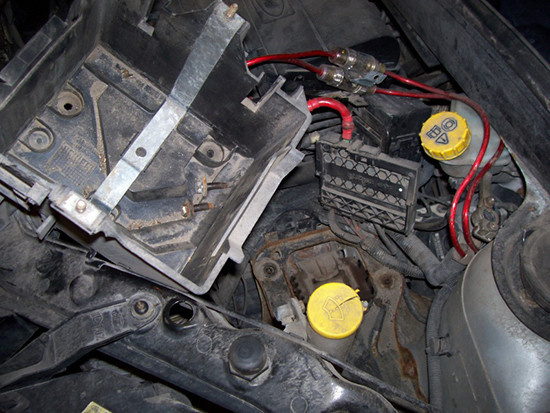
1. First, remove the battery by setting the key to "10".
2. Next, remove the "brains", for this we unscrew a few screws.
3. Now you need to disassemble the battery shelf, it is quite simple to do this - just unscrew 3 screws with a key to "13".
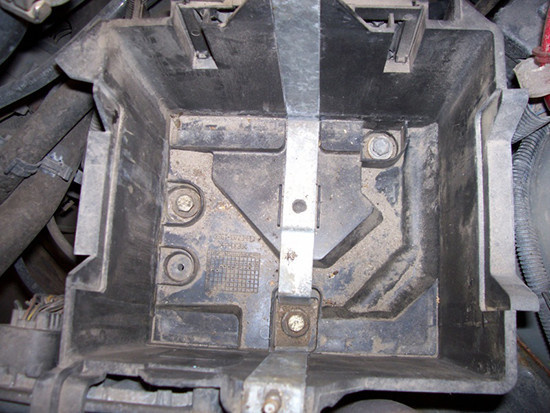
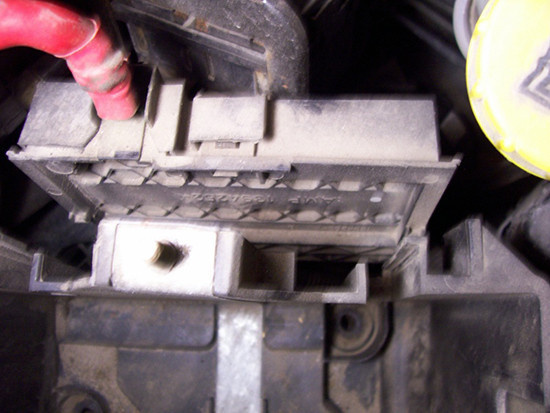
4. Disconnect the terminal block, then bend it a little to the side, pull it up and remove it.
5. Remove the battery shelf, in the lower part you need to unscrew the nut of the gearbox cushion with a key to “19″.
6. Next, using the “10” key, unscrew 3 screws securing the battery shelf bracket, and then remove it.
7. With the key to “10”, unscrew the 2 screws that secure the pillow to the body.
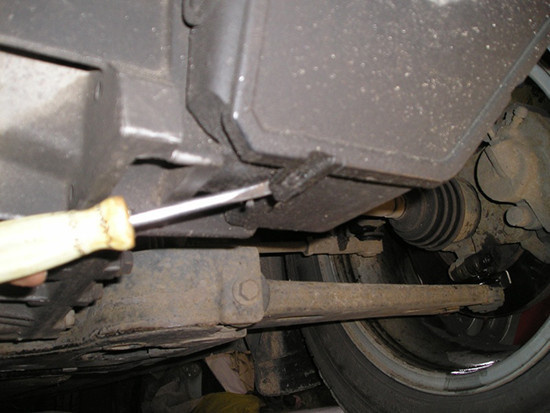
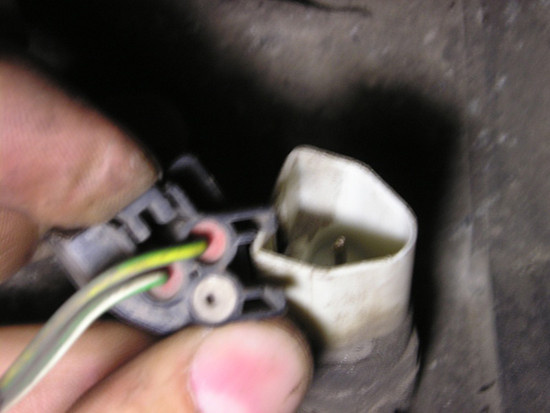
8. Permanent work will be under the car. Open the gearbox cover, to do this, pry the latches and cable loops with a screwdriver.
9. Slightly depressed orange latch is designed to adjust the stroke of the lever, you do not need to touch it at all.
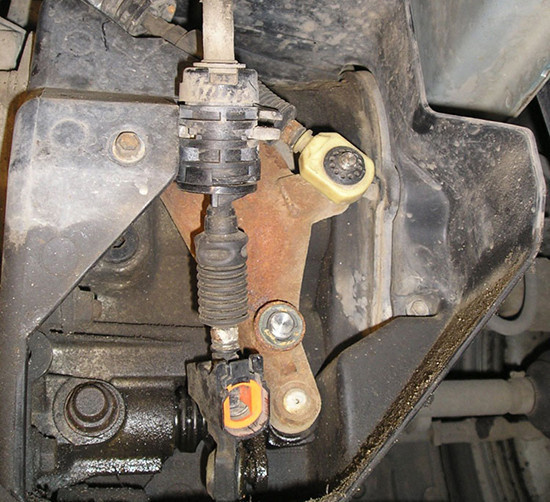
10. When the hinges are disconnected, the cables must be removed. To do this, turn counterclockwise.
11. Unscrew the black plastic, which is fastened with 4 screws under the head to "8".
12. At this stage, it is necessary to drain the oil from the gearbox. Install an empty oil container, then take a hex key and unscrew the filler plug, as well as the drain plug with a “19″ wrench.
13. After draining the oil, screw the plugs back into place.
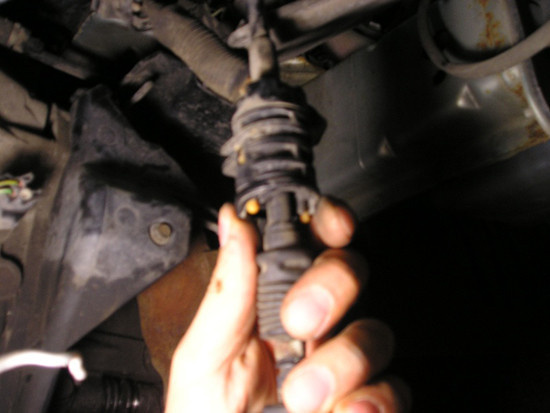
14. Pry off the retaining spring with a screwdriver and remove the brake fluid supply pipe to the clutch slave cylinder.
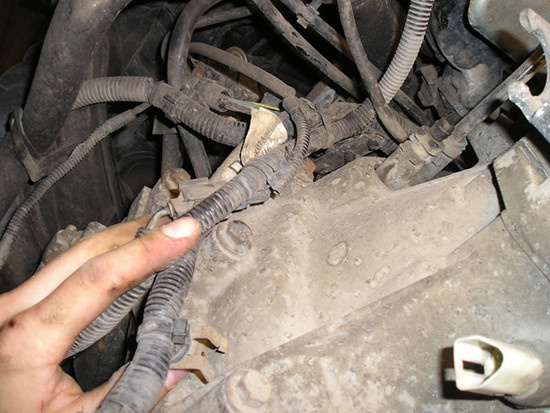
15. Remove the cover covering the terminals with a screwdriver, then with the key set to "10", "13", unscrew the starter terminals.
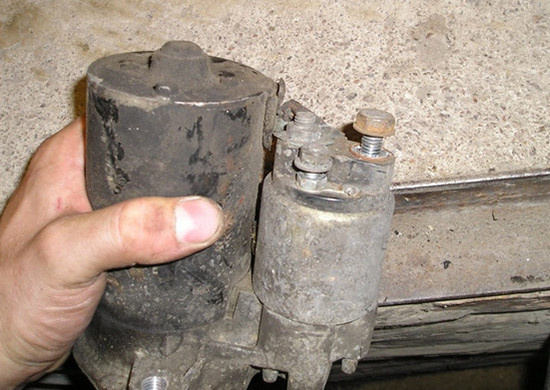
16. Then unscrew the three starter mounting bolts.
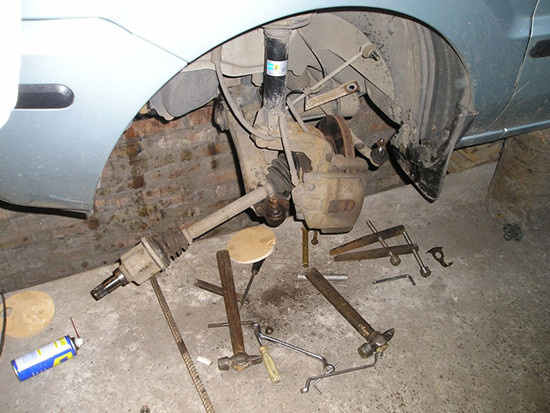
17. Jack up and jack up the vehicle, then remove the wheels.
18. Treat with WD-40 fluid: ball joint nut, steering column nut and stabilizer link nut.
19. Next, you need to unscrew the nuts with a “15” wrench for the tip and stabilizer bar, you may need a hexagon. For a ball stud, you need TORX, or, in the common people, an asterisk.
20. Press the stabilizer against the lever to remove the mount.
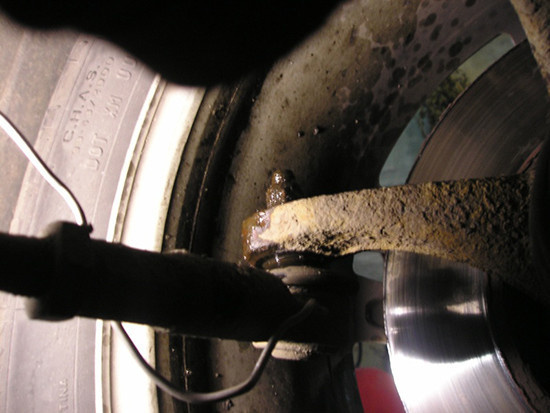
21. Use a brass or other soft metal drill to remove the ball pin and tie rod end.
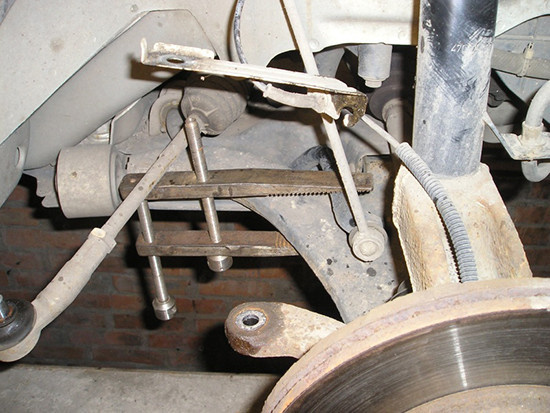
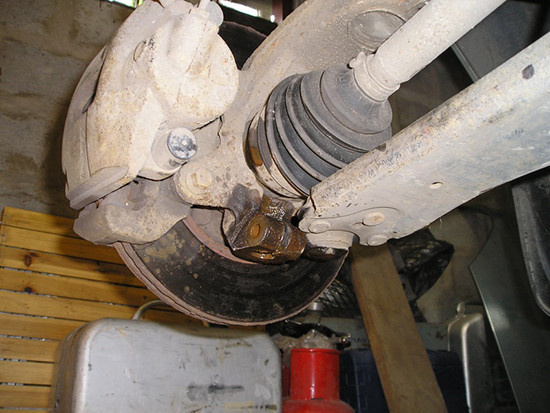
22. Once the ball stud is removed, rotate the heat shield to access the knuckle cutout. Take a heavier chisel and hammer and pry off the steering knuckle.
23. Then separate the lever and rail. Loosen the bearing nuts. If you are working with the left leg, you can remove it and remove the axle shaft. There is a retaining ring on the left half shaft, so force is required to remove it.

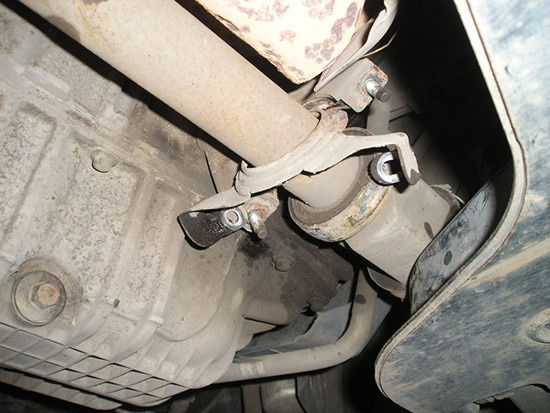
24. Repeat the same on the right side, the truth is one - you need to unscrew the intermediate support.
25. Let's move on. Raise the engine slightly using a jack.
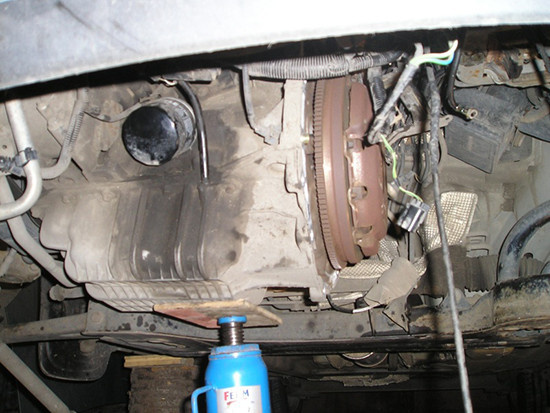
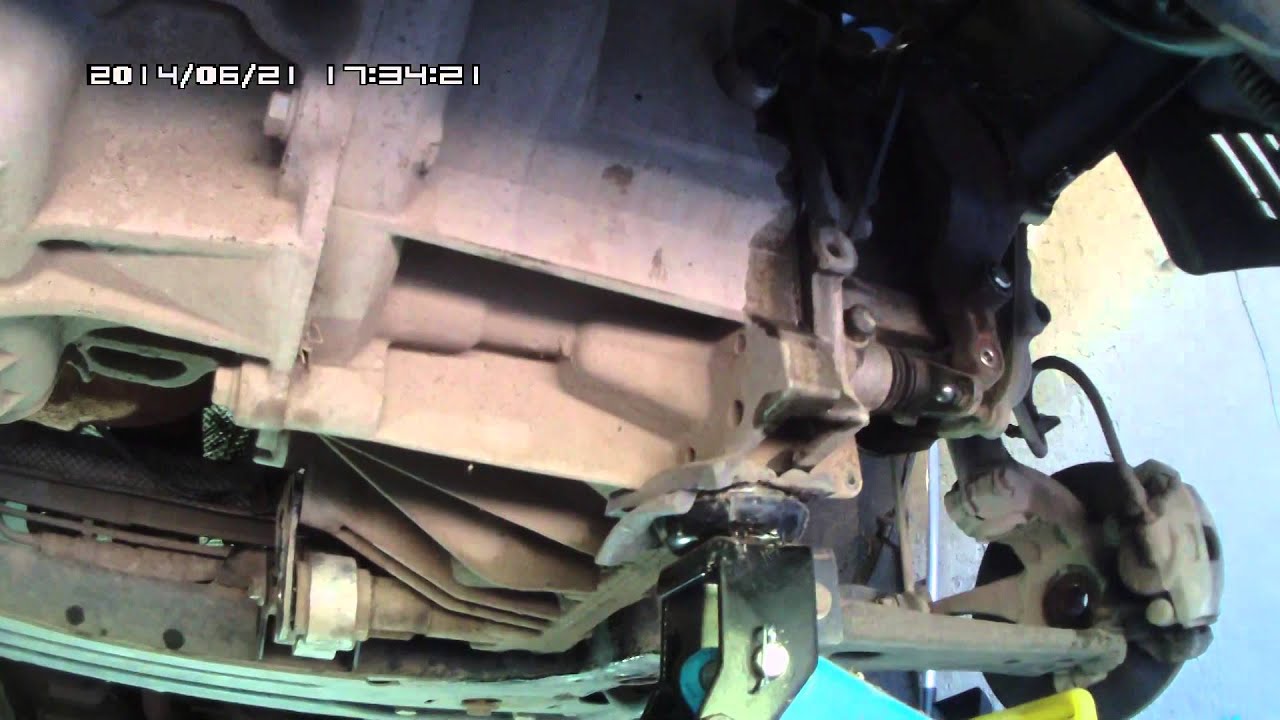
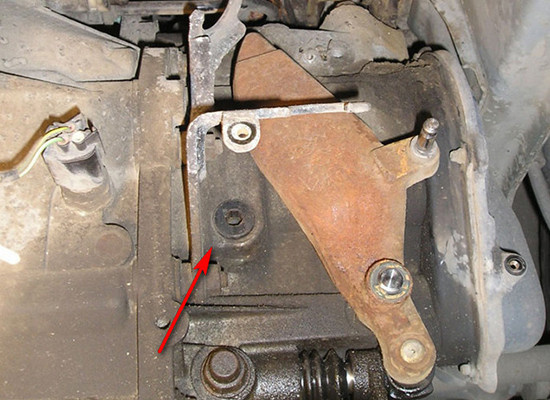
26. Next, you need to remove the central mount of the gearbox. Unscrew the gearbox mounting bolts, here you will have to make small adjustments, since the hard-to-reach bolts are at the top.
27. This should separate your transmission from the engine.
28. You will need a helper for this step as the box is quite heavy.

29. Now you need to remove the basket, for this you need to unscrew all six bolts with a key to "10".
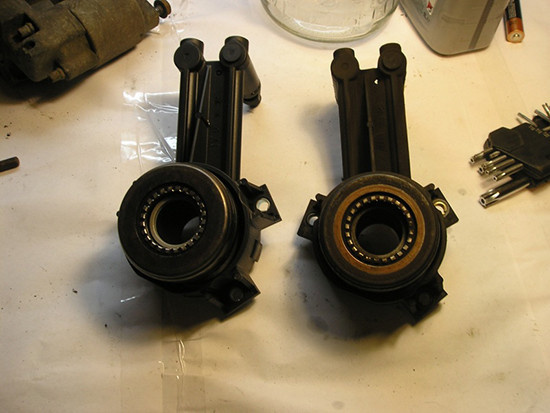
30. Unscrew the clutch release, there are 3 turnkey bolts to "10".
31. Using the grease that comes with the kit, lubricate the splines in the housing.
32. Now you need to screw the coupling to the additional place of work. Make sure the driven disk is exactly centered.
Additional assembly is carried out in the reverse order. At the end, fill the oil up to the level and pump the clutch cylinder. Well, do not forget to check everything after completion. On this, do-it-yourself Ford Fusion clutch replacement can be considered complete. If you do everything according to the instructions, then you should succeed. Good luck, I hope this article helps you solve your problem.