Replacing shock absorber struts Mercedes-Benz W203
Content
Repair of the suspension strut of the front wheels of Mercedes-Benz W203
Tools:
- Starter
- Screw
- Wrench
Spare parts and consumables:
- Rags
- spring rack
- Thrust bearing
- Shock absorber

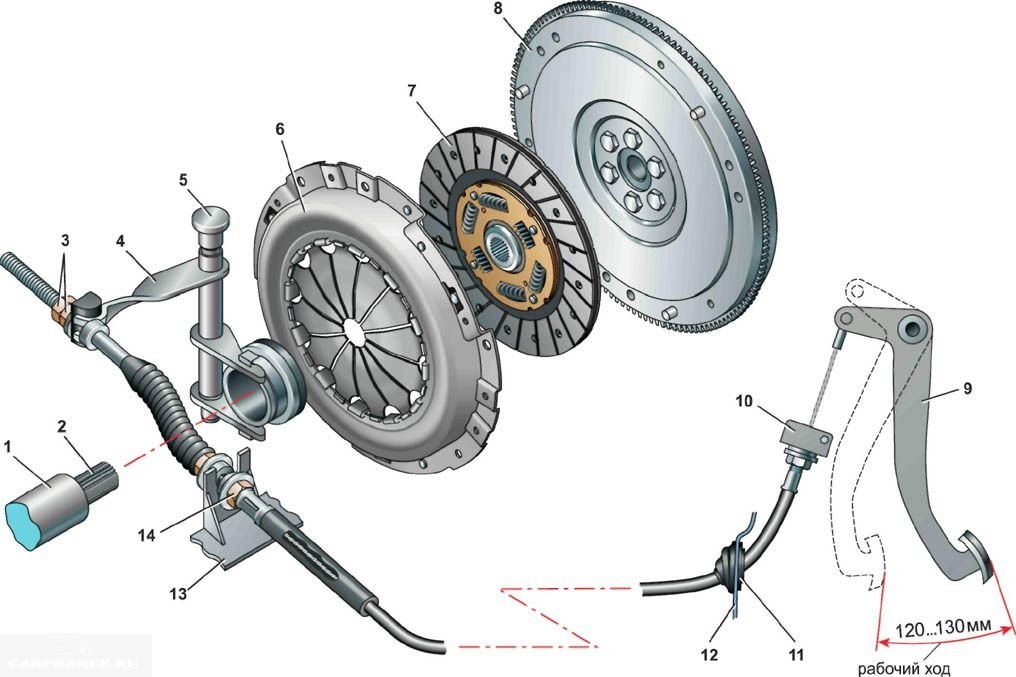
Front wheel suspension strut:
1 — nut M14 x 1,5, 60 Nm;
4 - nut, 20 Nm, self-locking, must be replaced;
5 - rubber gasket;
6 - shock absorber support;
7 — nut, 40 Nm;
8 - bolt, 110 Nm, 2 pcs.;
9 — nut, 200 Nm;
10 - compression damper;
11 - helical spring;
12 - holder;
13 - shock absorber;
For repairs, you will need a spring puller. Do not attempt to remove the spring without a puller; you could be seriously injured and damage your vehicle. Read the instruction manual carefully before installing the extractor. If you are not going to remove the spring puller after removing it from the strut, put it in a safe place.
If a rack malfunction is detected (traces of leakage of the working fluid on its surface, spring breakage or sagging, loss of vibration damping efficiency), it should be disassembled and repaired. The struts themselves cannot be repaired, and if the shock absorber breaks down, they must be replaced, but the springs and related components should be replaced in pairs (on both sides of the car).
Remove one rack, place it on a workbench and clamp it in a vise. Remove all dirt from the surface.
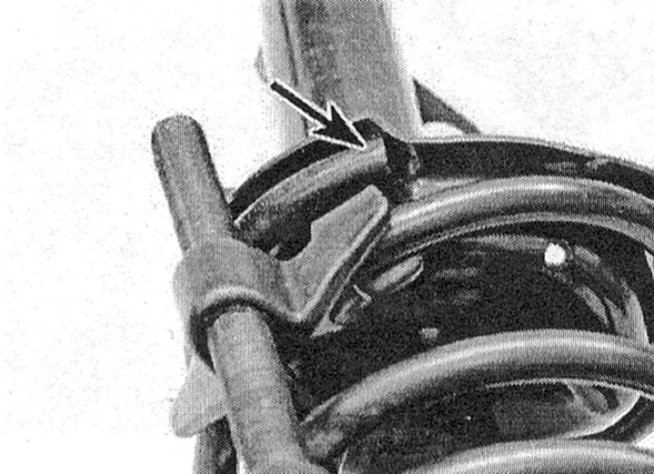
Compress the spring with a puller, relieving all pressure from the seat. Attach the extractor securely to the spring (follow the extractor manufacturer's instructions).

While holding the damper stem with a hex wrench so that it does not rotate, unscrew the stem retaining nut.

Remove the top bracket with support bearing, then the spring plate, spring, bushing and stopper.
If you are installing a new spring, carefully remove the old spring remover. If you are installing an old spring, the extractor does not need to be removed.
After completely disassembling the rack, carefully inspect all of its components. The support bearing must rotate freely. Any component showing signs of wear or damage should be replaced.
Inspect the surface of the bracket itself. There should be no traces of working fluid on it. Inspect the surface of the shock absorber rod. It must not show signs of corrosion or damage. Place the strut in a vertical position and check its operation by moving the shock absorber rod first from stop to stop, then with short movements of 50-100 mm. In both cases, the movement of the rod must be uniform. If jerking or jamming occurs, as well as any other signs of malfunction, the grille should be replaced.
Installation is in the reverse order. Consider the following:
- install the spring on the rack, making sure that it is in the correct position in the lower cup;
- install the thrust bearing correctly;
- tighten the support bearing fastening nut with the required force;
- The springs must be installed with the marks made on them facing down.
Removing and installing suspension strut Mercedes-Benz W203
- James
- Support legs
- Wrench
Spare parts and consumables:
- Paint
- Bearing grease
- Wheel bolts
Mark the position of the front wheel relative to the hub with paint. This will allow the assembly to set the balanced wheel to its original position. Before jacking up the vehicle, loosen the wheel bolts. Raise the front of the car, put it on stands and remove the front wheel.
Disconnect the speed sensor and brake pad wear sensor wires from the suspension strut.
Unscrew the nut and disconnect the connecting rod from the list rack.
1 - suspension strut;
2 — connecting rod;
4 - ball pin.
Do not damage the dust cap, do not turn the tie rod ball stud with a wrench.
Loosen the 2 shock absorber mounting bolts on the swing arm and remove the bolts.
1 - suspension strut;
4 - mounting bolts;
Loosen the nut and remove the bolt.
Secure the suspension strut from falling after removing the top bracket.
Turn away a nut and disconnect amortization rack in the top part of a support.
When removing the left suspension strut, first disconnect the reservoir from the washer and move aside the connected hoses.
Remove the washer and bumper and remove the shock strut from the wheel arch.
Carefully insert the suspension strut through the wheel well into the bracket.
Replace bumper and washer.
Tighten the top nut to 60 Nm.
Attach the pillow frame to the rotary handle. At the same time, insert the upper bolt so that the head of the bolt, looking in the direction of travel, is facing forward.
Next, first tighten the upper nut to 200 Nm, holding the bolt from turning, and then tighten the lower bolt to 110 Nm.
Secure the connecting rod to the suspension strut using a new self-locking nut and washer with a tightening torque of 40 Nm.
Connect the wires of the speed sensor and the brake pad wear sensor to the rail.
Reinstall the washer fluid reservoir, if it was removed, and secure it by turning the locking lever.
Reinstall the front wheel, matching the marks made during removal. Lubricate the centering bar of the rim on the hub with a thin layer of bearing grease. Do not lubricate wheel bolts. Replace rusty bolts. Wrap bolts. Lower the vehicle onto the wheels and tighten the bolts crosswise to 110 Nm.
If the shock absorber has been replaced with a new one, measure the geometry of the running gear.
Removal and installation of an amortization rack
Mark the position of the front wheel relative to the hub with paint. This will allow the assembly to set the balanced wheel to its original position. Before jacking up the vehicle, loosen the wheel bolts. Raise the front of the car, put it on stands and remove the front wheel.
Disconnect the speed sensor and brake pad wear sensor wires from the suspension strut.
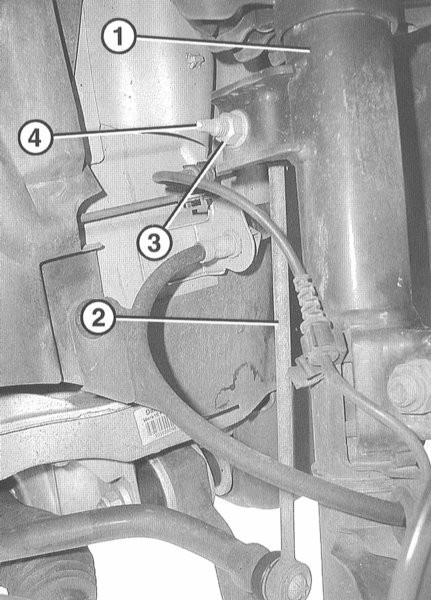
Turn away a nut (3) and disconnect connecting draft (2) from an amortization rack (1).
Do not damage the dust cap, do not turn the ball pin (4) of the connecting rod with a wrench.
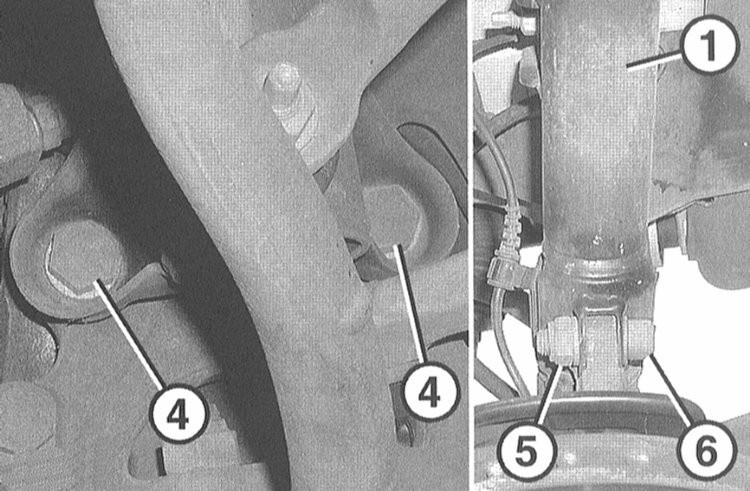
Unscrew the 2 mounting bolts (4) of the spring strut (1) on the swing arm and remove the bolts.
Loosen nut (5) and remove bolt (6).
Fix the gimbal so that it will not fall after removing the top bracket.
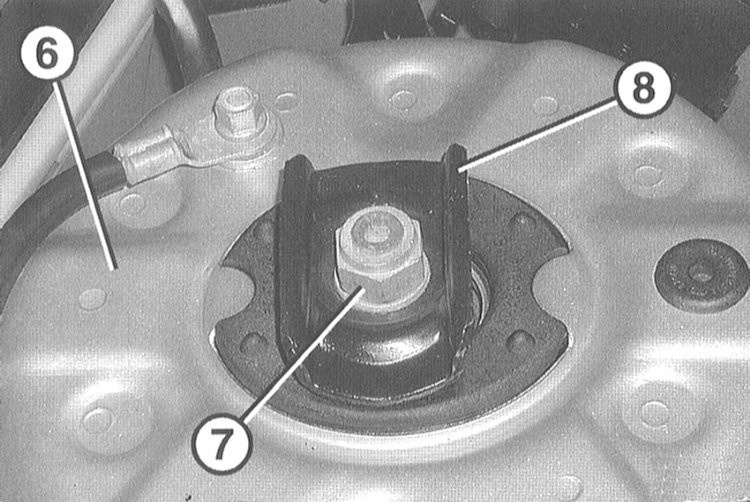
Loosen the nut (7) and disconnect the suspension strut at the top of the support (6). When removing the left suspension strut, first disconnect the reservoir from the washer fluid and move the connected hoses aside.
Remove the washer and bumper (8) and remove the spring strut down from the wheel arch. Be careful not to damage the brake hose.
- Carefully insert the suspension strut through the wheel well into the bracket.
- Replace bumper and washer.
- Tighten the top nut to 60 Nm.
- Attach the pillow frame to the rotary handle. At the same time, insert the upper bolt so that the head of the bolt, looking in the direction of travel, is facing forward.
- Then first tighten the top nut (5) to 200 Nm without turning the bolt, and then tighten the bottom bolt (4) to 110 Nm, see fig. 3.4.
- Secure the connecting rod to the suspension strut using a new self-locking nut and washer with a tightening torque of 40 Nm.
- Connect the wires of the speed sensor and the brake pad wear sensor to the rail.
- Reinstall the washer fluid reservoir, if it was removed, and secure it by turning the locking lever.
- Reinstall the front wheel, matching the marks made during removal. Lubricate the centering bar of the rim on the hub with a thin layer of bearing grease. Do not lubricate wheel bolts. Replace rusty bolts. Wrap bolts. Lower the vehicle onto the wheels and tighten the bolts crosswise to 110 Nm.
- If the shock absorber has been replaced with a new one, measure the geometry of the running gear.