Replacing a wheel bearing on a VAZ 2110 car
Content
The fact is that the VAZ 2110 wheel bearing is a small part, and to work with it you need sufficient lighting and some comfort. Therefore, a car prepared for repair must be driven into a viewing hole and sufficient light access to the repair unit must be created.
Tools and spare parts
Before descending into the pit, it is necessary to prepare all tools and materials. It should also be noted that replacing the front hub bearings is much more difficult than doing the same job on the rear components.
Therefore, it is necessary to start work from the front node.

Here is a list of required tools:
- Special puller for bearing removal;
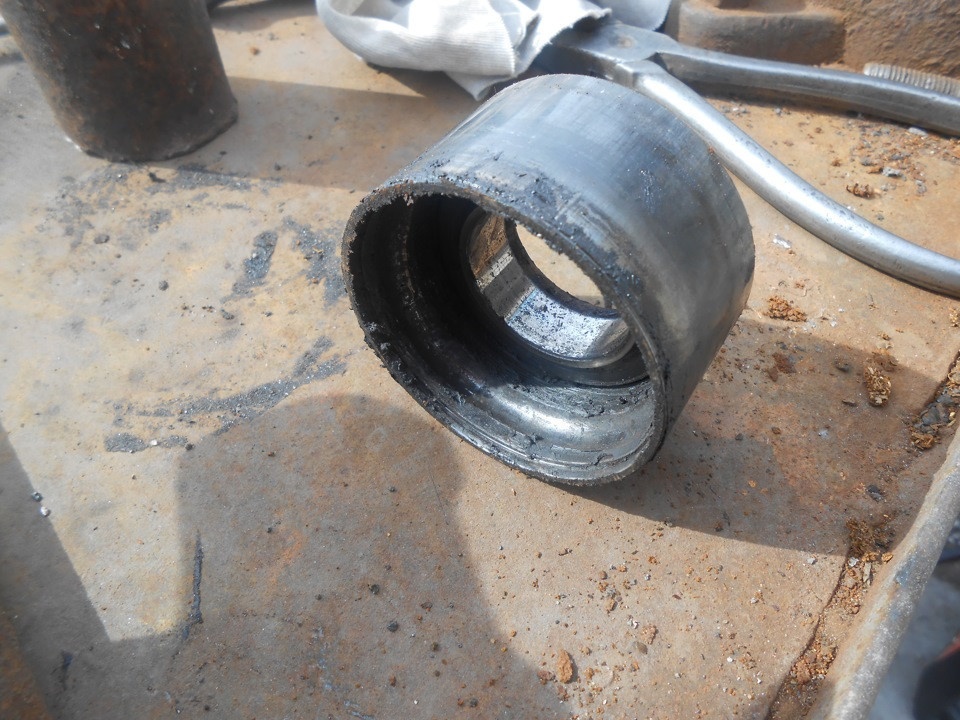
- The so-called mandrel, that is, a piece from the pipe of the desired size. This device is used to remove hubs;
- 30 heads equipped with a high-quality collar;
- Ring spanners size 19 and 17.
It is also necessary to buy new suitable bearings that will be needed for replacement. For a VAZ 2110 car, you need to choose Russian-made bearing parts, and not give preference to Chinese counterparts. The difference in the price of these products is small, so do not experiment.
The price of the hub and bearing on the VAZ 2110
The factory production center of AvtoVAZ (21100-3104014-00) costs from 1300 to 1600 rubles. This is the most reliable option.
Analogues:
- Original (RG21083103012) — 950 rubles.
- VolgaAvtoProm (21080-310301200) - 650 rubles.
A proven version of the front wheel bearing is the original AvtoVAZ element (21083103020). Its cost is about 470 rubles.
There are several options for analog bearings:
- FAG (713691010) - 1330-1500 rubles.
- SKF (VKBA 1306) — 1640-2000 r.
- HI (NB721) — 545-680 rubles.
- HOFER (HF301046) — 380 rubles.
- CRAFT (KT100505) - 590 rubles.
- FEBEST (DAC34640037) - 680 rubles.
The German company FAG and the Swedish company SKF offer the most reliable front wheel bearings for the VAZ 2110. These bearings differ from the rest in high quality and extend the life of the hub. But the worst option, according to car owners, is HOFER.
First way. Wheel bearing replacement
Today we were going to change the front wheel bearing, so we went with a very good friend to a private house, make it more comfortable, and now you can’t get into the garage, everything melts.
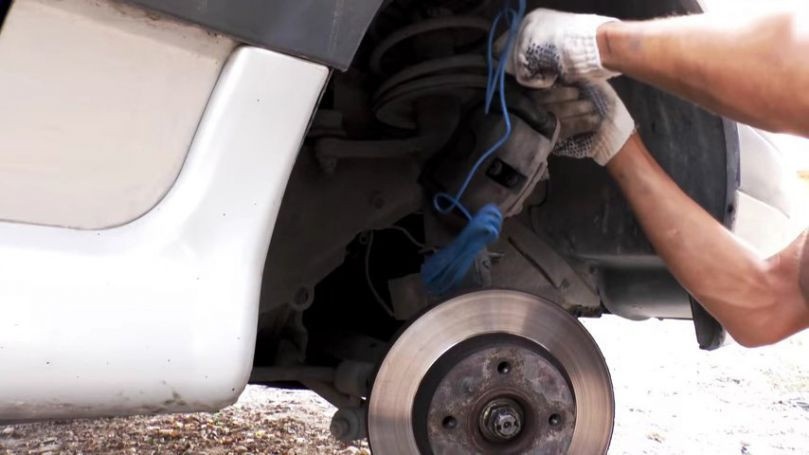
Before jacking up the car, they started and pulled out the hub bolt very easily, it was poorly tightened. After removing the wheel, unscrew the nut until it stops.

Head for 30
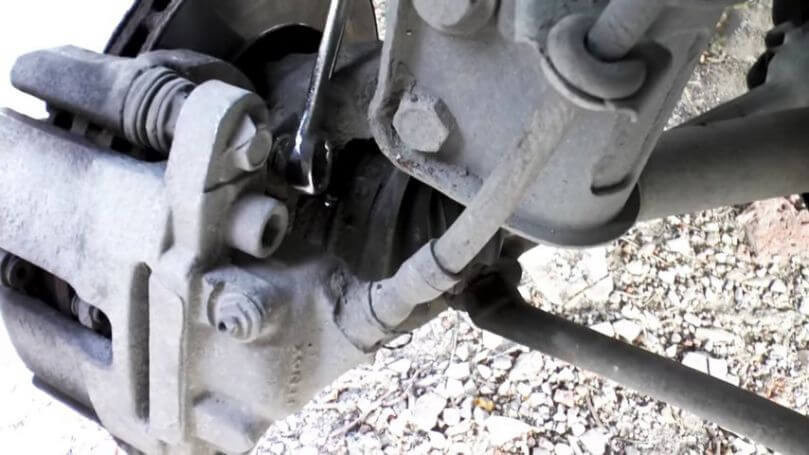
Remove the brake caliper by unscrewing the two screws 17.
I immediately looked at the pads - while they are normal, without unscrewing the brake hose, we remove the caliper to the side.
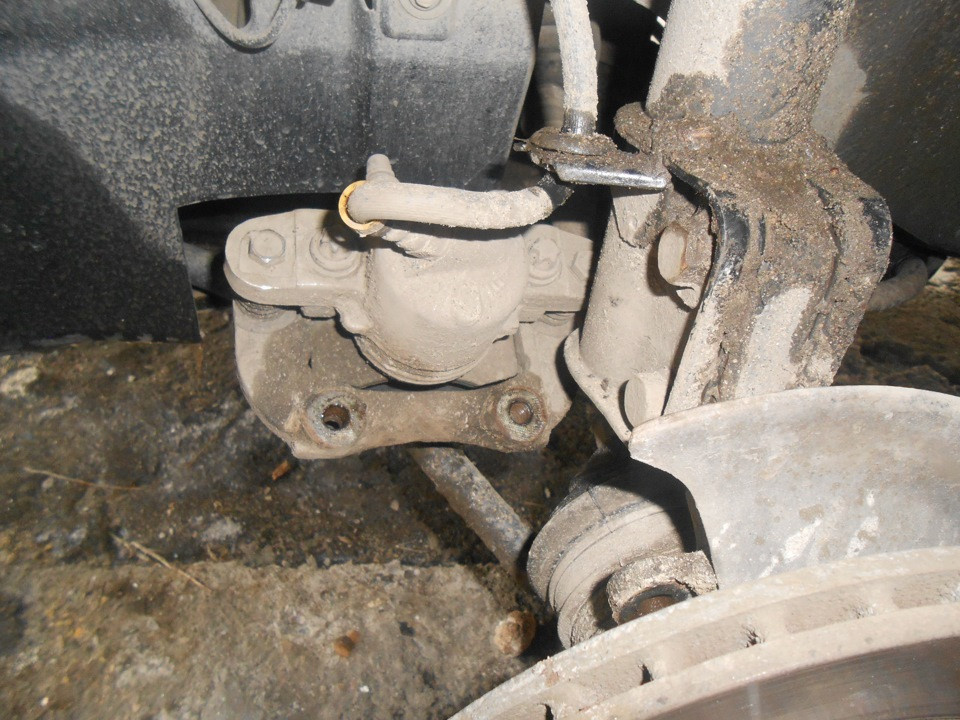
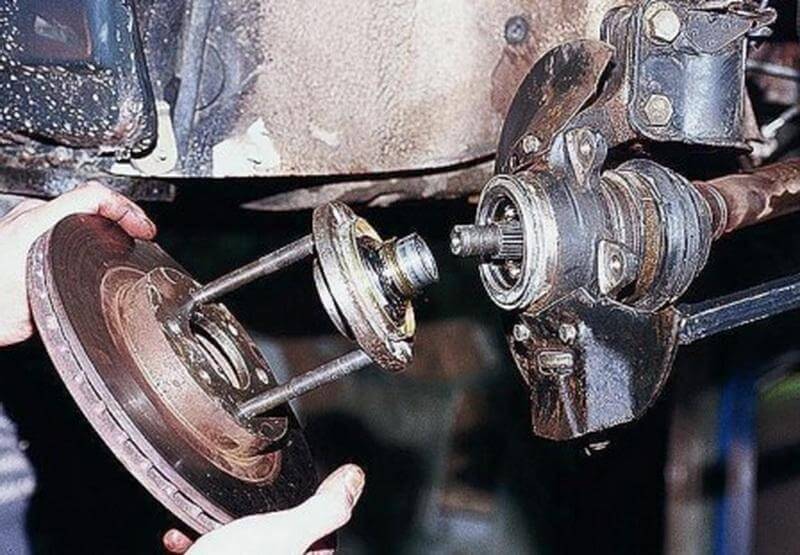
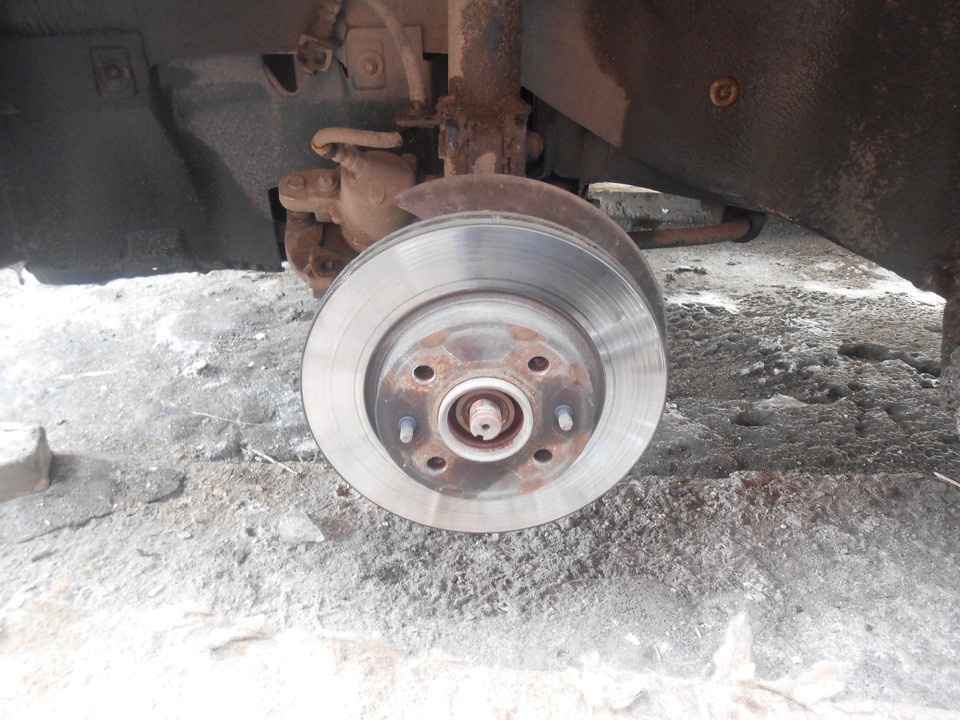
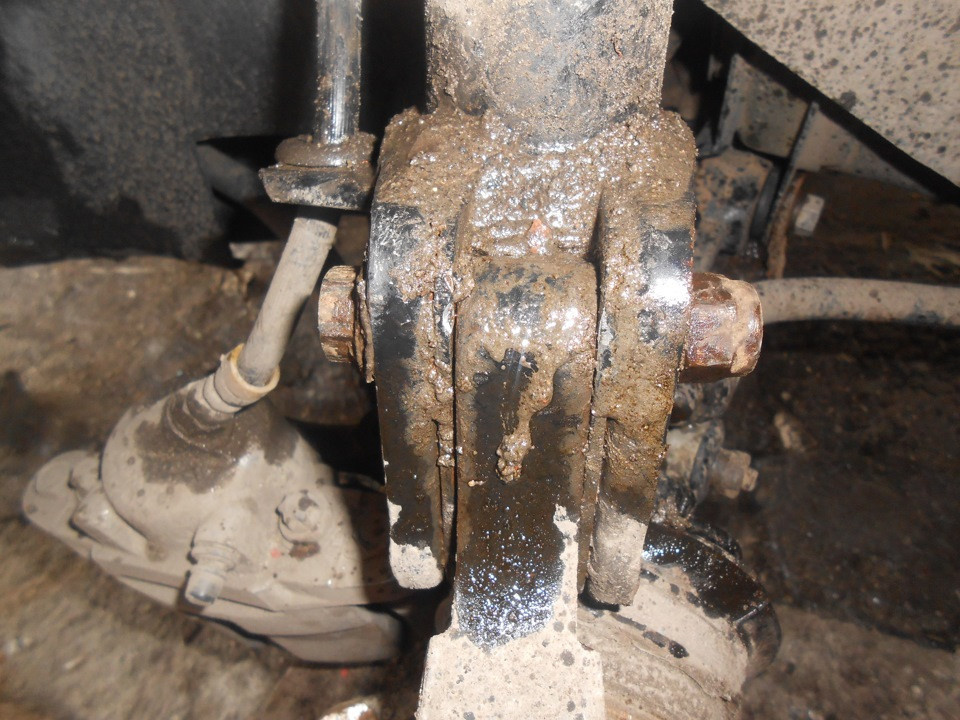
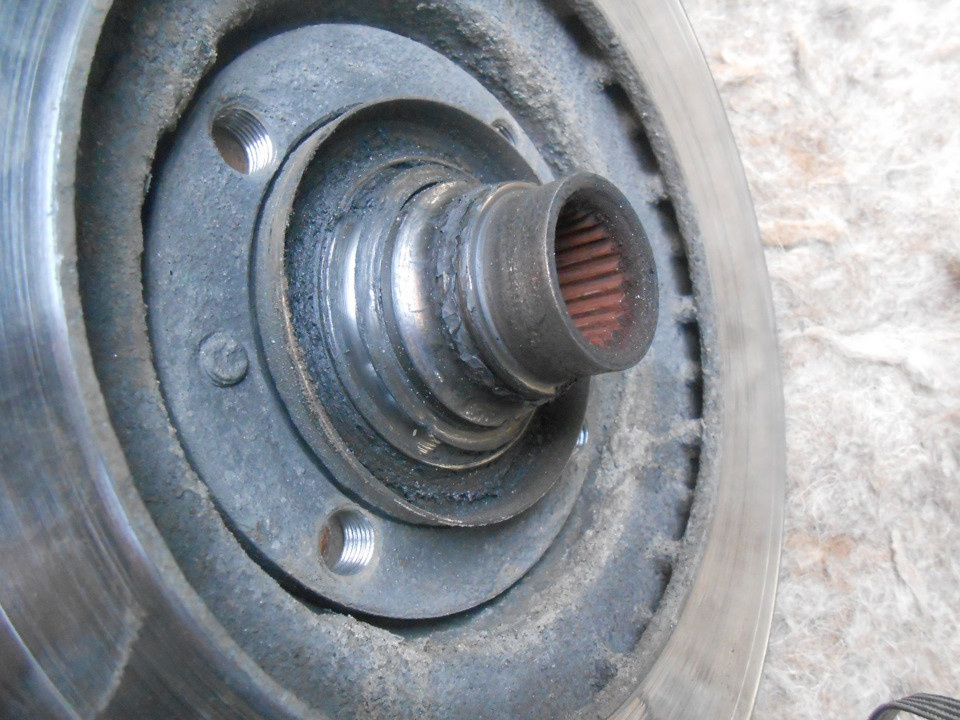
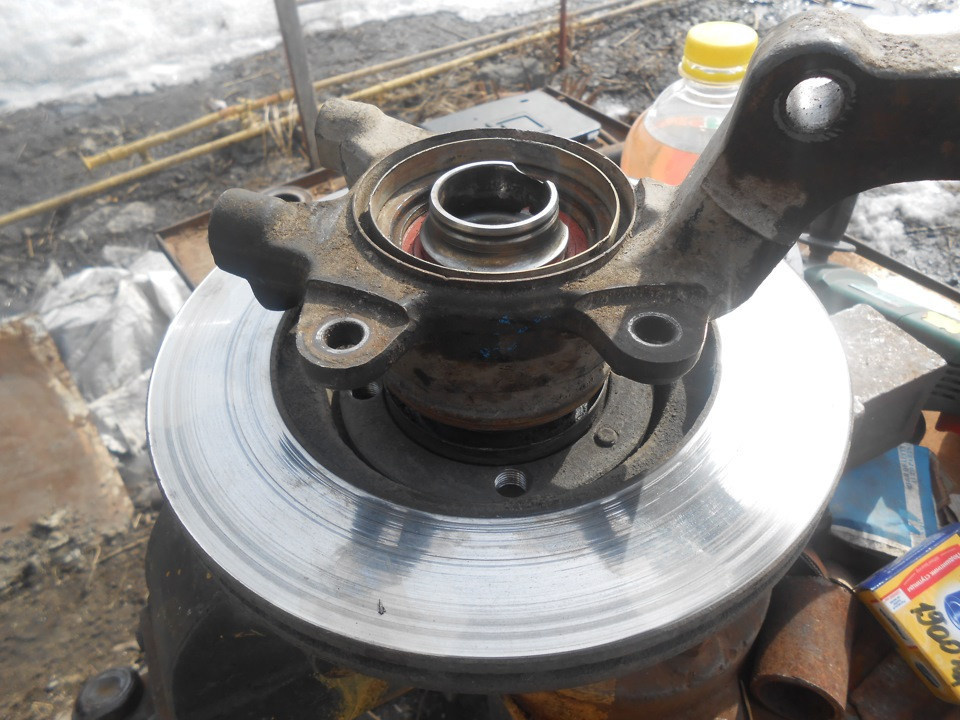
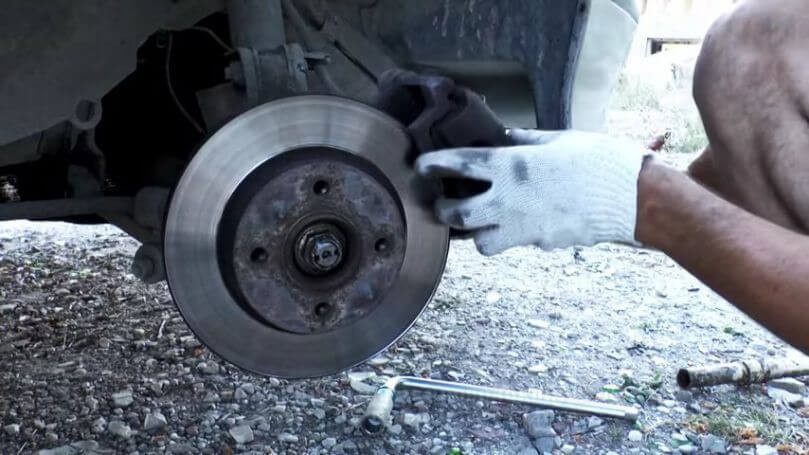
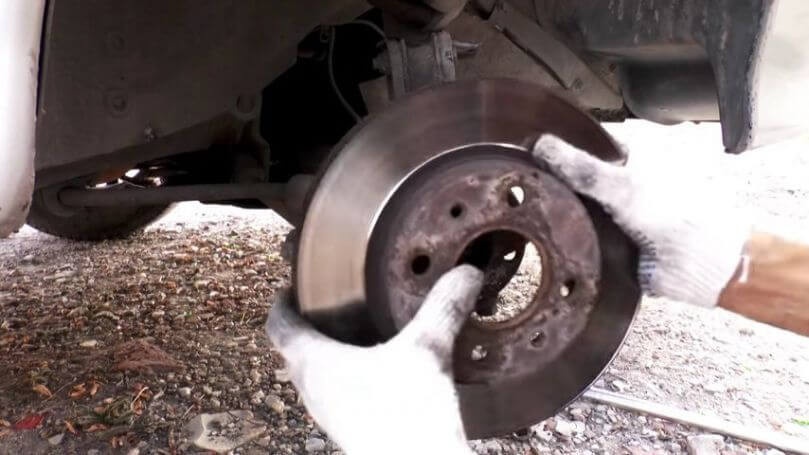
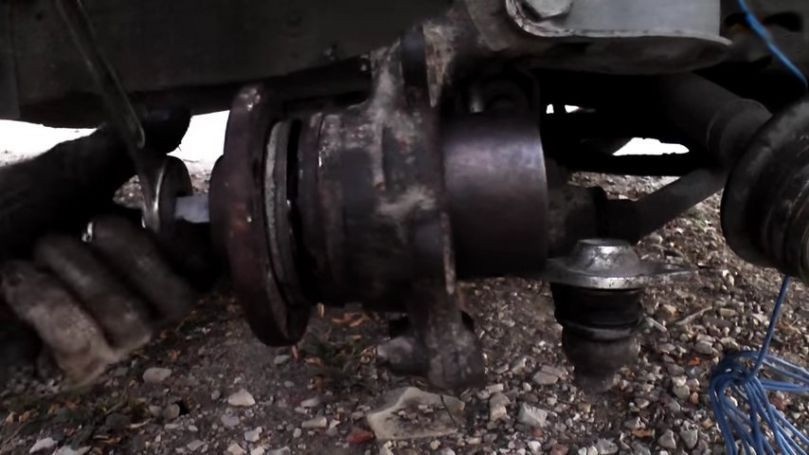
Then they began to remove the brake disc and here it is — the hero of the occasion.
We unscrew the three 10 screws that hold the protective cover.
Cash machine
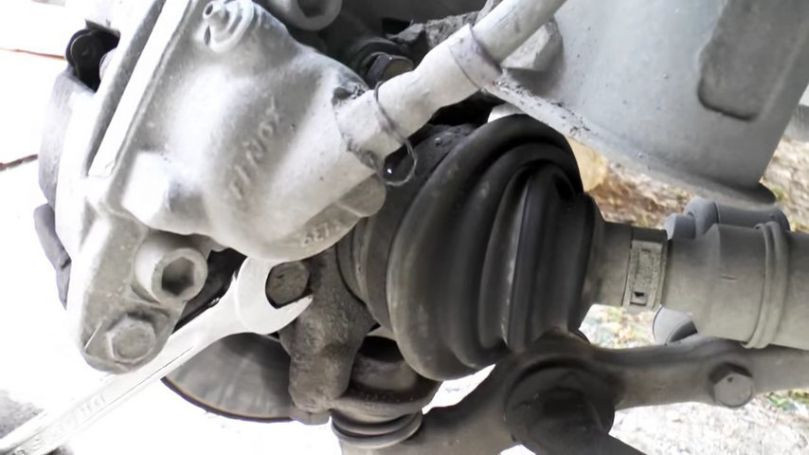
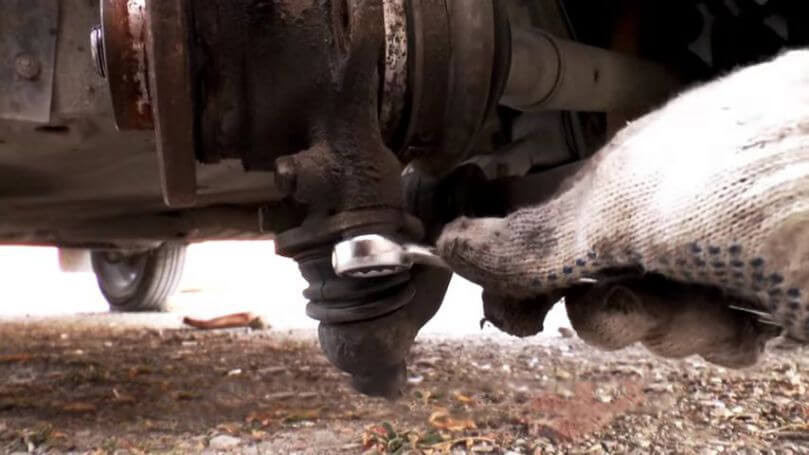
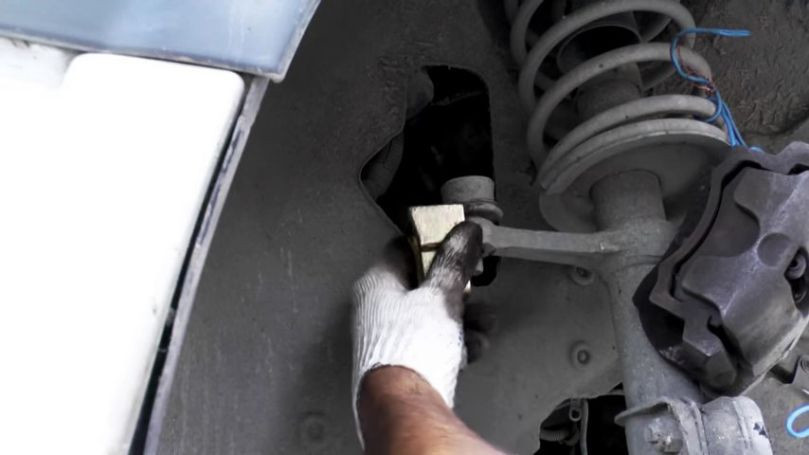
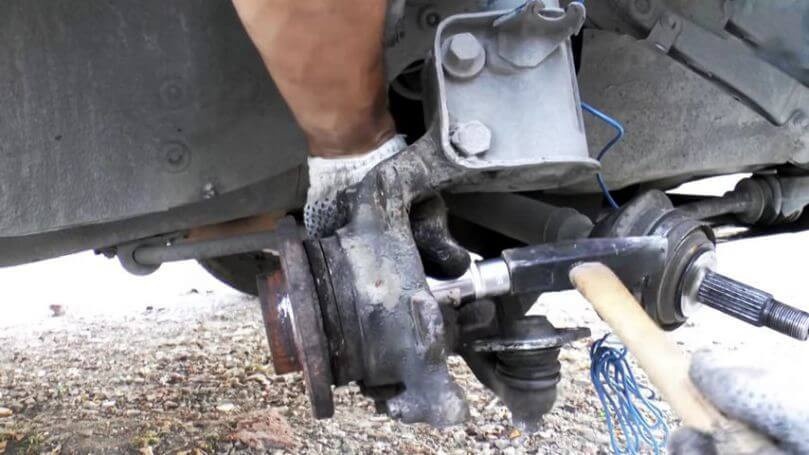
The next step was to unscrew the two bolts securing the ball joint by 17.
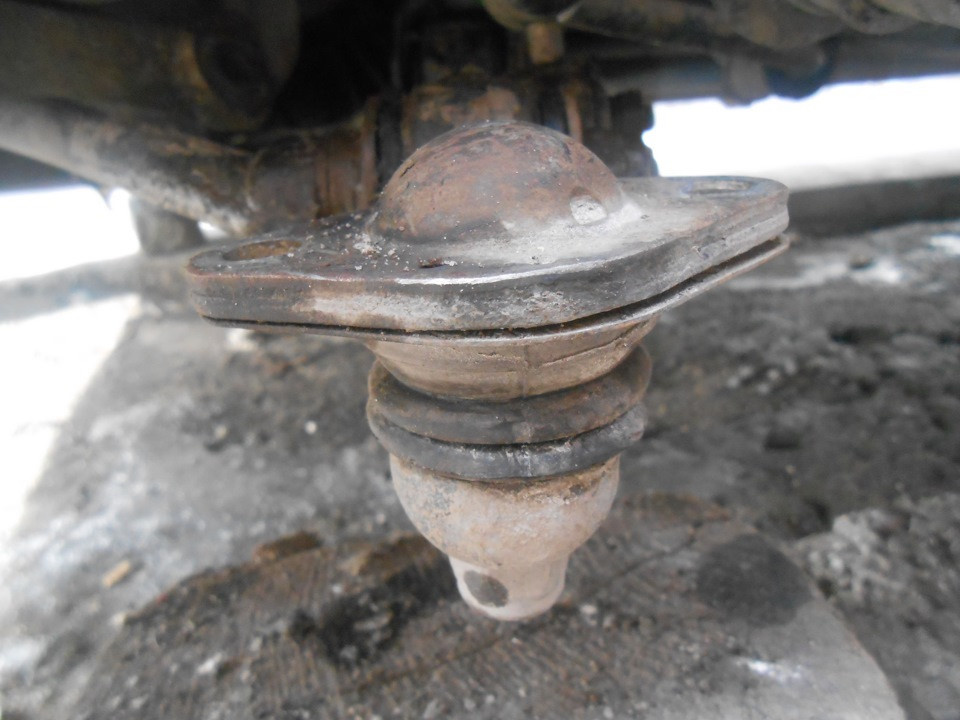
The ball joint is in good condition, there are two screws left for 19 mounting the steering knuckle, but it was not there, one screw was unscrewed, and the second did not want to get out, it can be seen that it had dried up, WDshka to help.
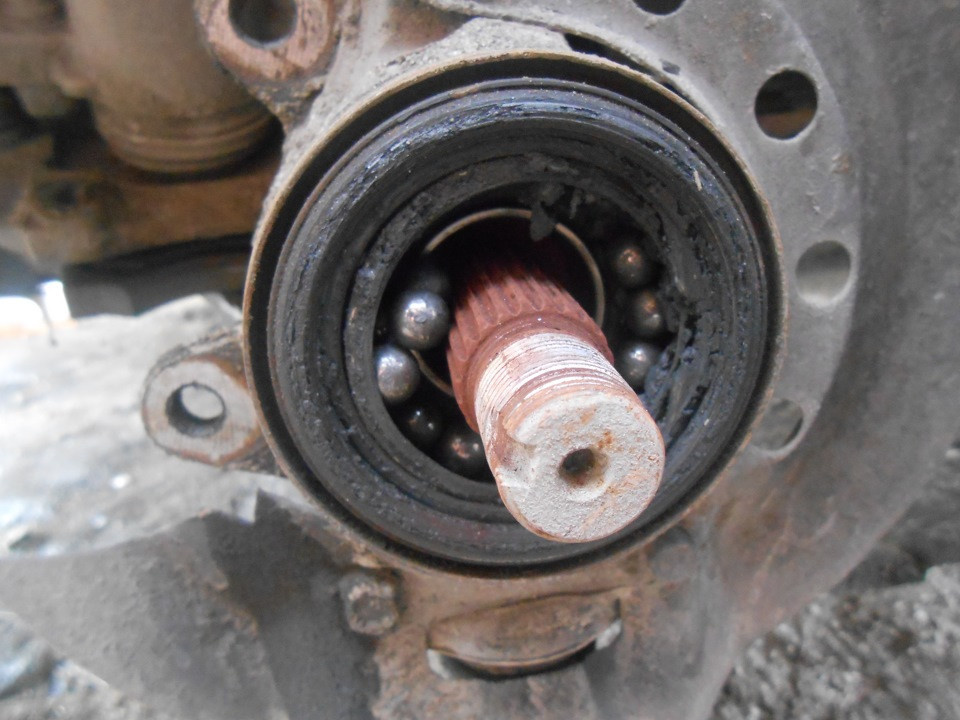
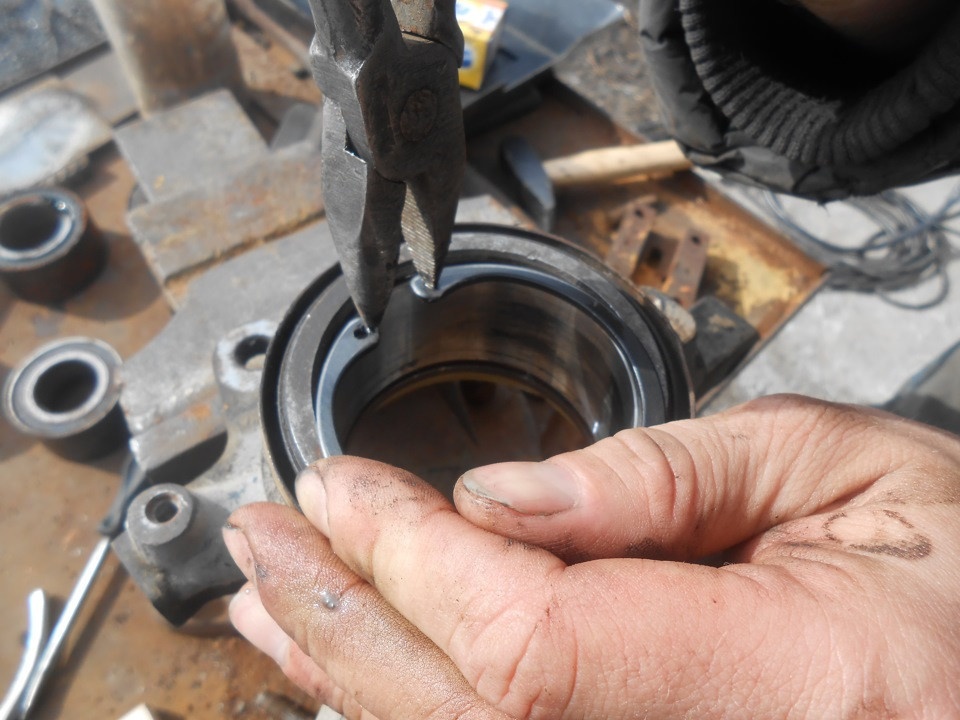
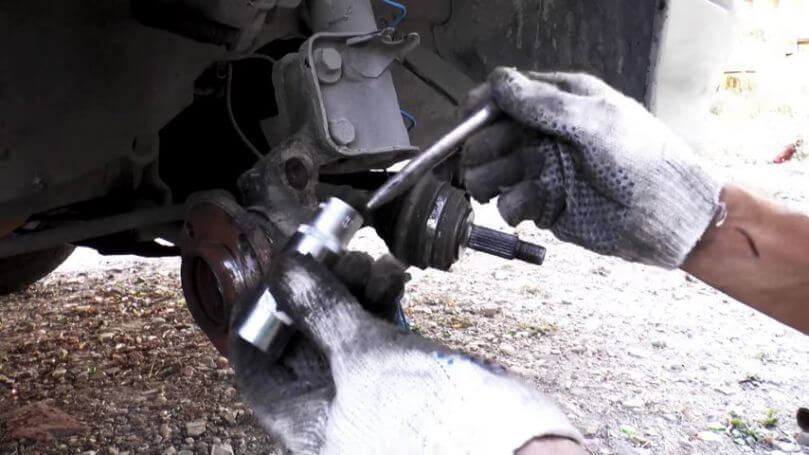
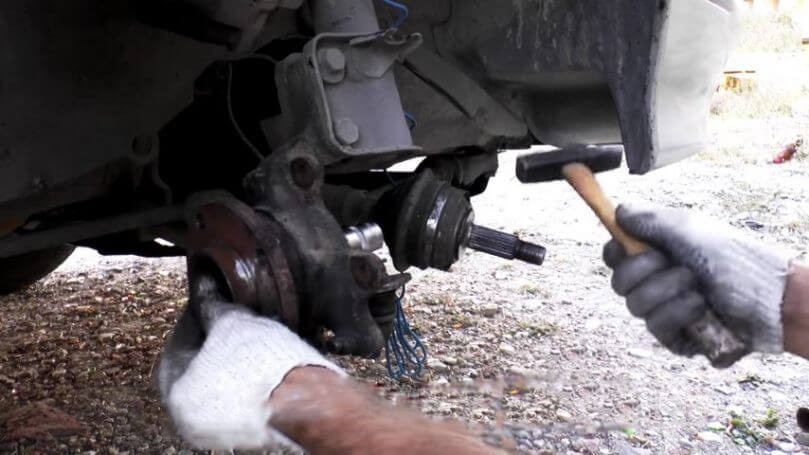
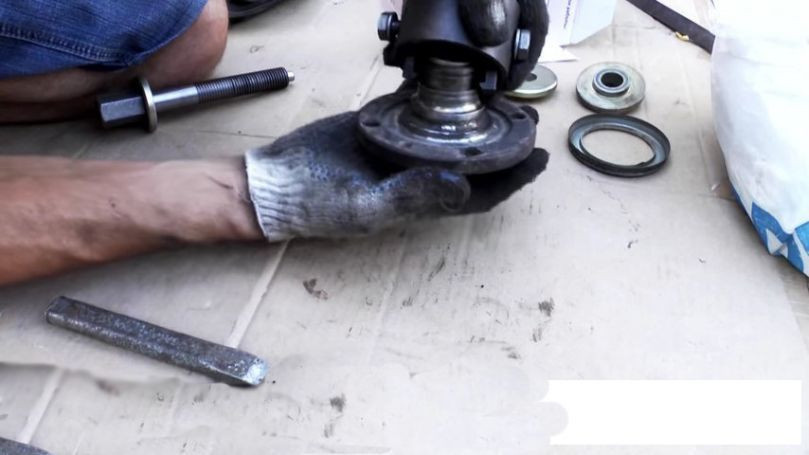
Then remove the circlips on both sides.

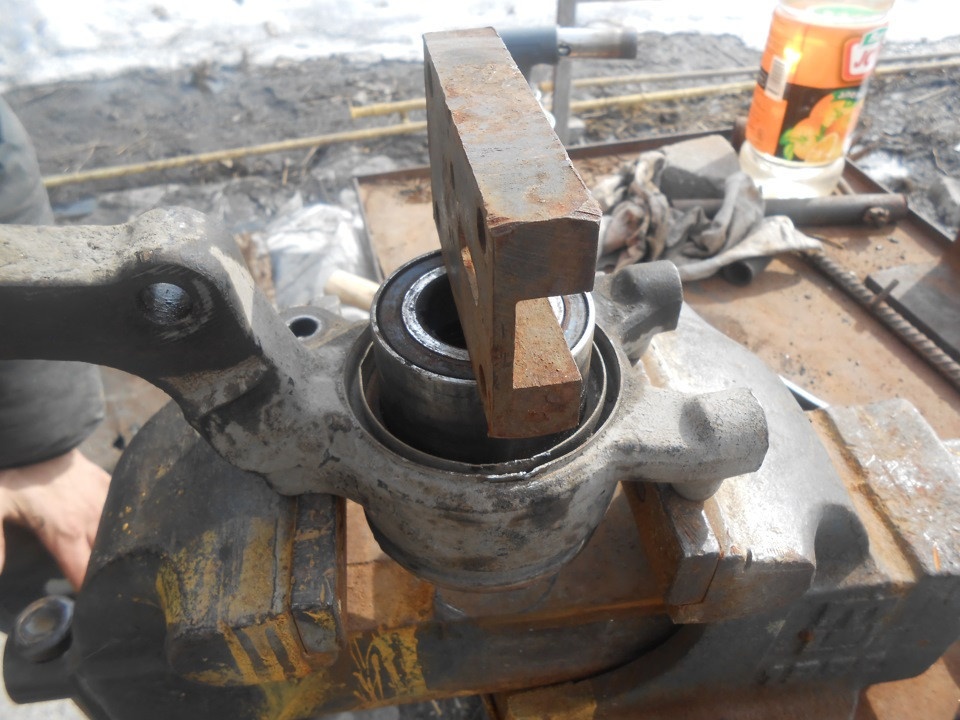
And gently tap on the bearing inside.
And carefully remove again.
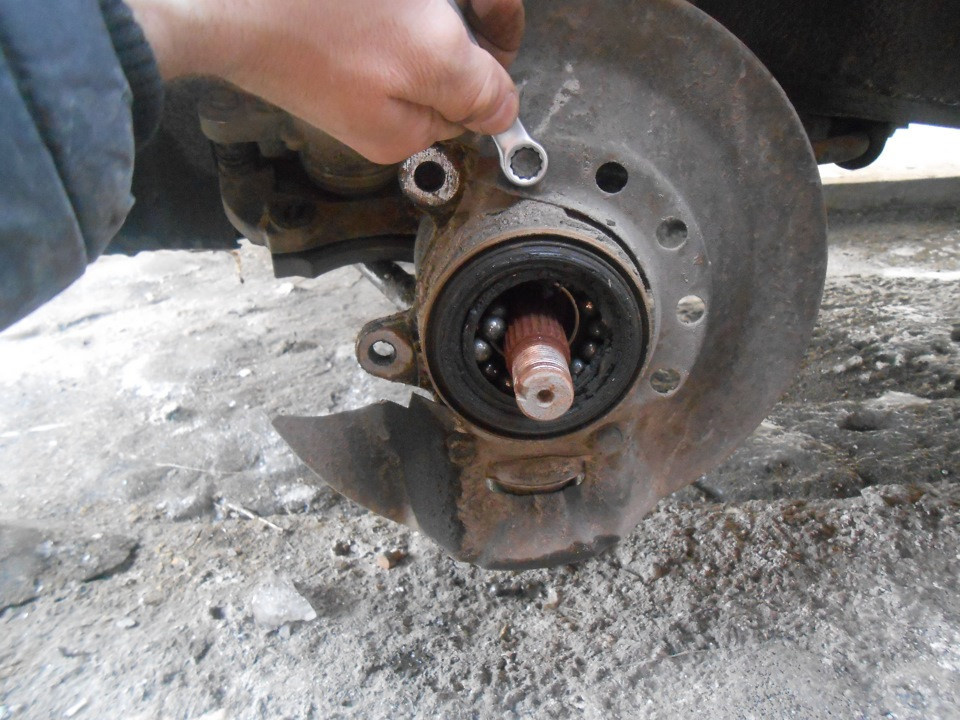
Then we clean it from dirt and dust with keratin and install the retaining ring from the outside.
Meanwhile, the new bearing lay in the snow and froze.

instead of a refrigerator.

He began to heat up the chamber.
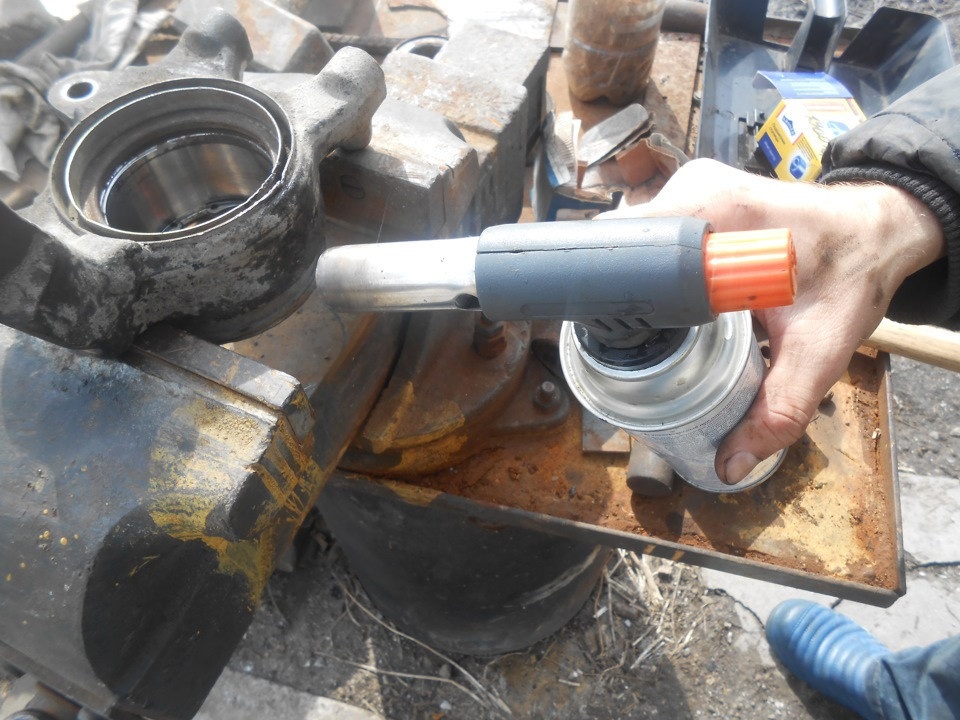
Cool thing
We put the old bearing, "blow" and in its place a new one.
Expansion
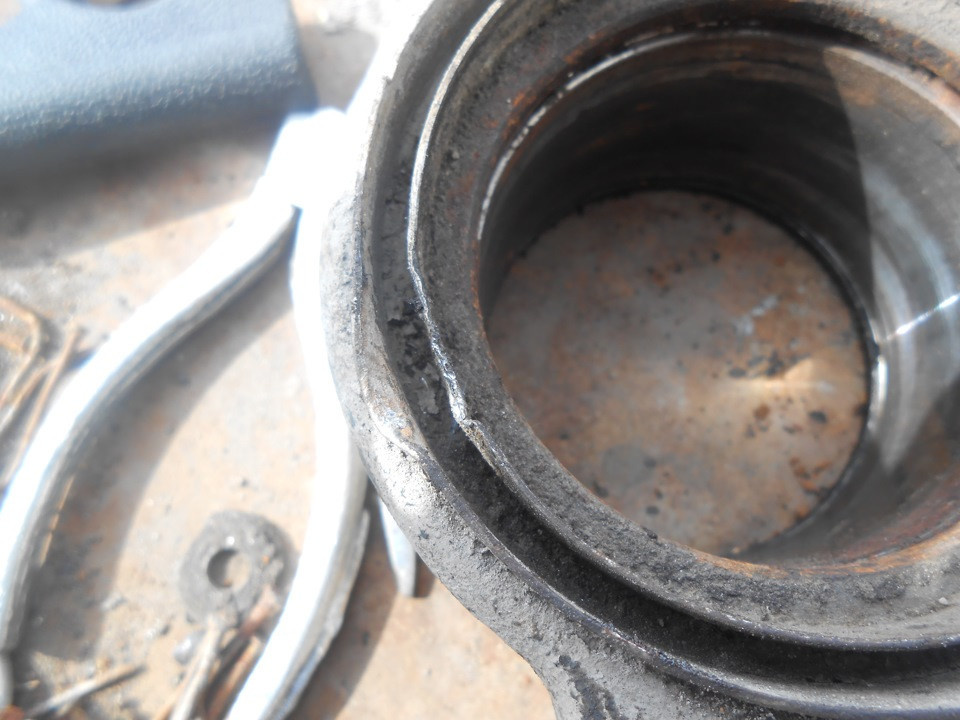
In place It remains to put the bucket back, and we have the same old clip.
We cut the clip a little with a grinder and remove it.

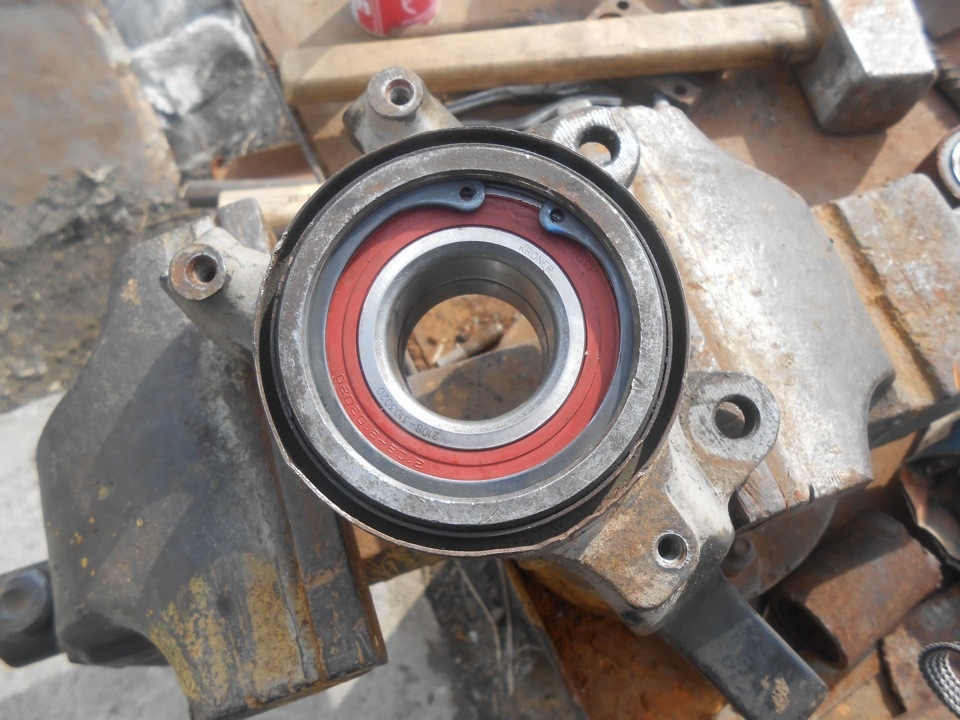
A steering knuckle with a bearing was placed in the hub.
Expansion
Then there was the reverse process of parsing, he immediately checked the grenade.
Installation
So, we changed the front wheel bearing, everything took two hours.
The second way. Replacing the hub and bearing of the front wheel VAZ 2110

1. Raise the car. We tighten the parking brake, put the first gear and replace the pads under the wheels.

2. Remove the hub cap. With a narrow chisel, straighten the toothed shoulder of the hub bearing nut in two places. Loosen the wheel bearing nut with a “30” head. The nut is tightened with a high torque, so the head and shoulder must be strong enough to transfer the necessary force.
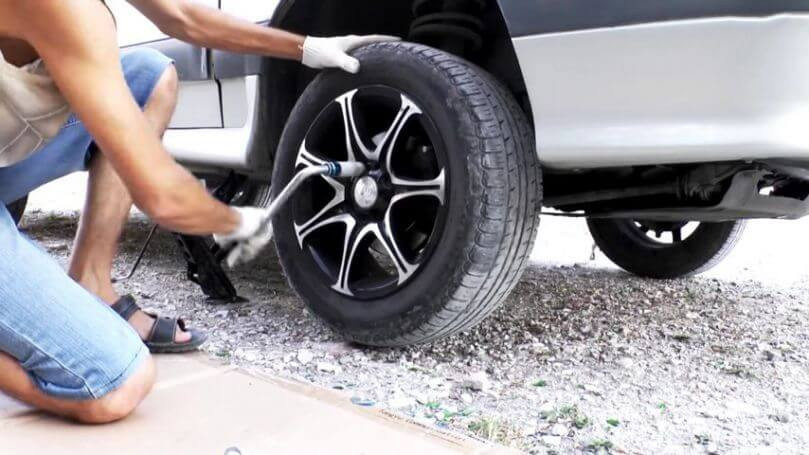
3. Loosen the wheel bolts.
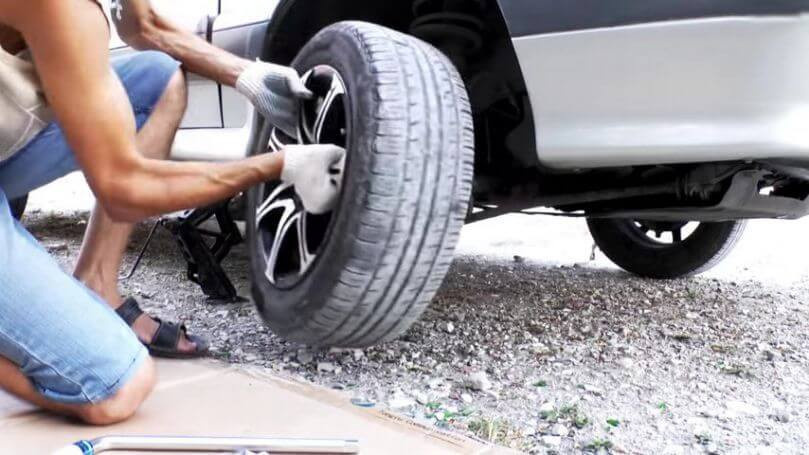
4. Remove the wheel.
5. Using the “17” key, unscrew the two screws that hold the brake caliper. One is upstairs.
6. And one at the bottom.
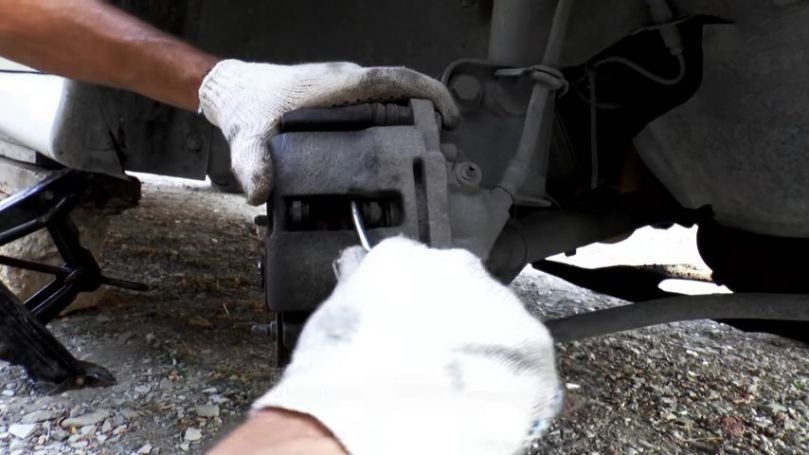
7. We take a flat screwdriver and spread the brake pads.
8. Remove the brake caliper along with the mounting bracket.
9. We tie the caliper so that it does not hang on the brake hose.

10. Using the “12” key, unscrew and remove the brake disc.

12. Turn away a nut of the bearing of a nave against the stop and remove a washer.
13. Using the “17” key, unscrew the two bolts of the ball joint.
14. Using the “19” key, unscrew the steering column nut.
15. Installed a puller to remove the steering tip from the pendulum
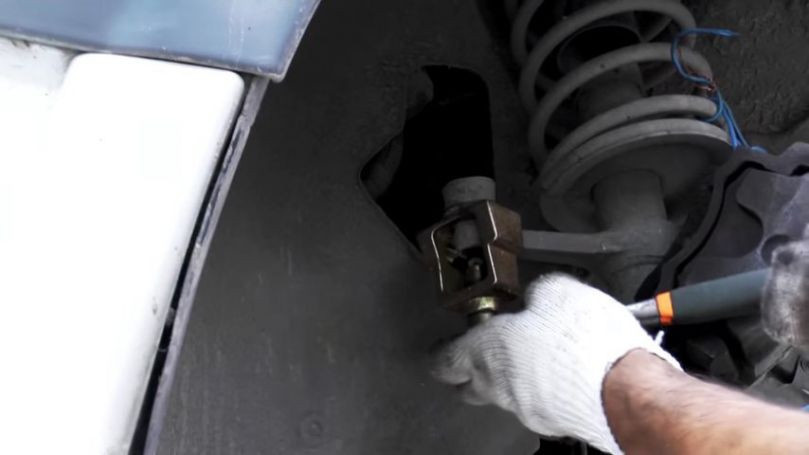
16. And push out the steering tip.
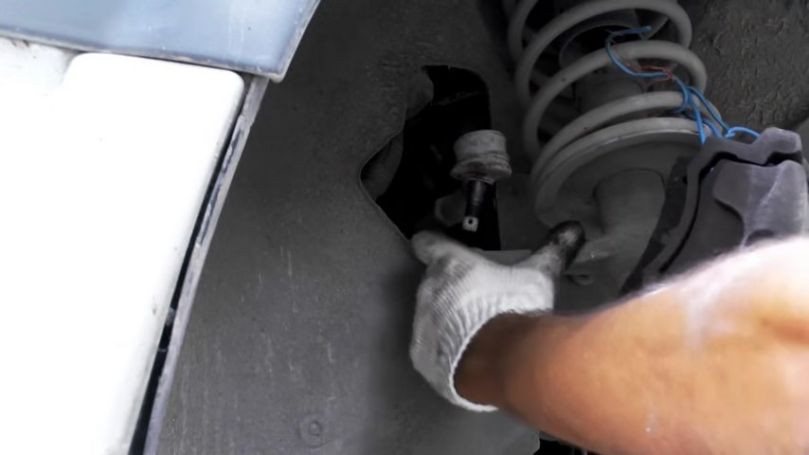
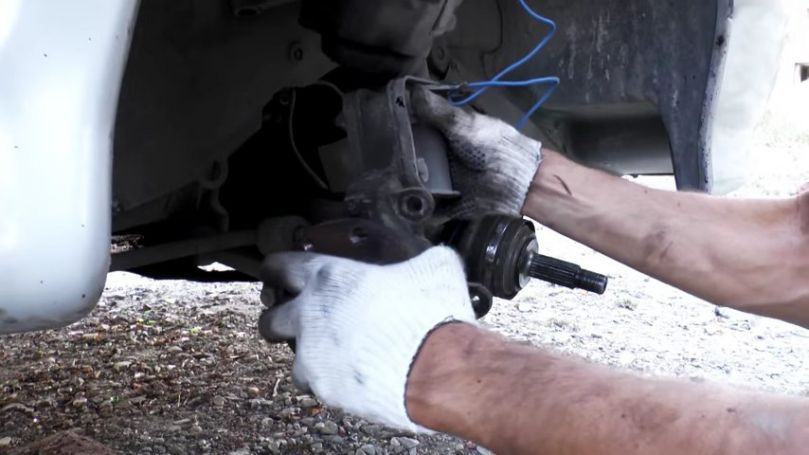
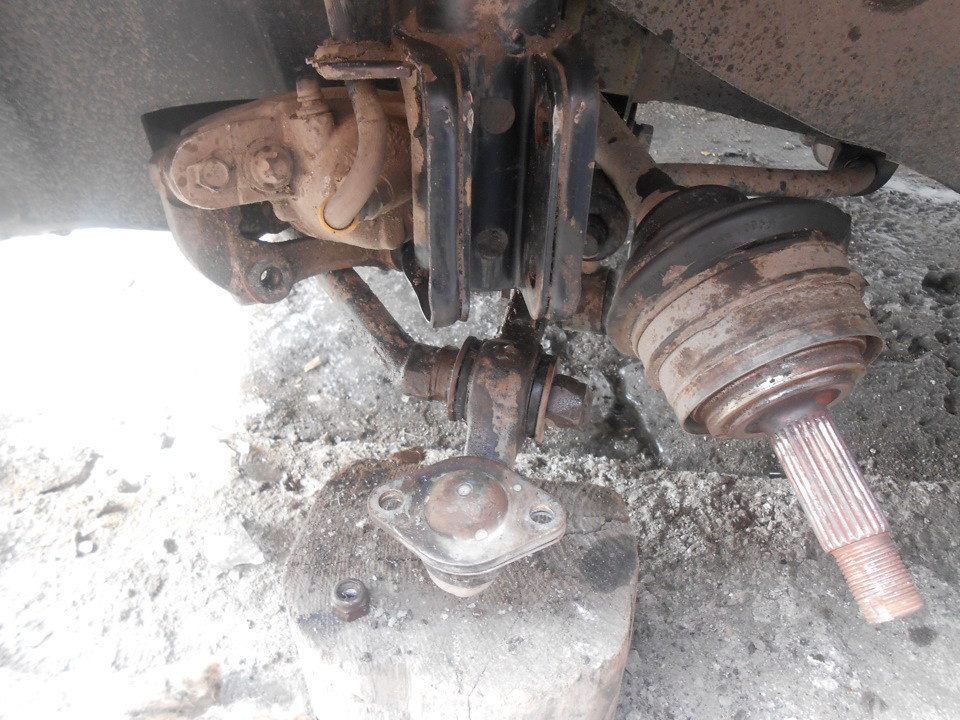
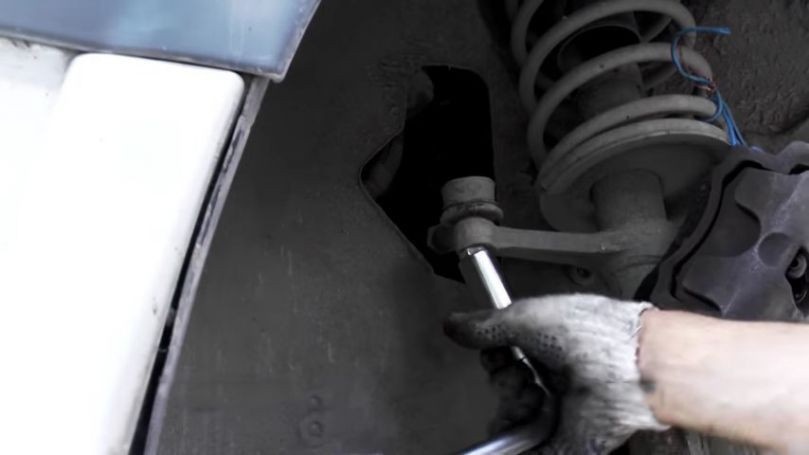
18. We unscrew the fastening of the ball joint to the steering knuckle and remove the CV joint from the bearing hole.
19. We are trying to pull out the bushing with the “19” head.
20. For "safety", from hitting the fingers, it is better to use an awl, inserting it into the head to hit the die.
21. And pull the hub out of the steering knuckle.
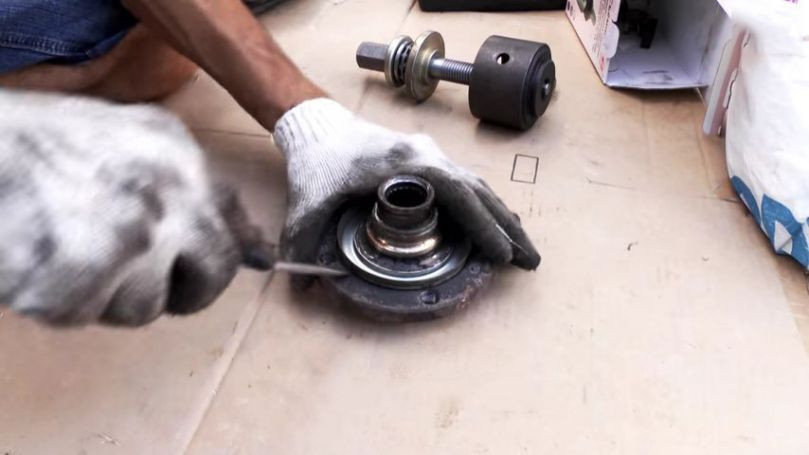
22. Pry with a screwdriver and remove the dirt ring.
23. Almost always, when a wheel bearing is pressed in, a ring remains on the hub, which is difficult to remove due to the tight fit. You can use the extractor by inserting its legs into the two small slots in the bucket.

24. We install a protective ring from dirt and screw it into a new hub.
25. Install the hub, assemble all the parts in reverse order.