Replacing the rear floating silent block BMW e39
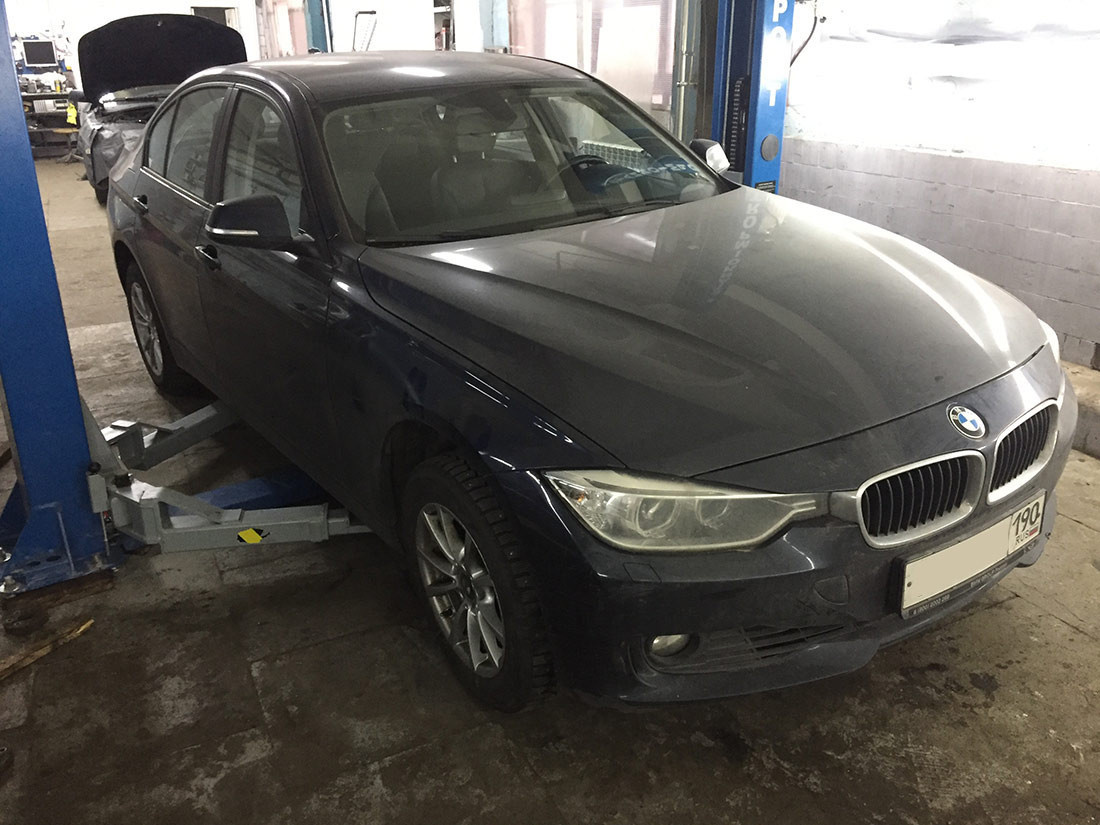
Car BMW F30 320i N20.
Carried out running diagnostics, in general, nothing criminal was found, the mileage is small and the F30 is a fairly strong car.
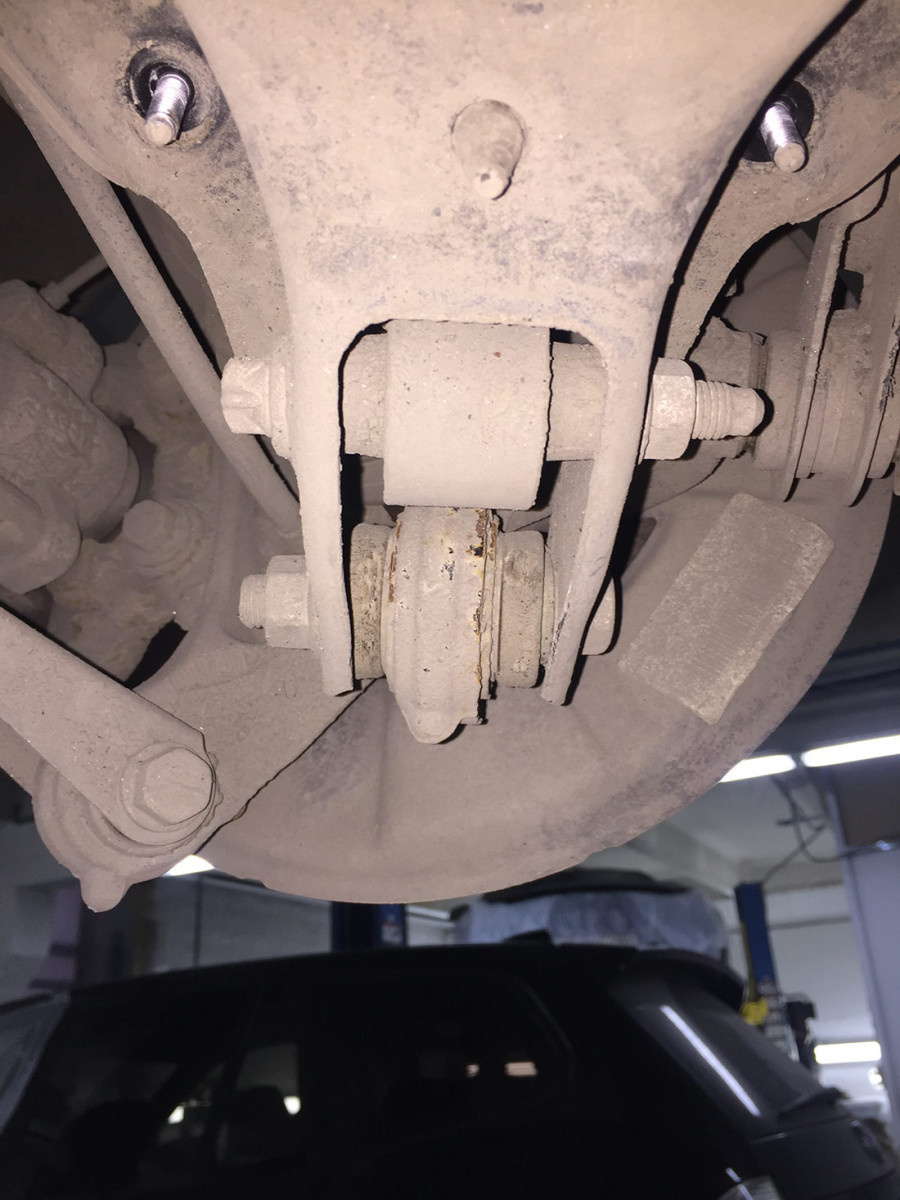
The only thing that was still clear, by the squeal coming from the rear wheels, we found a significant backlash in the silent blocks, the rear lower arms.
We remove the rear wheels, proceed to disassembly.

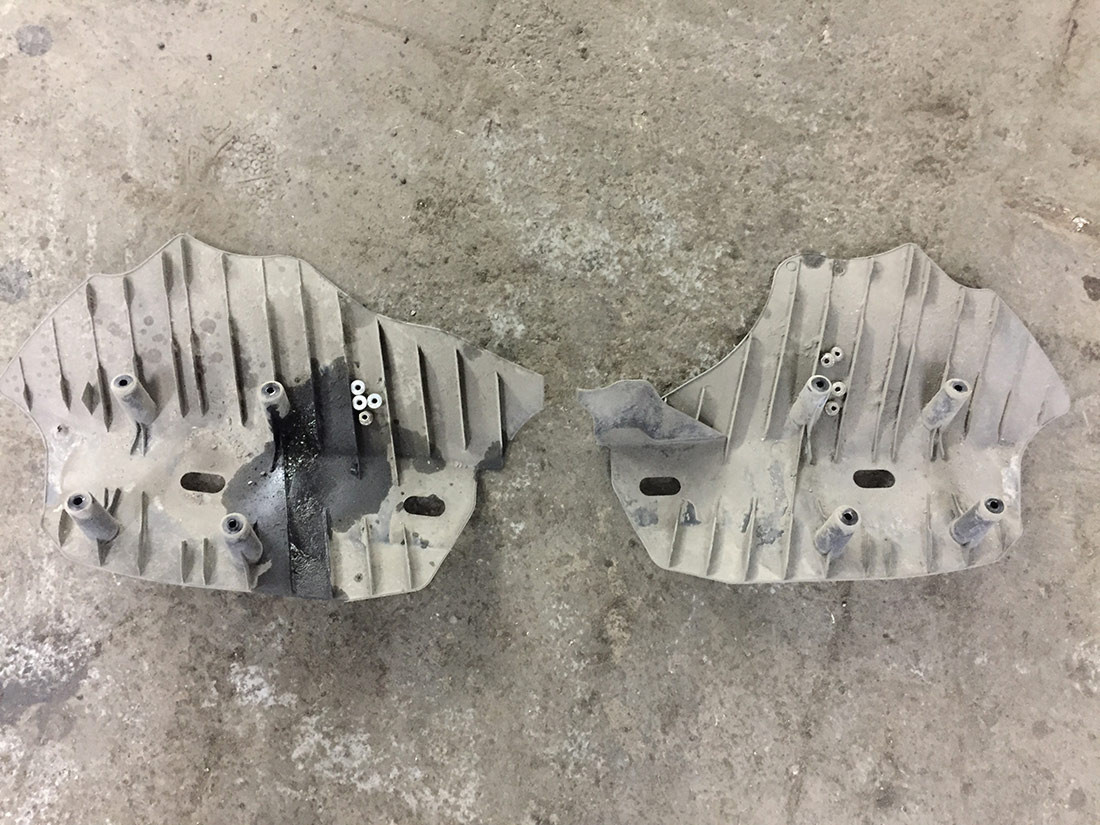
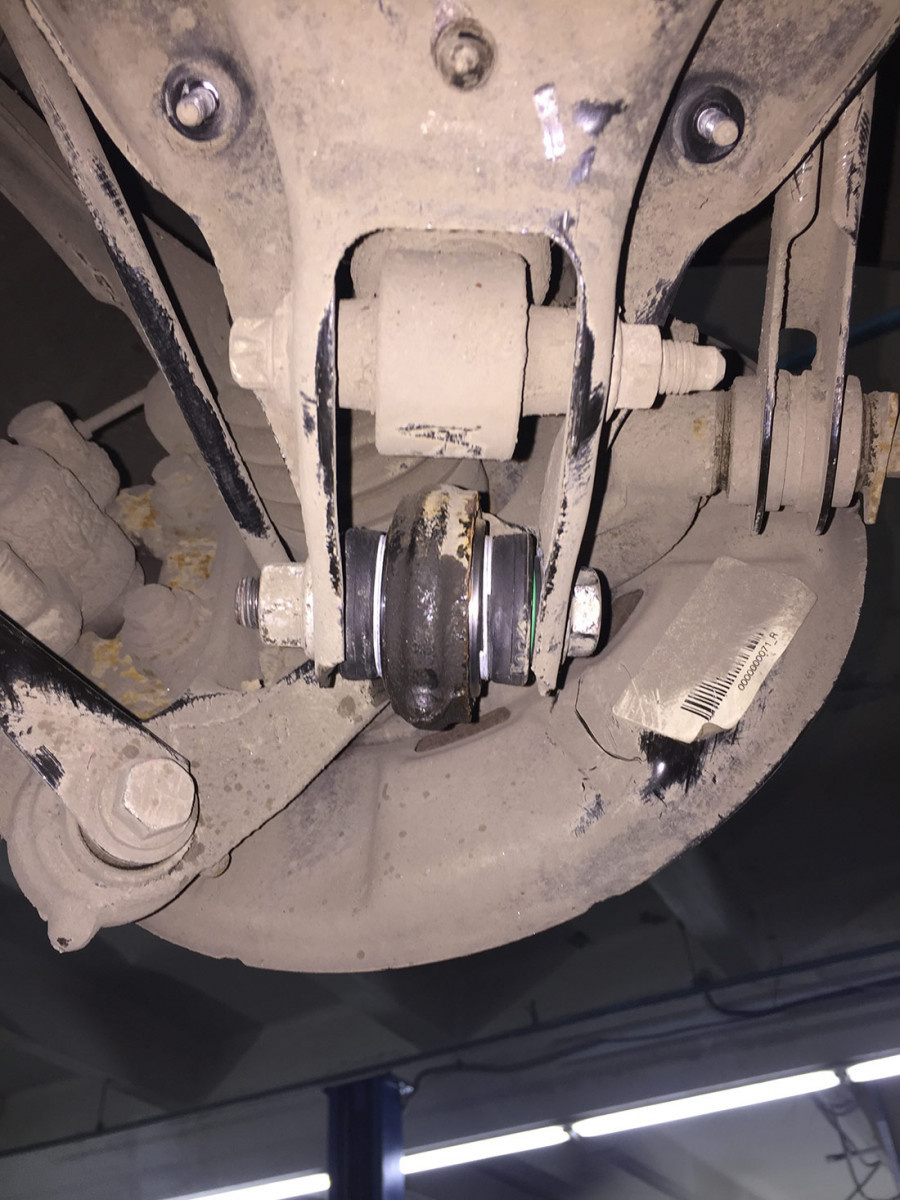
Remove the decorative plastic from the rear lower arms.
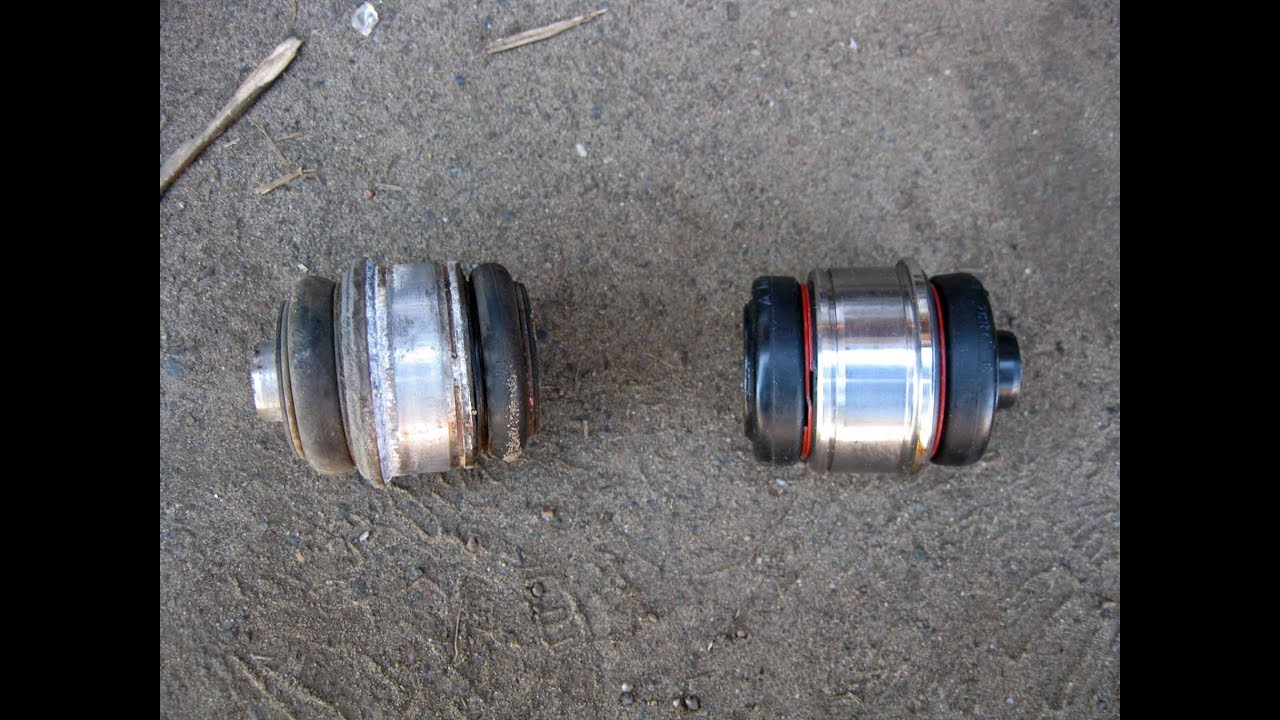
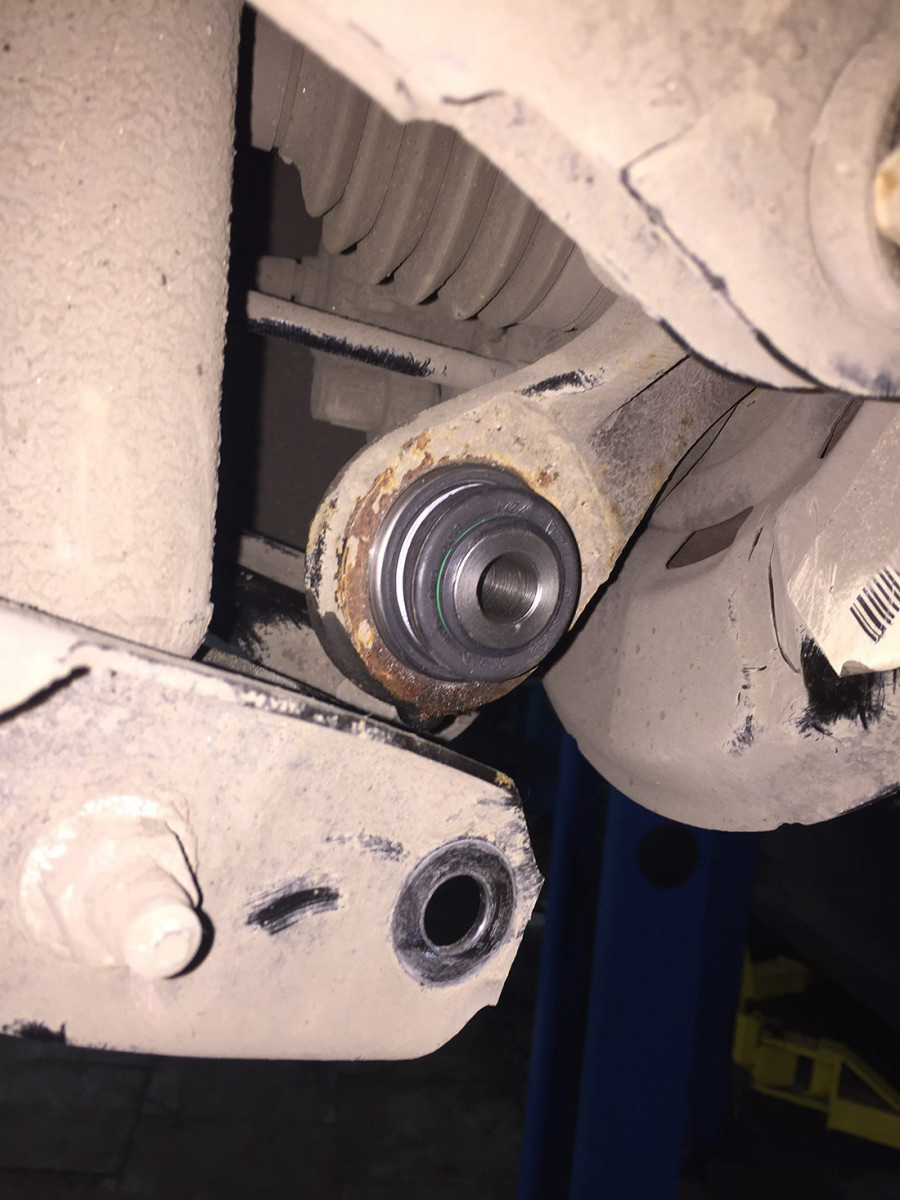
And here is our unpleasant sound source.
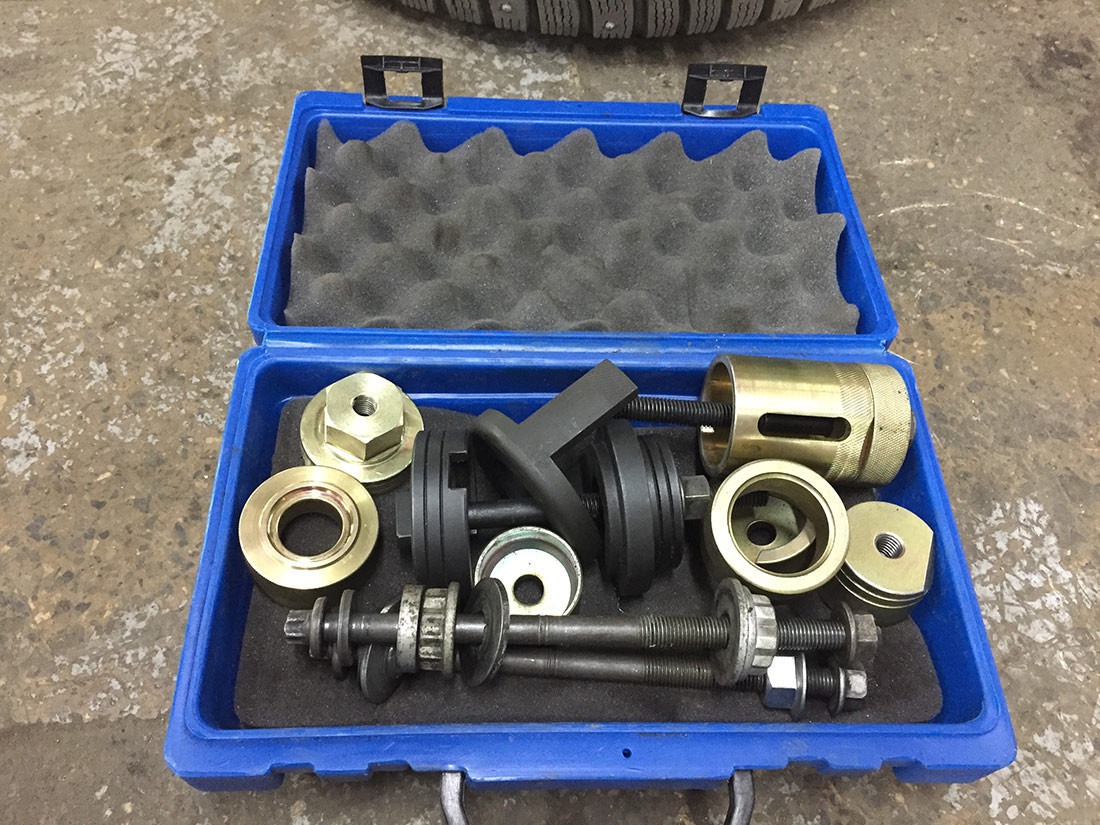
Floating silent blocks, like many others in the car's suspension, are pressed in and cannot be replaced without a special tool.
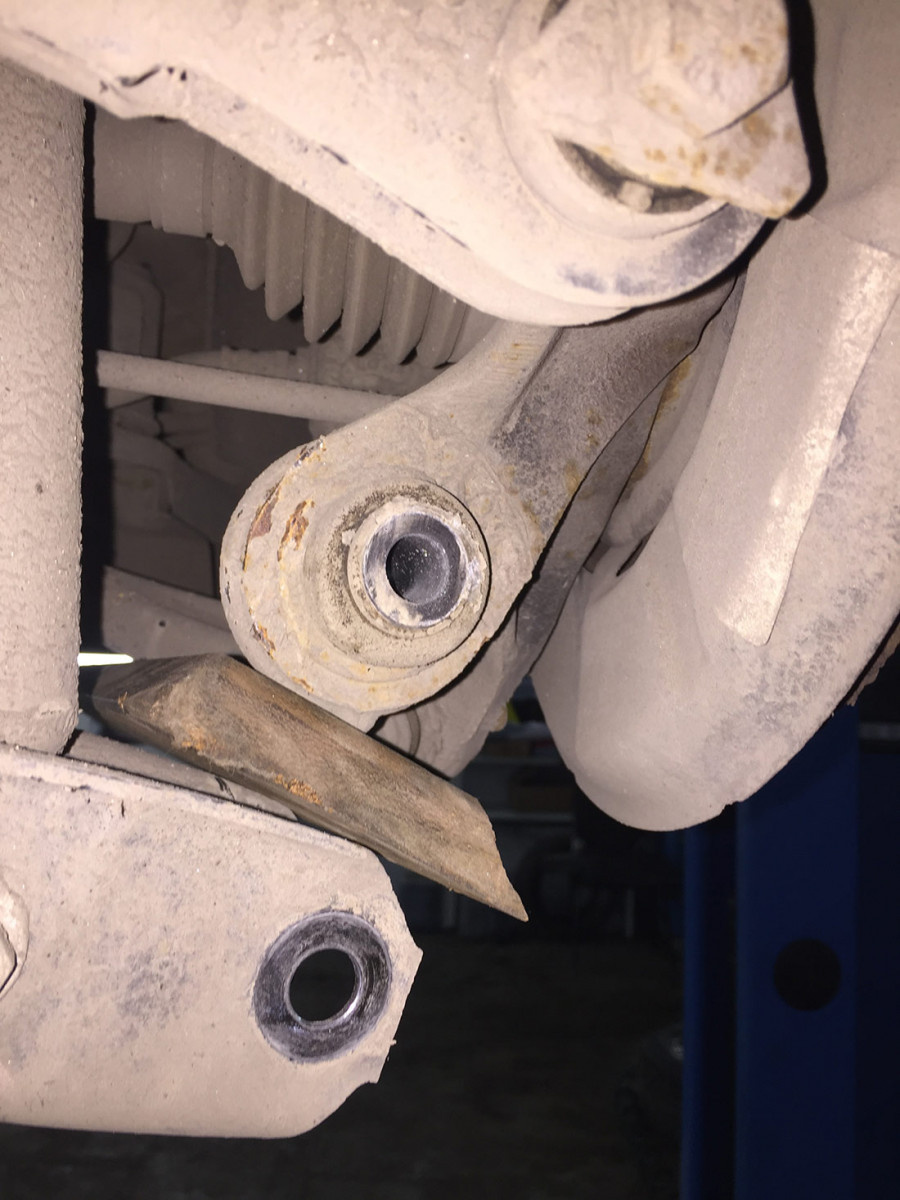
We unscrew the bolt connecting the fist to the lever, disconnect the structure.
Special tool in action.
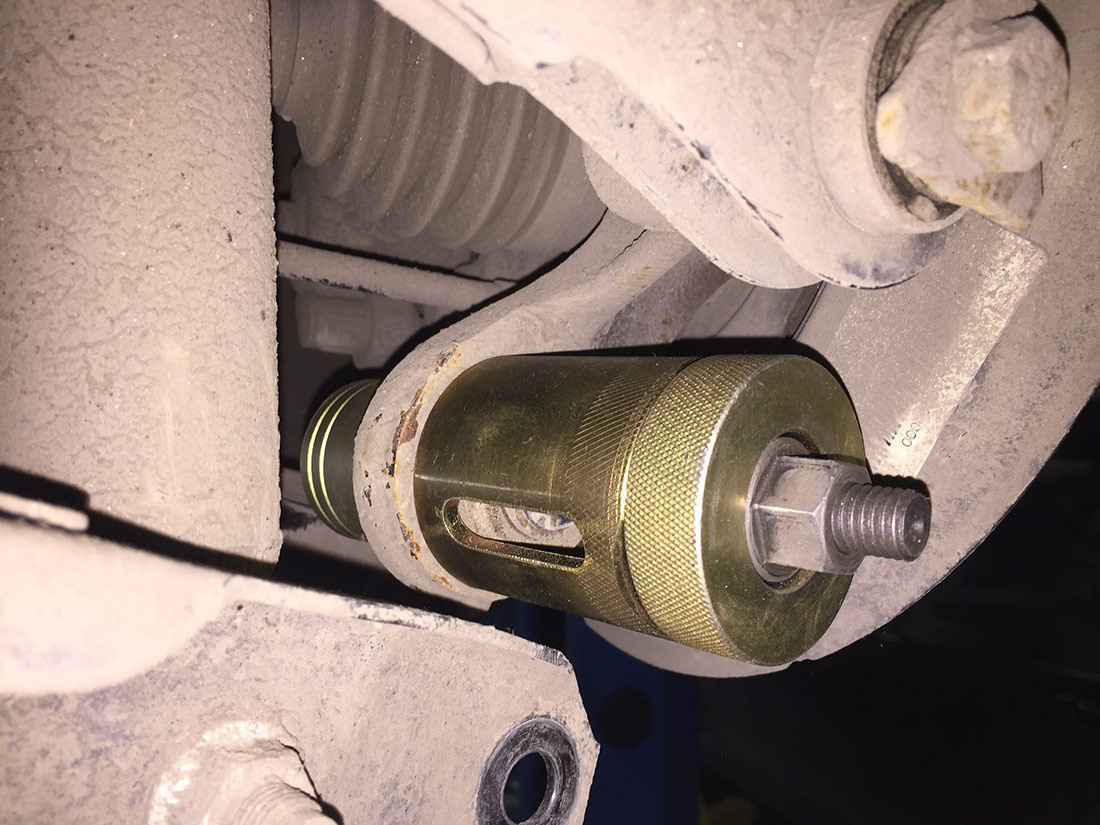
Squeeze the silent eye block.
Half done.
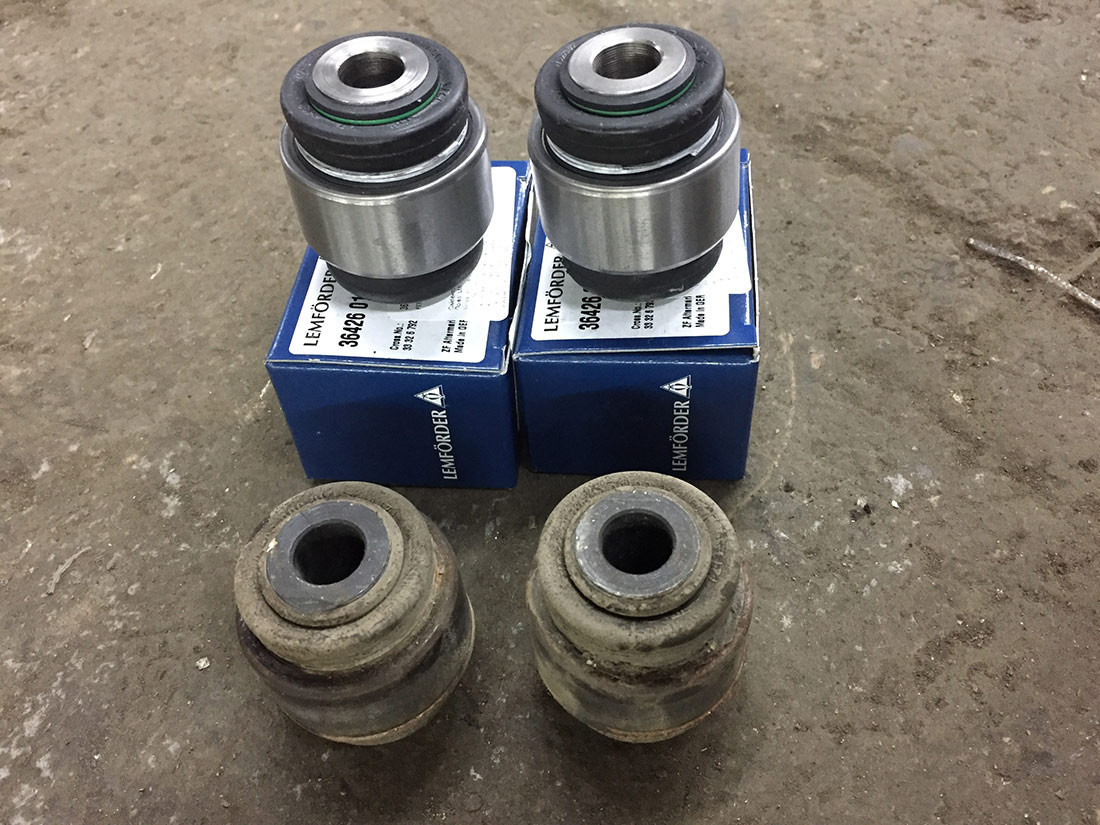
Only quality parts.
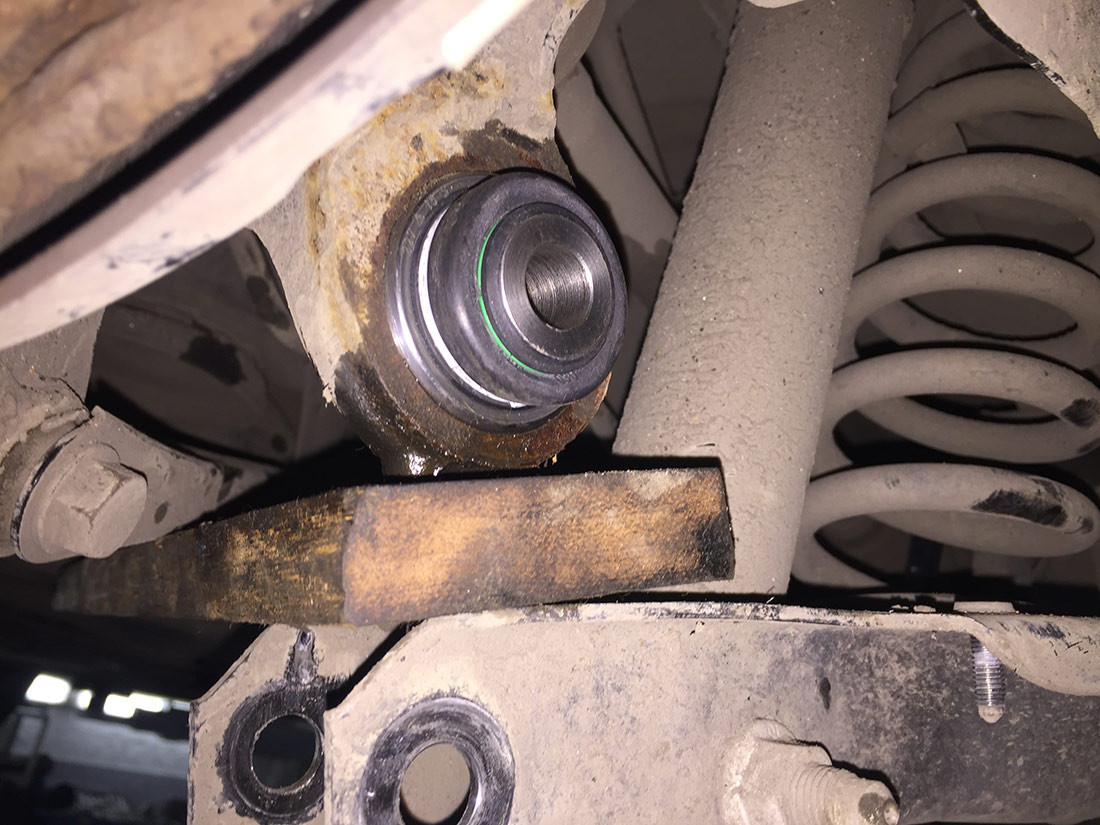
Installation of a new silent block.
Now you need to connect the lever to the handle without damaging the new replacement part.
The rubber protective anthers of the silent block can break, the main thing is not to rush and do everything right!

We fix the plastic anthers on the lower arms, put the wheels.
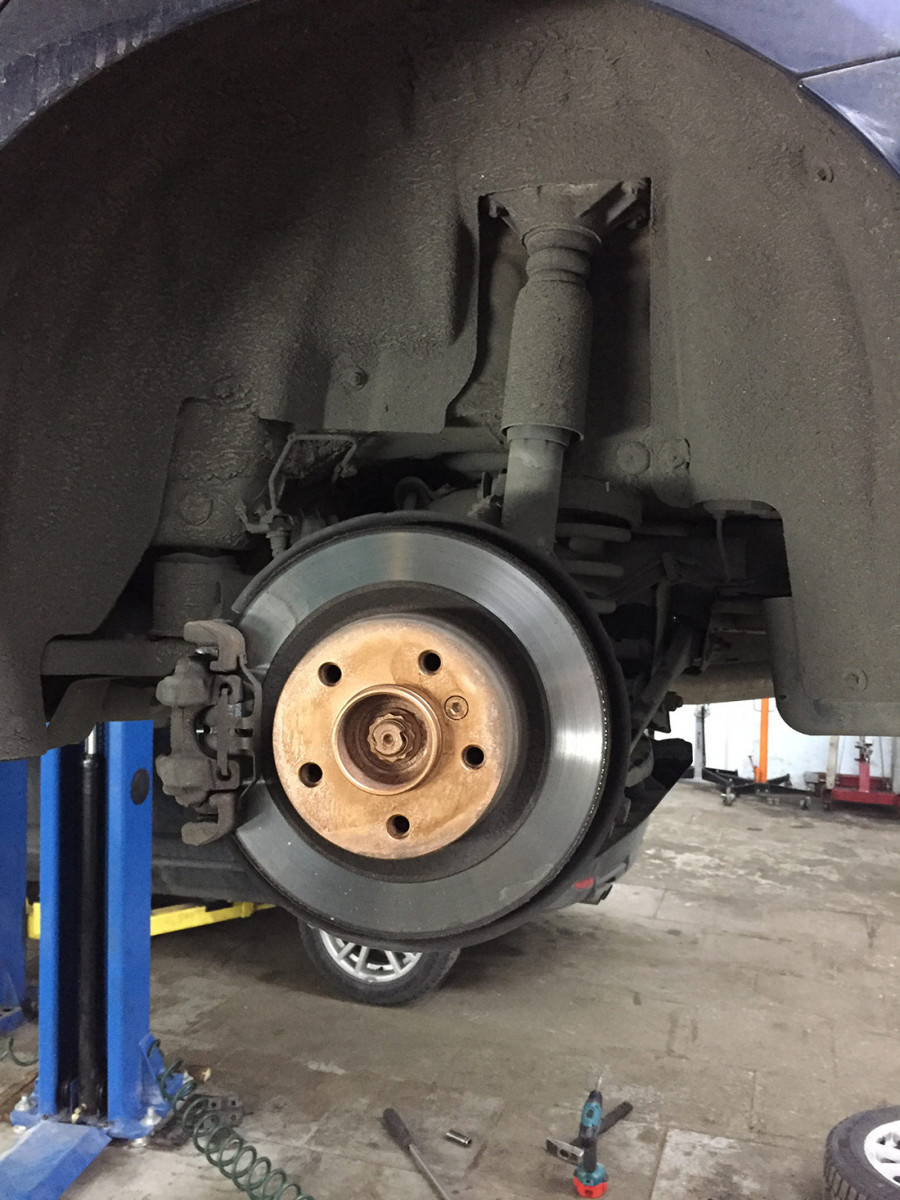
With strange sounds detected, you can move on!
PS: If your car breaks down, we are waiting for you at our BMW M52 Technical Center!
The story of the owner of the BMW 5 Series (E39) — self-repair. To replace the floating silent block, I had to first turn to a turner. It’s just that on my car, the rear knuckles are aluminum (and some are cast iron), so you can’t really shake with a sledgehammer. This turned me into a shooter. The hardest thing is to unscrew and get the long bolt. He's just stuck there. Them…
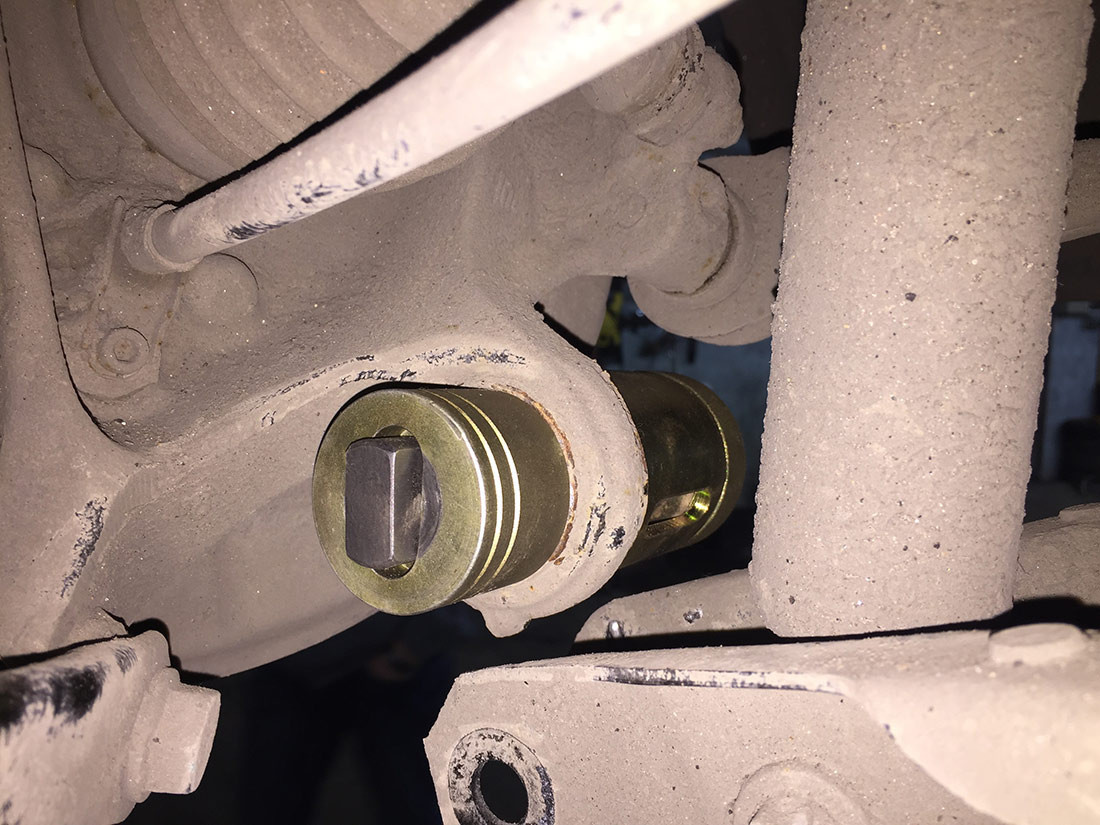
To replace the floating silent block, I had to first turn to a turner. It’s just that on my car, the rear knuckles are aluminum (and some are cast iron), so you can’t really shake with a sledgehammer. He carved such an extractor for me
The hardest part is unscrewing and pulling out the long bolt. He's just stuck there. It is very easy to break it. Gently tapping and pouring everything with a bottle of water, I managed to pull it out, but it took about three hours.
Next, unscrew the damper. This is necessary to raise the fist.
Next, unscrew the vertical lever. I had to damage it when I unscrewed the long bolt. It will have to be changed.
How to replace silent blocks of rear wheel levers BMW E39-E46
How to replace rear arm bushes BMW E39-E46.
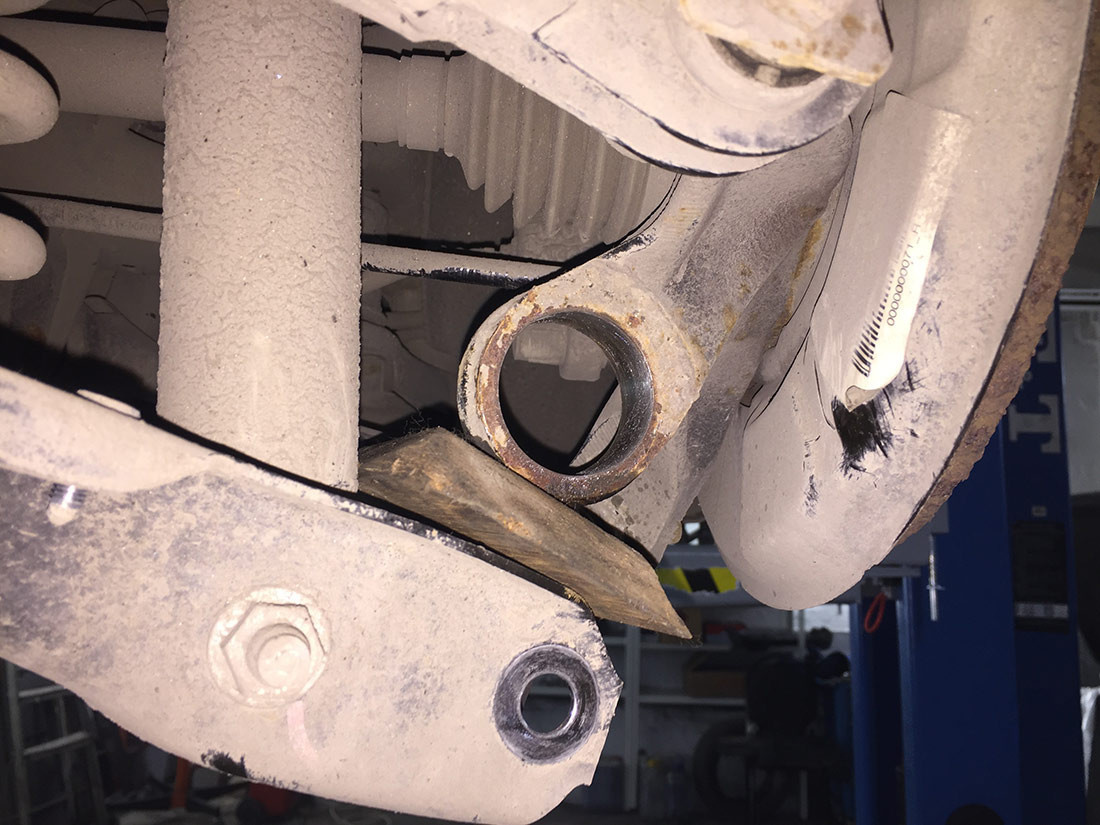
To push the float, you need to remove the plug.
Next, mount the extractor and remove the float. It just doesn't come out. Checking and replacing the viscous coupling on the BMW E39. So you have to hit with a hammer.
Before a new floating surface is pressed in, it must be thoroughly cleaned. Don't forget to put a cap on. It happens that the landing hole is broken and the float puts his hand in there. But the least such shoals were seen with the floating companies Lemförder and MUG. Replacing a viscous coupling on a BMW E39 (how to remove, check) Well, if they hang out, then you can either screw the fit (this is very undesirable), or weld it with argon, and then drill it. Well, or change the fist to another.
After spending half a day replacing the floating one, replacing the two tie rods and two front control arms seemed easy at all. I did it in three hours.
After replacing all these parts, I took up the 3D wheel alignment. The car again pleasantly surprised: all the rusty and nondescript bolts from the rear adjustments were unscrewed and everything was allowed to be adjusted within tolerances. Despite the mileage of 384000. Everything is fine. The clearance of the front wheels is a little lost. But this is not regulated. But it does not matter. Don't worry about it, according to the dealer. Everything is within acceptable limits. They say, maybe even a little dangling and support when printing ... Well, I don’t know, we’ll practice, we’ll see. In principle, the car rolls smoothly, does not rush into anyone, the steering wheel holds without problems.
So. It remains to change the front marters, front wheel bearing, hot water pump, rear vertical arm and rear stabilizer struts. And for now, you can forget about the suspension.