
How to Check a Lawn Mower Starter
Content
It's the rainy season and as expected, you need to mow your lawn all the time to keep your home looking good.
However, you have noticed that your lawn mower's engine makes a clicking sound when you try to turn it on, stops intermittently, or does not respond to attempts to start the ignition.
All this indicates a problem with the starter. We have put together a complete guide on how to test your lawn mower starter so you don't have to look any further.
Let's get started.

Tools Needed to Check the Lawnmower Starter
To check your lawn mower starter for problems, you will need
- multimeter,
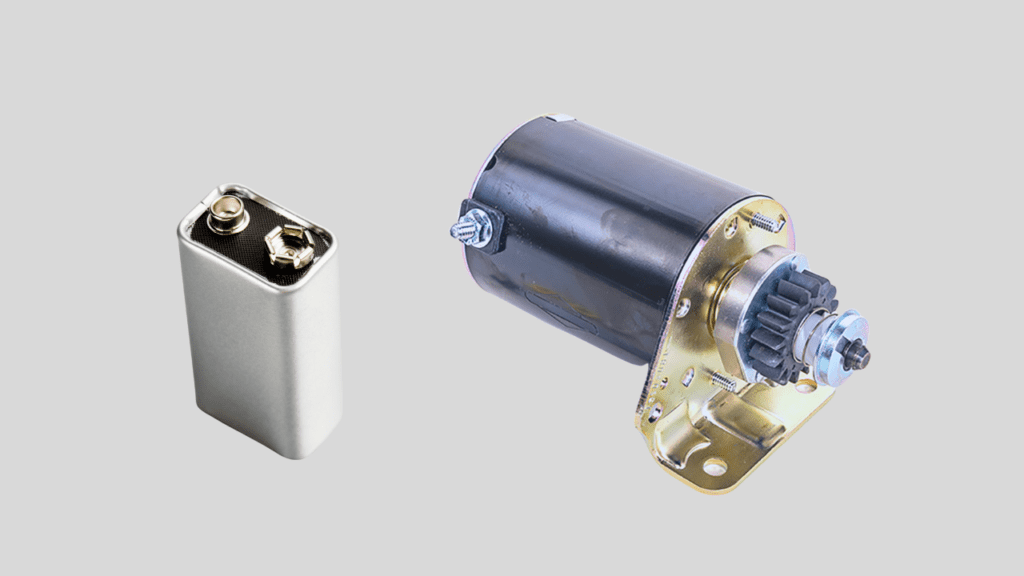
- Fully charged 12 volt battery,
- socket or combination wrench,
- Screwdriver,
- Three to four connecting cables
- Protective equipment such as rubber gloves and goggles.
How to Check a Lawn Mower Starter
After verifying that the battery is fully charged and that the wires are not dirty or corroded, connect a jumper cable from the negative battery terminal to any metal part of the starter and connect another cable from the positive terminal to the starter terminal. If you hear a click, the starter is bad.
These steps will be expanded further.
- Check and charge the battery
The lawnmower starter is powered by the engine battery and will not work properly if the battery is not sufficiently charged or in good condition.
You can check how much voltage you have in your battery with a multimeter to determine this.
Turn the multimeter to the 20 dc voltage range labeled "VDC" or "V–" (with three dots), place the red test lead on the positive battery post and the black test lead on the negative.
If the multimeter shows you a value below 12 volts, then you should charge the battery.
After charging, check if the battery shows the correct voltage. If this is not the case, then this may be the reason that the engine does not start.
Also, if you have a battery reading of 12 volts or higher, try starting the lawn mower.
If the mower still does not start, continue to the next step. It is important to note that a fully charged 12 volt battery is required in order to successfully diagnose the lawnmower in the following tests to be described.
- Inspect connections for dirt and corrosion
Your lawn mower's starter may not work due to a dirty electrical circuit.
Next, you will disconnect the battery connectors from their contacts with a wrench and inspect all electrical wires and terminals on the battery, starter solenoid, and starter motor for any form of contamination.
Use an iron or wire brush to remove any deposits from all wires and connection terminals, reconnect the battery wires with a wrench, then check if the starter works.
If it works in its pure form, then the dirt has affected the electric circuit of the lawn mower. If it does not turn on when cleaning, you move on to testing the starter itself with the battery and connecting cables.
Another way to check electrical wires is to use a multimeter. You test the resistance or continuity of a wire by setting the multimeter to the ohm setting and placing one probe at each end of the wire.
Any reading above 1 ohm or the multimeter reading "OL" means the cable is bad and should be replaced. However, you can move on to the next step.
- Disconnect the battery
Now you want to boycott all the electrical connectors from the battery to the starter so that you can diagnose it directly.
Disconnect the battery cables with a wrench, set the fully charged battery aside and take the connection cables. Connecting cables are connecting wires with two clamps at both ends.
- Take protective measures
From now on, we will be dealing with a potential electrical hazard, so make sure you take steps to protect yourself.
In our tests, wearing a rubber insulated glove is sufficient for your protection. This helps when working with patch cables, as they usually cause high voltage sparks. You may also want to wear safety glasses.
- Connect jumper cables to starter solenoid
The starter solenoid is one of the important parts of the lawnmower's ignition system, as it receives and supplies the right amount of voltage to the starter. The solenoid is a usually black component mounted on the starter housing and has two large terminals or "lugs".
Usually the red cable comes from the battery and connects to one lug, and the other black cable comes from the other lug and connects to the terminal on the starter.
What we are doing now is making direct connections between the battery and the solenoid and also the solenoid and the starter using jumper cables.
To do this, you may need a metal screwdriver and three to four connecting cables. Connect one end of the jumper cable to the positive battery terminal and the other end to the battery powered solenoid tip.
Then, to ground the connection, connect one end of the other jumper cable to the negative battery terminal and connect the other end to any unused metal part of the starter motor.
Once this is done, connect one end of the third jumper cable to the other end of the solenoid and the other end to the starter terminal that receives it.
Finally, use a screwdriver or jumper cable or connect the two solenoid tips to each other. When using a screwdriver, make sure the part you are holding is properly insulated.
- Checking Motor Rotation After Solenoid Closed
It's time for our first evaluation. If the starter spins when you connect the two large solenoid tips, the solenoid is defective and should be replaced. On the other hand, if the starter does not turn when you make this connection, then the starter may be causing the engine to not start.
Our next steps will help you test the starter directly to see if it is defective or not.
- Connect jumper cables directly to starter
Now you want to make direct connections from the battery to the starter.
With all of your previous solenoid test connections disconnected, you connect one end of the jumper wire to the negative battery terminal and then the other end to an unused metal part of the starter to ground the connection.
Then connect one end of the second jumper cable to the positive battery terminal and connect the other end to the starter terminal that should be powered by the solenoid. Make sure all your connections are tight and not loose.
- Look for engine spin after jump starter
This is our final score. The starter is expected to spin at this point if the starter is in good condition. If the engine does not turn, then the starter is defective and needs to be replaced.
If the motor tries to turn but stops and makes a clicking sound, the solenoid is the problem. This direct initial test will help you take care of two testing processes.
Testing the starter solenoid can be dangerous
The starter solenoids draw 8 to 10 amps from the mower battery to power the starter. In comparison, a current of 0.01 amps is enough to cause you severe pain, and a current of more than 0.1 amps is enough to be fatal.
10 amps is a hundred times more current and is a good reason why you should always wear protective gear when testing with jumper cables.
Conclusion
Diagnosing a lawnmower starter motor for problems can range from very simple procedures, such as checking the battery charge and wires for corrosion, to complex processes, such as starting the engine from an external source.
Be sure to take all protective measures and replace any defective parts with new ones of the same specifications. You can also check out our guides on testing a car starter as well as testing a car solenoid with a multimeter.
FAQ
How do I know if the starter on my lawnmower is bad?
Some of the symptoms of a bad starter include a clicking or cranking noise when trying to start the engine, intermittent stalls, or no engine response at all.
Why won't my lawnmower starter turn on?
The lawn mower starter may not respond if the battery is bad or weak, there is a wiring problem in the circuit, the Bendix motor is not working with the flywheel, or the solenoid has failed.
