We connect the car radio at home, with our own hands
Content
It is not difficult to connect a car radio at home to a 220 volt network, and the most budgetary way to do this is to use a power supply from a computer. If you have an old unwanted or broken computer, you can borrow it there. If not, buy the cheapest used one you can. And the instruction on how to connect the radio at home is in front of you :).
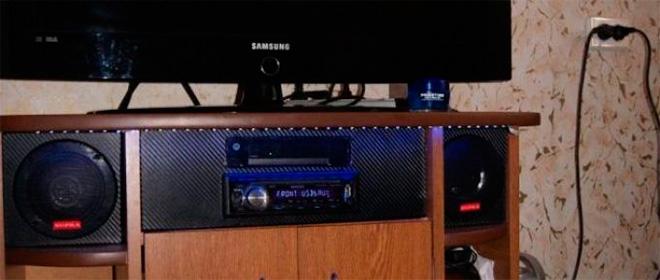
A good radio tape recorder, as a rule, is much cheaper than any music center. And in the presence of multi-channel outputs, it becomes possible to assemble a full-fledged home theater. Which will have a decent sound quality, for a modest cost. And if you install a 2DIN radio that has an LCD display, you can use the rear view camera connection. Showing imagination, this can be used in different ways.
Why do we use a computer power supply
Connecting the radio from a computer power supply is the most common example of connecting a radio at home. You can also use a battery instead of a power supply, but this method is not very convenient, since it needs constant recharging.
Using a power supply is another of the most budgetary ways, you can buy a used power supply, or use an old computer as a donor. Before connecting it, it is imperative to check for operability, make sure that it is working, if problems are found, the unit must be repaired or replaced. To do this, we need to perform the following algorithm of actions.
Inspection and troubleshooting of the power supply.

If a new PSU was purchased, then this item can be safely skipped.
- Turn on the computer power supply to check the output voltage. Make sure that when the current is applied, the cooler (fan) installed on the rear part starts to spin.
ATTENTION. Before starting the following steps, make sure that you have disconnected the computer unit from the power supply.
- Open the cover and look inside the block, for sure there will be a lot of dust, carefully wipe everything with a dry cloth, also you can use a vacuum cleaner.
- After we cleaned it of dirt and dust, we carefully inspect the contacts of the board for defects and cracks in the soldering.
- We carefully examine the capacitors located on the board, if they are swollen, this indicates that the unit is faulty, or it does not have long to live. (capacitors are circled in red in the picture above) Swollen capacitors must be replaced. The the process requires care, as high-voltage capacitors contain a residual current charge, from which you can get easy, but a very noticeable electric shock.
- Assemble the power supply and start connecting
How is the radio connected to the power supply?
To connect at home, you will need the necessary materials and equipment:
- computer power supply, this is our unit; its power should be 300-350 watts;
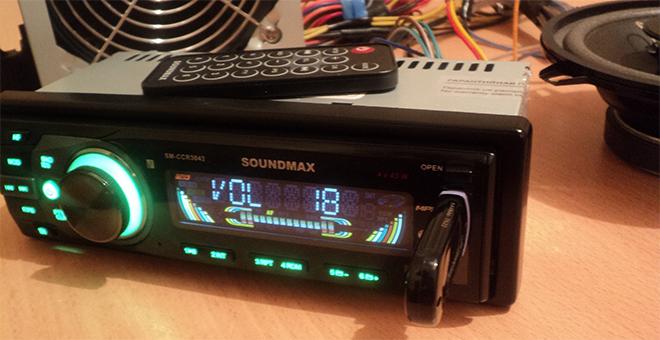
- car radio;
- loudspeakers or speakers;
- wires with a cross section of more than 1.5 mm.
Acoustics must be of high quality, the device has a four-channel output, each output can be connected to a speaker. For a louder sound, you should choose speakers with an impedance of 4 ohms, as a rule, these are car acoustics. Home acoustics have an impedance of 8 ohms.
Connecting a car radio to a computer power supply includes several main steps:
- We are preparing the radio, the connector will have to be cut off, because. there is no universal adapter for connecting to a computer power supply, we clean the wires.
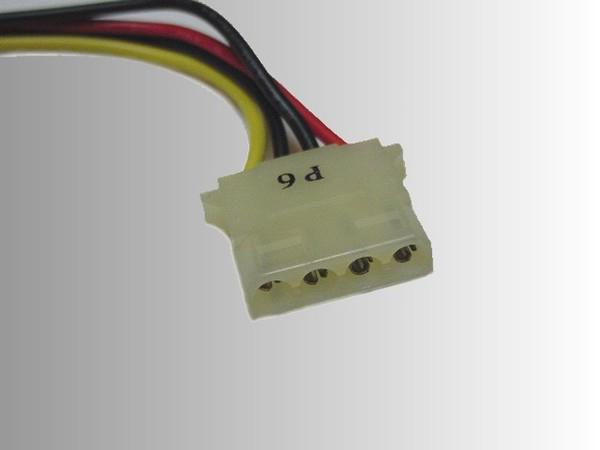
- There are more different connectors on the power supply, we need the one to which the hard drive is connected. Four wires come to it, yellow, red, and two black (there is a photo of the connector below).
- Now we connect the radio tape recorder to our power supply, the connection diagram is as follows, at the radio tape recorder we twist two wires yellow and red (these are both pluses), and connect them to the yellow wire of our PSU, we connected all the plus, now we need to connect the black wire on the radio tape recorder, and the black wire which is connected to the power supply unit.
- That's it, the power is connected to our radio, but the PSU refuses to turn on without the motherboard, now we will deceive it, we take the connector that connects to the motherboard (the most wires are suitable for this connector, there is a photo of the connector below) we are looking for a green wire, to turn on the unit we you need to short it with any black wire. You can do this with a jumper. After this circuit, our PSU will begin to supply electricity to the radio.

- If there is a jumper in the switch block, you can not remove it, just solder the black and green wires. The switch can be used to turn the power on or off.
- It remains only to connect the acoustics and enjoy your favorite music, the audio outputs of the radio have the following designations. - The wires of the left front speaker are white, marked - FL. The minus has a black stripe.
- The right front speaker wires are gray and marked FR. The minus has a black stripe.
-Left rear speaker wires are grey, marked RL. The minus has a black stripe.
-Right rear speaker wires are purple, marked RR. The minus has a black stripe. All speakers have two terminals, this is a plus and a minus. We connect the above wires to our speakers. If you use speakers, then to increase the sound quality, you need to make a box for them (like a speaker). - The collection of all devices into a single network allows you to plug a homemade speaker system into a 220V outlet and enjoy music. A home-made speaker system will provide clear, loud and high-quality sound at no extra cost, and a remote control will provide comfortable listening.

It may be useful for you to know which radio connection scheme is used in the car.
Video instruction on how to connect the radio through the power supply

We really hope that in this article you have found answers to your question, please rate the article on a 5-point scale, if you have comments, suggestions or you know something that is not indicated in this article, please let us know! Leave your comment below. This will help make the information on the site even more useful.
Conclusion
We have put a lot of effort into creating this article, trying to write it in a simple and understandable language. But it is up to you to decide if we did it or not. If you still have questions, create a topic on the "Forum", we and our friendly community will discuss all the details and find the best answer to it.
And finally, do you want to help the project? Subscribe to our Facebook community.