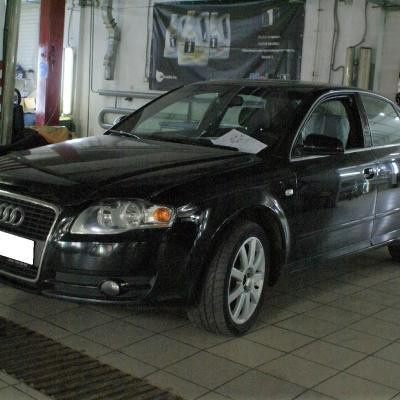
Replacing the heater radiator Audi a4
Content
Of course, we believe that replacing the stove radiator with an Audi A4 is relevant only in the cold season. However, it is not. Sometimes in the hot season, the radiator can cause even more serious problems for the car owner.
Symptoms and causes of malfunction
When the car warms up, the risks of leakage of the stove radiator increase sharply. The second side of the coin lies in its physical clogging with deposits and the inability to circulate antifreeze normally.
Spare parts
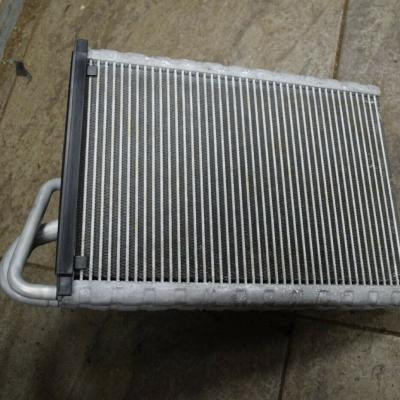
In addition to the new original, stove radiators from manufacturers such as Valeo, Siemens, VDO have proven themselves.
Order of work
Audi A4 stove radiator replacement technology
- Removing the dashboard in a car
- Furnace hoses blocked, electrical connectors removed
- The stove body assembly crawls out from under the torpedo
- Old unscrewed stove radiator
- Installing a new
- The machine is assembled according to the reverse algorithm
A guarantee is provided for the diagnostic work and replacement of the radiator of the Audi A4 stove. Our spare parts store offers a wide range of original and non-original spare parts. Excellent workmanship, competitive low prices and prompt replacement.
To make an appointment at one of our service centers, select the one closest to you on the map. And call back to make an appointment.
Replacing the radiator of the Volkswagen Passat B5 stove
In the submitted report with photos, we will consider the replacement of the radiator of the heating system of the Audi A100 C4 without installing an air conditioner.
It is not difficult to change the radiator yourself if you have the time and the right items for the job.
For work you will need: a set of screwdrivers, one of them is elongated, keys for 8 and 10, a fixed key for 8 and 10, a key with a hook or with a thin head for 13, compacted material (foam rubber) on one side with glue, automotive or construction sealant and about a liter of antifreeze to top it off. Of course, you can not do without the most - a heating radiator. You can buy an original part - VAG 443 819 030, which costs an average of 5700 rubles. Analogs - Nissens 70230, SWAG 30911090, AVA AI 6052, Behr-Hella 8FH 351 311-62, cost from 700 to 3500 rubles.
This is how radiators cost in the summer of 2017 in Moscow and the region.
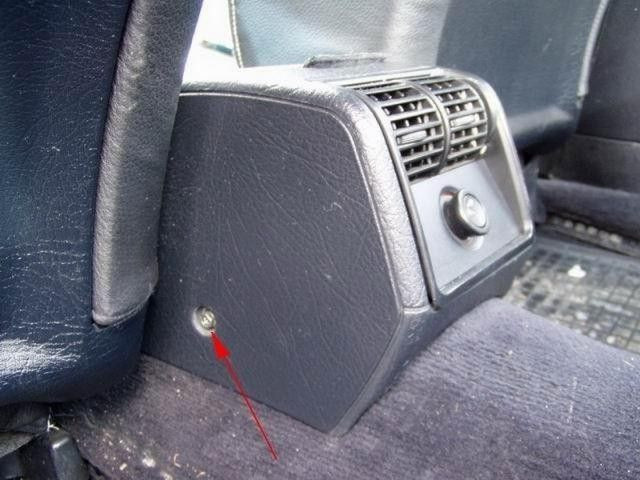
First, slide the seat forward as far as it will go. Then, using an 8 socket wrench, unscrew the bolts holding the consoles on both sides.
Pry off the plastic plug on the cigarette lighter and remove it.
Remove the 2 screws that hold the deflectors.
Again, a screw on the opposite side.
We remove the deflectors, disconnect the cigarette lighter connector.
Using a screwdriver, pry out the retainer that secures the brake lever until it stops.
Unscrew the tip of the gearbox handle clockwise.
Remove the upholstery from the handle, pry it with a screwdriver.
Loosen the screws holding the consoles.
Apply the handbrake, engage third gear and remove the console by pulling it up and forward.
Pull towards you, remove the handles that control the heater.
Loosen the screws marked with arrows.
With a key of 8, unscrew 4 bolts.
We take an ashtray. Don't forget to remove the backlight cartridge from the case.
To remove the central deflectors, it is recommended to use the necessary tool, but you can also carefully pry the deflectors towards yourself with a simple screwdriver.
We unscrew the bolts at the bottom of everything, from above you can unscrew a little.
Remove the plugs by pulling them towards you.
Loosen the screws at the bottom.
From the driver's side in the console we catch the plug with a screwdriver.
Unscrew the nut with a 8 wrench.
Remove the center console by pulling it towards you and up.
By simply pulling it towards you, you can remove the central unit.
Move the Central Bank to the side.
Disconnect the connector from the block that controls the heater.
Disconnect the connector on the tunnel.
Unscrew the fixing element of the air duct between the seats.
Pull the air duct up.
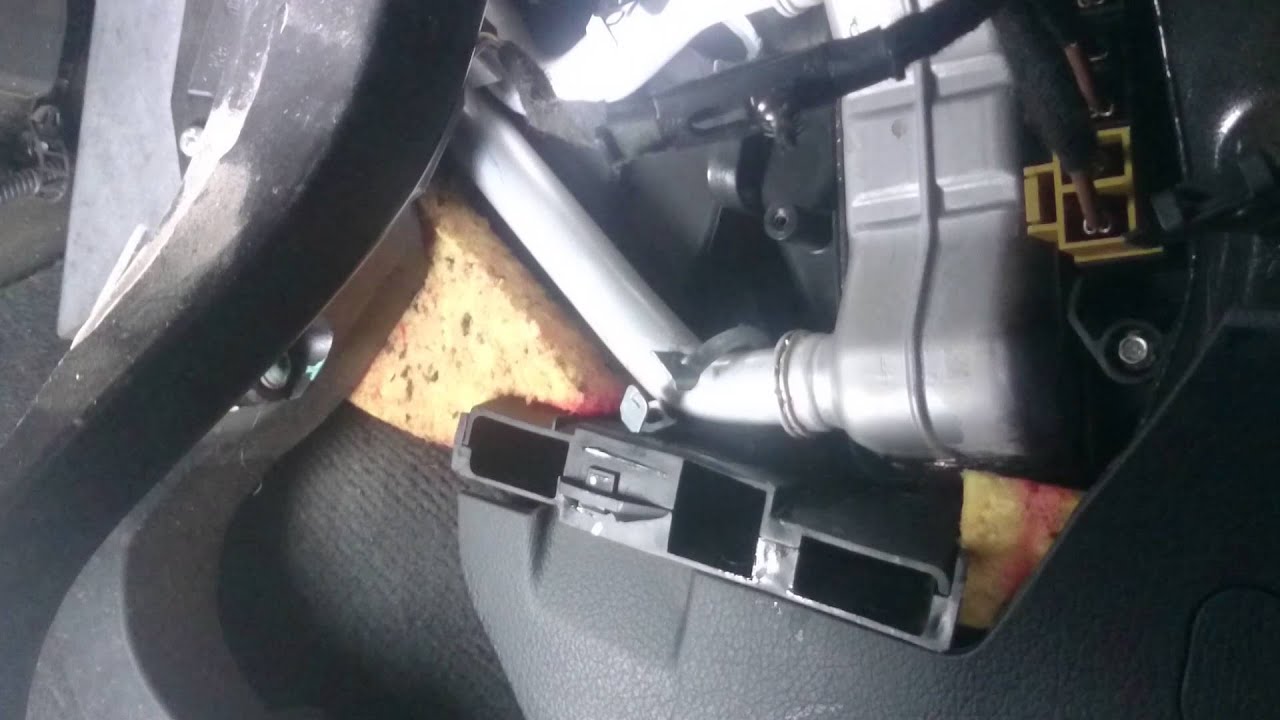
Open the glove box, use a screwdriver to pry off the two circlips on both sides and remove them.
Approach the box called the glove box. We unscrew the five screws that hold the box under the steering column, remove it.
Loosen the screw that holds the air duct on the passenger side and remove it.
Also on the driver's side.
Disconnect the L-shaped air ducts from the oven device.
We open the hood, remove the plastic protection.
Pry up and remove the plugs to secure the wipers.
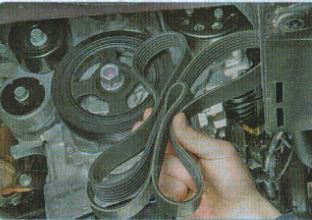
Using a socket wrench or socket 13, unscrew the wiper belts and remove them.
Use a XNUMX wrench to unscrew the four screws holding the plastic insert. One is here.
Here are two screws.
Screw here. Remove the plastic cover.
Pull up, remove 1 more pad.
Using a ten socket wrench, remove the four bolts holding the wiper assembly.
We remove the block, not forgetting to disconnect the connector.
Loosen the clamp holding the heating element with a screwdriver.
Loosen the radiator clamps and disconnect the heater hoses. But before draining the antifreeze, it’s not worth it, less than 1 liter will flow out.
We tighten, remove the heating element from the body. If you are shooting for the first time, it will be difficult, as the body insulation will come off.
Remove the clips and screws around the heater.
Such a self-tapping screw can only be unscrewed with an elongated screwdriver.
We unscrew the six screws at the bottom of the stove.
Remove the bumper snap ring with a screwdriver.
Divide the heater into two parts.
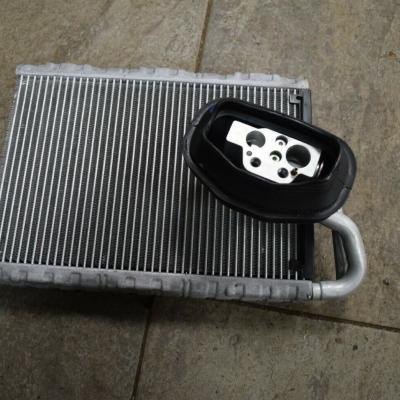
Remove the old radiator, inspect it and discard it. Coat the new one with sealant.
We clean the inside of the heater from debris and dirt. It is necessary to check whether the shock absorbers are intact and whether they fit well. Assemble the heater frame in the reverse order, then fill the radiator from the outside (near the nozzles) with a sealant solution, if necessary, replace the air duct and foam gaskets on the body. Install the heater on the machine in reverse order. Then, when everything was assembled, we start the engine, inspect the car for smudges, fill in antifreeze. To remove air pockets on five-cylinder engines, it is not necessary to bleed the cooling mechanism. Since the engine runs at a speed of three to four thousand, it will return to normal on its own.
Other services for Audi A4
Our workshop network offers a specialized service for Audi heater core replacement. Low prices. Car service specialists will accurately determine whether there are problems with the car. Technical centers are located in convenient places in Moscow and the nearest suburbs. Audi stove radiator replacement: up to 2 years warranty. Available spare parts: original and similar. You can sign up for diagnostics or repairs by phone or through the application form on the website.