Replacing the rear springs Mercedes 190
Content
In the Mercedes 190, due to age, the original springs often burst. Usually the circle is interrupted at the top or bottom. The car lies on its side, it is less manageable. Some still manage to run several thousand miles on broken springs. Therefore, if you hear an unnatural noise behind the car or if it is on its side, you should pay attention to the rear springs and replace them if necessary.
We will change the rear springs on the Mercedes 190 without a special puller, we will use jacks. Of course, this is a dangerous and low-tech way, but few people will buy or make a special tool for an old car.
Choice of springs
The springs were installed at the factory depending on the configuration and, accordingly, the mass of the car. There was and is a point system and springs are selected according to it. Here is a screenshot of the book below, everything is well described there.
In a good store, if you give them the VIN number, you will be able to pick up springs and spacers without any problems. But there is an option for self-selection of springs and spacers. To do this, you will need the VIN code of the car, the elkats.ru electronic catalog and instructions at this link.
Tools for the job:
- standard and roller jack
- two blocks of wood
- set of heads
- ratchet
- powerful handle
- a hammer
- punch
Step-by-step instructions for replacing the rear springs on a Mercedes 190
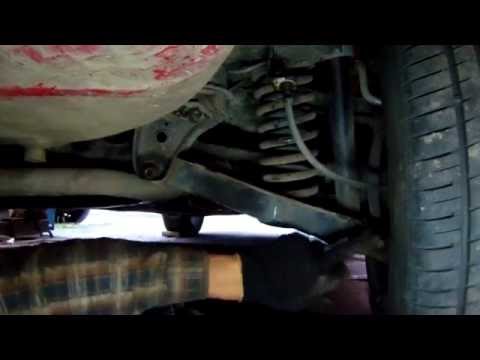
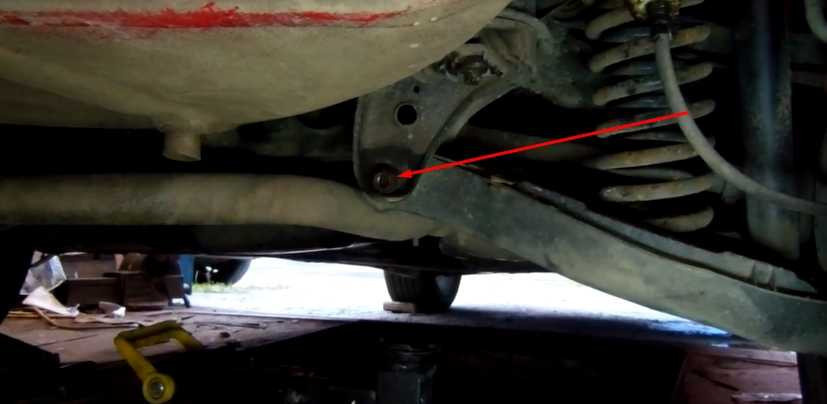
1. We tear off the nut on the bolt securing the lever to the subframe.
2. Raise the rear wheel with a regular jack.
We put wedges under the front wheels.
3. Unscrew the two screws that hold the plastic cover on the lever and remove it.
Ten head bolts.
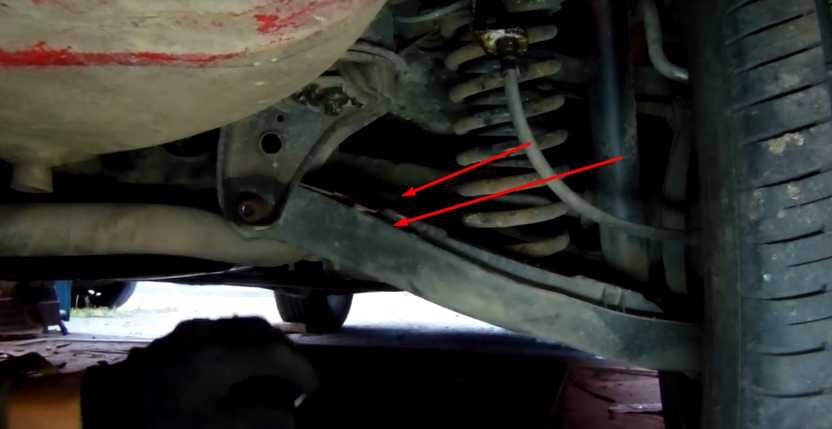
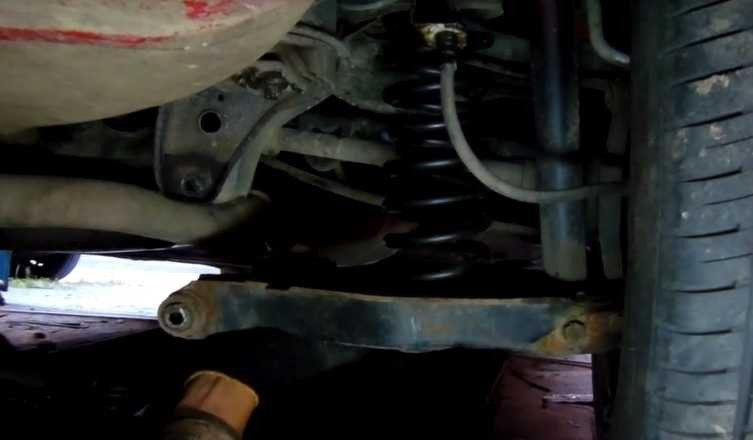
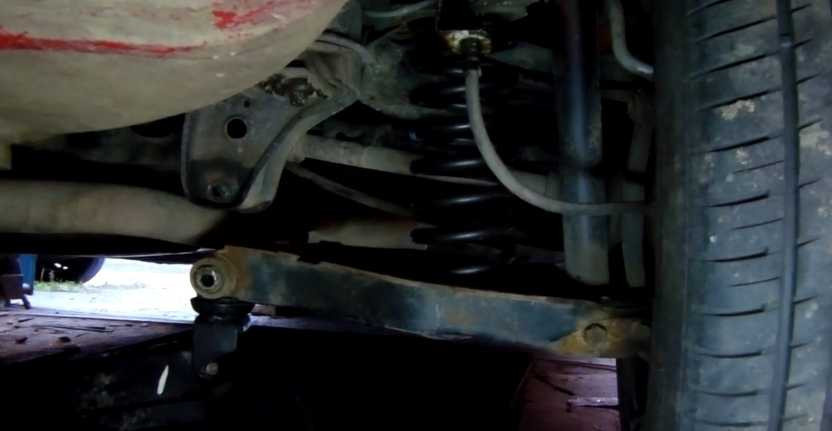
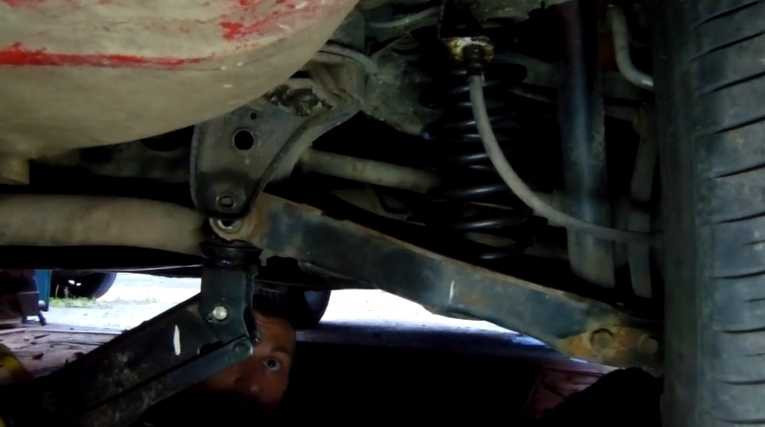
4. After removing the arm protection, we have access to the shock absorber, stabilizer bar and floating muffler block.
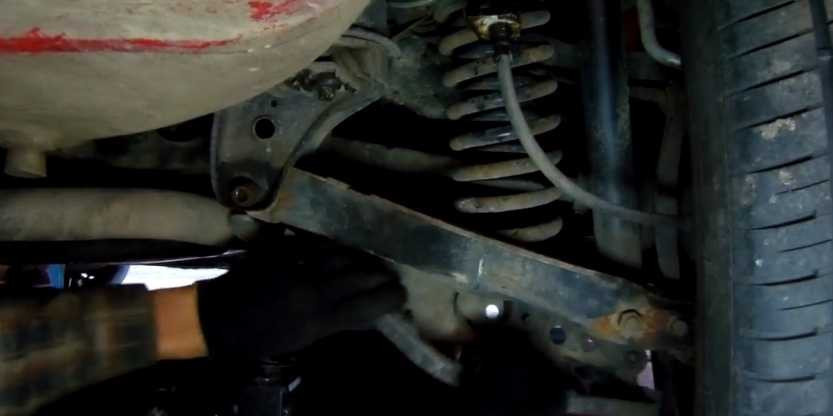
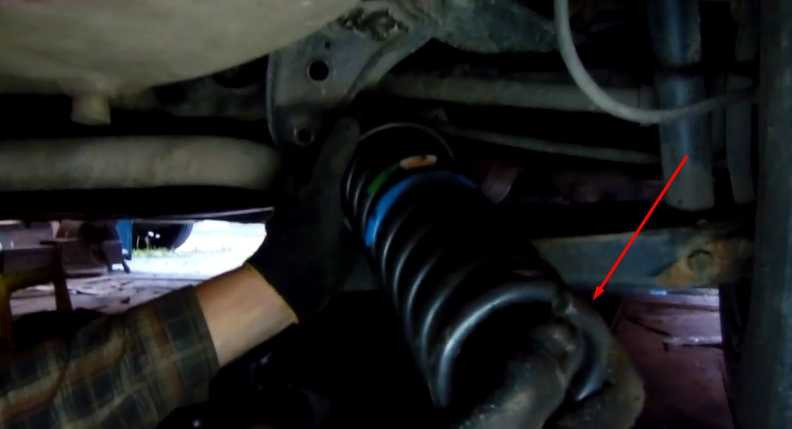
5. Raise the lever with a rolling jack to relieve tension from the bolt securing the lever to the subframe. We do as in the photo below.
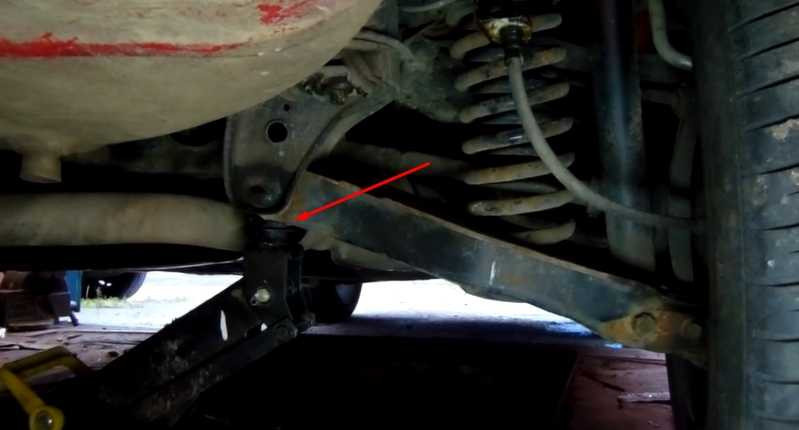
6. We take a skid and hit the bolt. If not, raise or lower the jack a little. Usually the bolt comes out halfway and then the problems begin. If your bolt is half unscrewed, then you can insert a punch into the hole and guide the silent block, and on the other hand, remove the bolt with your hands.
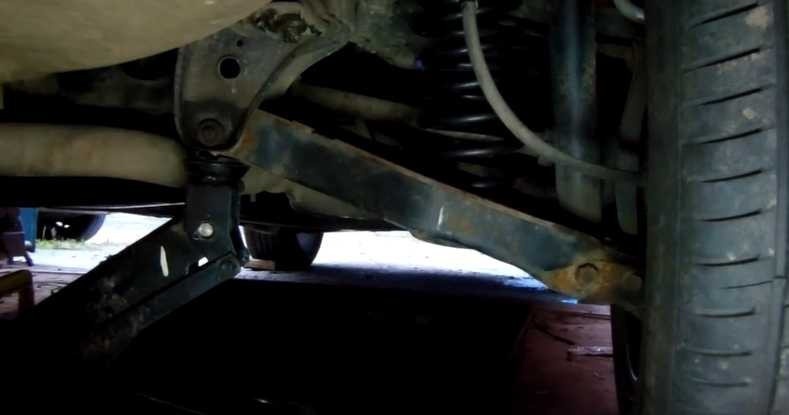
7. We lower the jack and thereby weaken the spring.
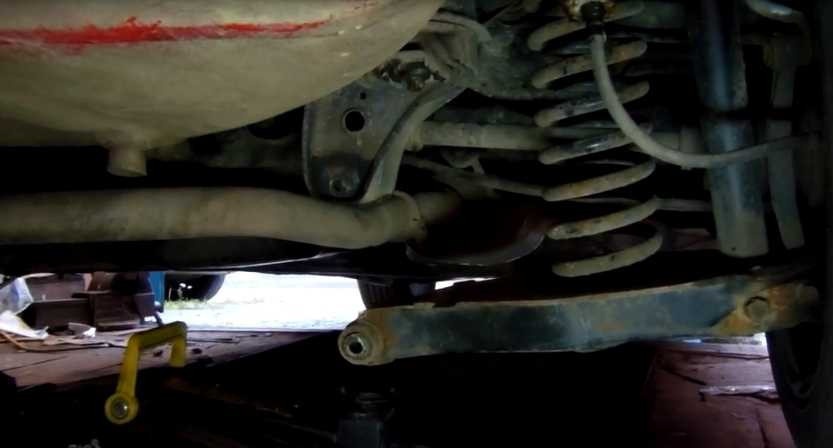
8. Remove the spring and remove the rubber gasket.
9. We clean the top and bottom of the spring landing site from dirt.
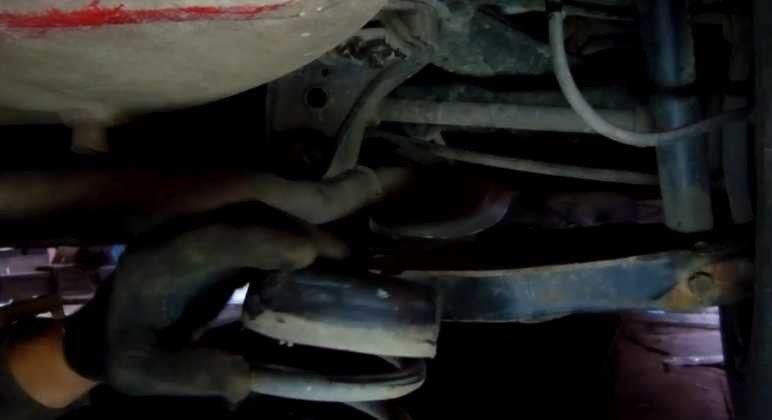
10. We put a rubber gasket on the new spring. It is put on that part of the spring where the coil is evenly cut.
11. Install the spring into the top cup on the body and arm. The spring is placed on the lower arm strictly in one position. On the spring, the edge of the coil should be in the lock of the lever. The photo below shows where the end of the spool should be. There is also a small opening for control.
coil edge
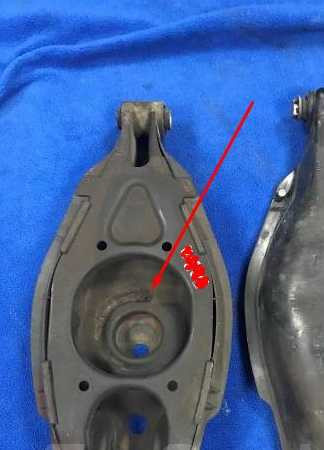
lever lock
12. Press the lever with a jack and check again if the spring is in the lock. If it is not visible, you can insert a punch into the control hole in the lever.
13. We press the lever with a jack so that the holes in the subframe and the silent block of the lever are approximately aligned. You can press the flywheel with your hand if the silent block has collapsed in the gearbox. Next, we insert the drift and combine the silent block along the holes. We introduce the bolt from the other side and advance until it is fully seated.
14. We put on the washer, tighten the nut and remove the rolling jack.
15. We remove the usual jack, lower the car to the ground.
16. Tighten the nut securing the lever bolt to the subframe. If you tighten the bolt on a suspended wheel, the muffler unit may break while driving.
When tightening the bolt, hold it by the head with a wrench so that it does not turn.
17. Establish plastic protection of the lever.